Sunday, November 25, 2018

Crafters Companion Gemini Create-a-Card Dies - PATCHWORK

Oops I meant to publish this post a while back, and completely forgot!
I liked this challenge as I love everything 'patchwork', so you will see some contemporary designs and some traditional ones as well.

As usual, materials used are in a different colour.


First up is a wedding card, using my all time favourite colour combination..


Gemini Create a Card Dies - Heart Patchwork
Sara Signature Together Forever Collection Metal Die - Mr and Mrs
Die’Sire Essentials Only word Congratulations


Papers from Crafters Companion Download of the month December 2017


The inside was decorated using a diesire word die


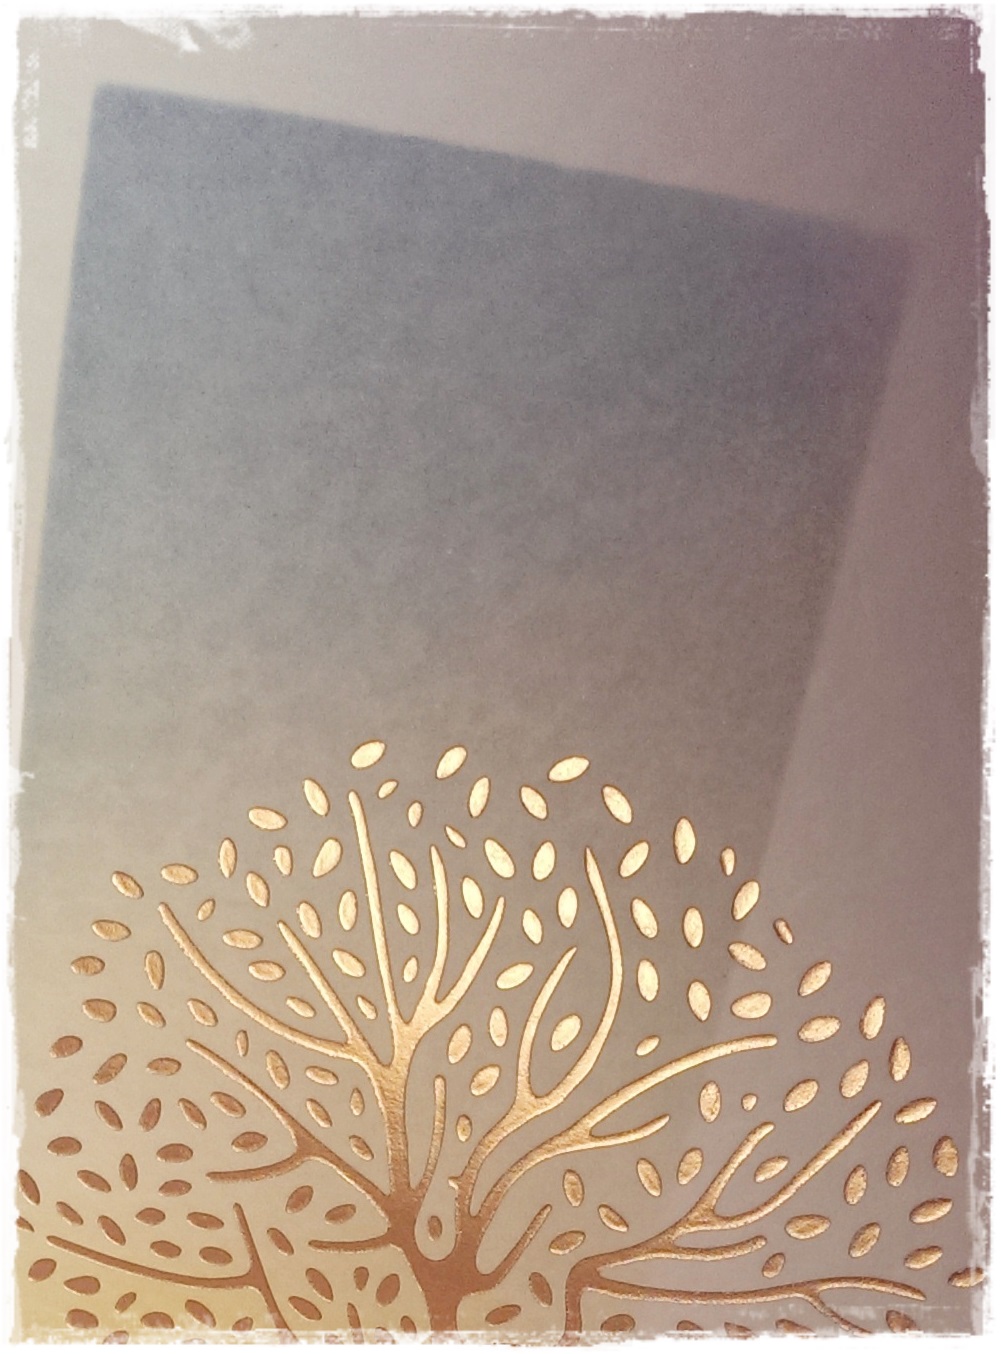
The sample below is using patchwork dies to cut shapes and stencil with inks (used dotty card):

Gemini Create a Card Dies - Dragonfly Patchwork
Papers from Crafters Companion Download of the month April 2017
Distress inks Weathered Wood and Victorian Velvet
Textures 8x8 Hessian Embossing Folder
Partial embossing technique


the feminine card bellow is made with a pretty lilac and olive colour scheme, using the dies to make a window panel and cutting the roses twice in two types of card to make layered flowers.


Gemini Create a Card Dies – Rose Patchwork
Sentiment Stamp from Jayne Nestorenko Adorables’ Stamp/Die set - Secret Garden
 Papers from Crafters Companion Download of the month July 2017


Next up is a masculine card made with papers, inking, matt and shiny centura card and cut outs on the smaller of the two square panels.


Gemini Create a Card Dies – Cogs Patchwork
 Sentiment Stamp  from Jayne Nestorenko Adorables’ Stamp/Die set – Birthday Boy
Papers from Crafters Companion Download of the Month March 18 Spring Floral


Okay to I had an idea not to adhere the whole printed smaller panel onto the black, which means I cut away into the wooden printed papers to reveal the black underneath, debossed in a way - i didn't know if it would work but it did... if you try and it cuts through both layers, add a third small layer under where you intend to cut to keep the second layer intact and achieve more of a debossed effect with your die than cutting out a shape all the way through - hope that makes sense..


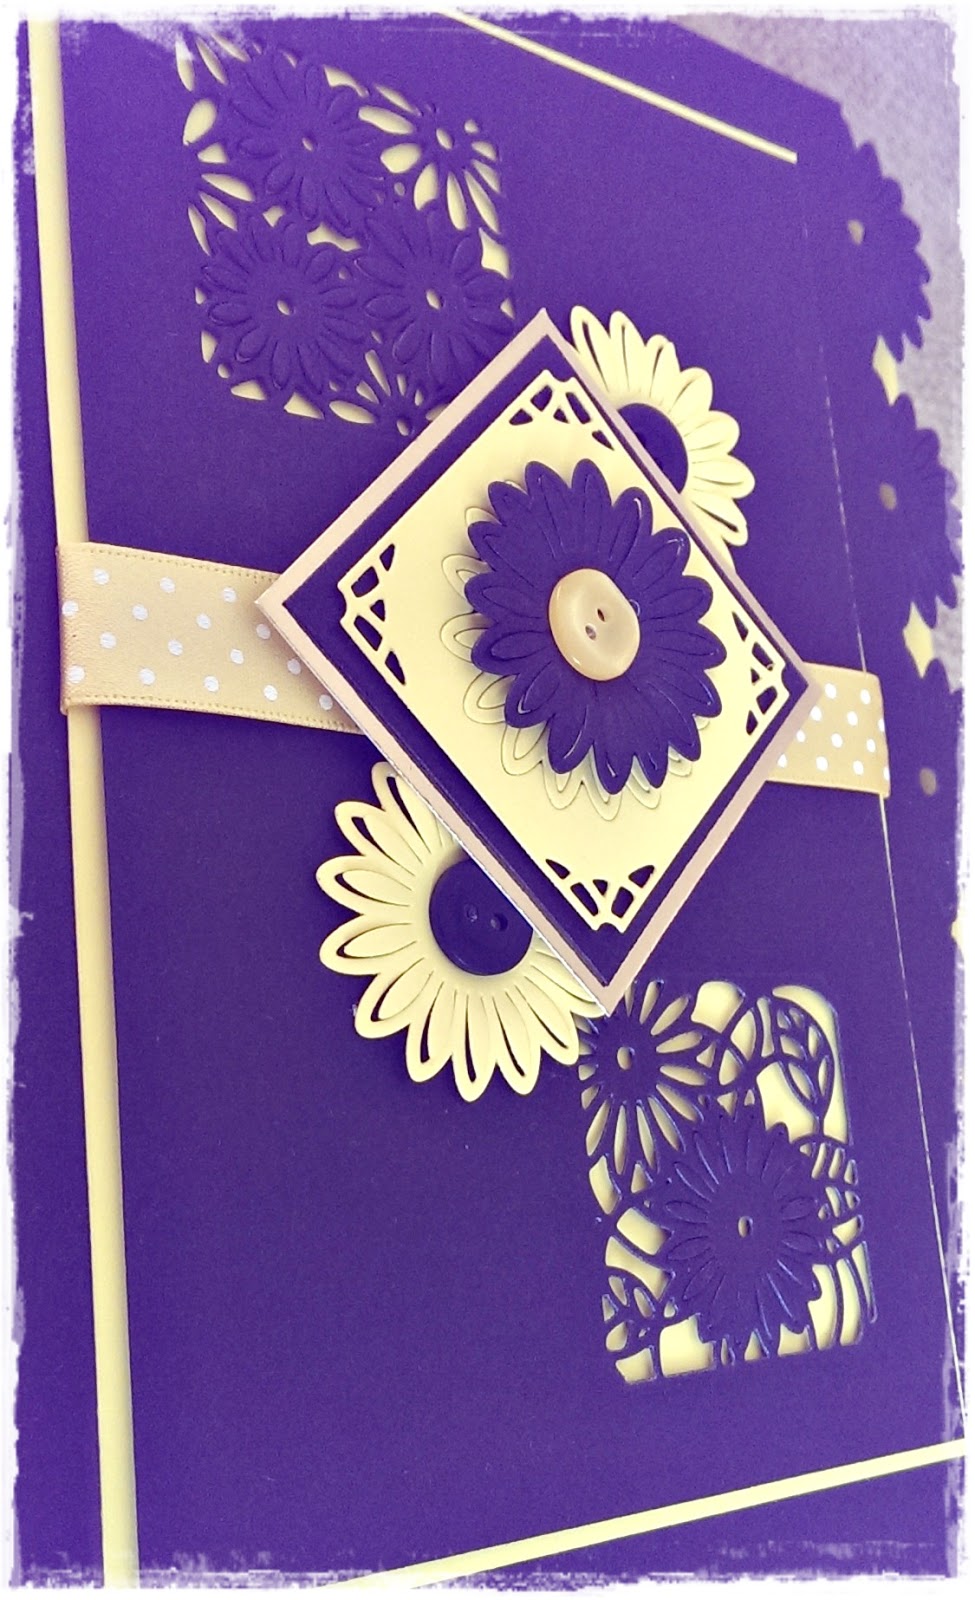
The next card is a black and bright yellow daisy card and I like the contemporary feel of it :)


Gemini Create a Card Dies – Daisy Patchwork


lastly, my favourite and one I enjoyed making the most - step by step photos to start with and I included a slightly smaller acetate box for the inside to stabilise the whole box..


Gemini Create a Card Dies – Butterfly Patchwork


I have some more exciting similar dies and designs to share along these lines, so if you liked this post, keep an eye out for the next batch!

Tuesday, November 6, 2018

Disco Ball and Aurora Gemini FoilPress card with black

So I've save the shiniest of my samples made thus far for last.
The disco ball and aurora foils are pretty amazing.

And for this card I used one of the large foil plates too - be aware that you may need sunglasses for this one LOL..


Love the iridescence of these foils, notice how there is very little else added or used but the foil stamp dies and foil stamp and cut dies?

Here's my list of supplies:
Grand Chandelier Foil Stamp and cut Die
Ornate Frame & Corner Foil Stamp and Cut Die
Deluxe Chandelier Background Foil Stamp Die
 With Love Foil Stamp Die
Aurora and Disco Ball Foil


Have made a 6x6 inch easel card with an aperture in the easel for this one, the chandelier lends itself to this type of design..


To make a shadow of the rectangular frame, I cut a piece of black card and just didn't do the foiling part, so these dies cut and deboss like 'normal' dies too..


The aurora foil was used to foil using the large plate and make the background on standard smooth black cardstock, and the glitter ball foil used for the sentiment.


Hoping to be back with more foiled cards soon..have a good week everyone and hope you are all enjoying the launch of the Gemini FoilPress today.

Monday, November 5, 2018

Red and Gold Shimmer foiled card using Acetate

This post shows foiling on acetate (and you can also foil thin cellophane bags as well without them melting, I'm still amazed by this...)

So onto my next card which uses the Glimmer Gold foil, it is really yummy and looks textured even though smooth.


Be prepared for lots of photos in this post as I didn't really want to see myself (!!!) reflected, so lots of angles to catch the acetate foiling etc.


In this photo you can see the foiling on the outside and through the acetate to the inside.


Supplies I used were:
Trailing Heart Foil Stamp Die
 With Love Foil Stamp Die
 Confetti Border Foil Stamp Die
Berry And Gold Shimmer Foil


The inside of the cared shows just how you can foil one foil over another, different foils, different foil stamp dies etc - versatile...


Check back tomorrow for the glitziest card - Aurora Foil and Black!!


Gemini Foil Press thinking of you card

Here's another foiled card for you, with another coming up later today and a shimmery one to celebrate the launch on HSN tomorrow!

This one is a simple thinking of you card, on hammered white (embossed card) and using the rose gold foil and centura rose gold cardstock.


Supplies used:
Blooming Tree Foil Stamp Die
Thinking of You Foil Stamp Die
Rose Gold Foil


The inside of the card has the tree foiling repeated.


The background on this card was made using a mask
 Make mask from acetate using a rectangular die to cut an aperture in the acetate
then tape the acetate mask to your card stock and ink away using your favourite inks
I used distress inks for this project.


This foil is the Rose Gold one..


Okay it was a big ask to foil on inked and hammered card but the machine performed well, and there are only two teeny patches, it comes with trial and error though and I think it was too hot so I know for next time. Overall easy to use though!


This was heavy gauge / weight vellum, and again I think too hot as not as crisp as I would like, but I am still experimenting, only having had the machine a few days :)

Tune in later for a red and gold creation and foiling on acetate.