Friday, October 31, 2014

new finds!!

Some interesting product finds I know my fellow crafters may like!

First, a cuttlebug embossing folder which is no longer available and everyone asks me about - Taylored Expressions have released an almost identical one:
Click on the photo for a link to product details


Second, spellbinders snowflake 1 set which is also no longer available has one particular flake design everyone likes.... good news is My Favourite things Die range has a similar one - link found if you click on photo again.


Hope you liked those finds!

Lilac and white Penny Black Peonies

I thought it was about time I shared a paper pieced project with you.
Love colouring this flower, even if it takes ages :)


I used lots of pearls on this card..


Layered flower petals..


Coloured with Faber Castell Polychromos pencil crayons


The card was boxed with satin ribbon to match.


You might have seen my previous post with door hangers - these are now located on the CraftyCutting stand at the Knitting and Stitching show in Dublin's RDS this week.
POp along and see the great die cuts on the stand and the fantastic design team projects - albums, bunting, boxed frames, a cake stand and lots more!

I am also giving away a free door hanger on November 3rd.
To enter, please visit my page and folow the instructions HERE.

Monday, October 27, 2014

CraftyCutting Design Team Christmas makes

So am back with these fabulous shaped greyboard door hangers from CraftyCutting, which you can purchase HERE on the website or at the RDS Knitting and Stitching Show in Dublin this week.

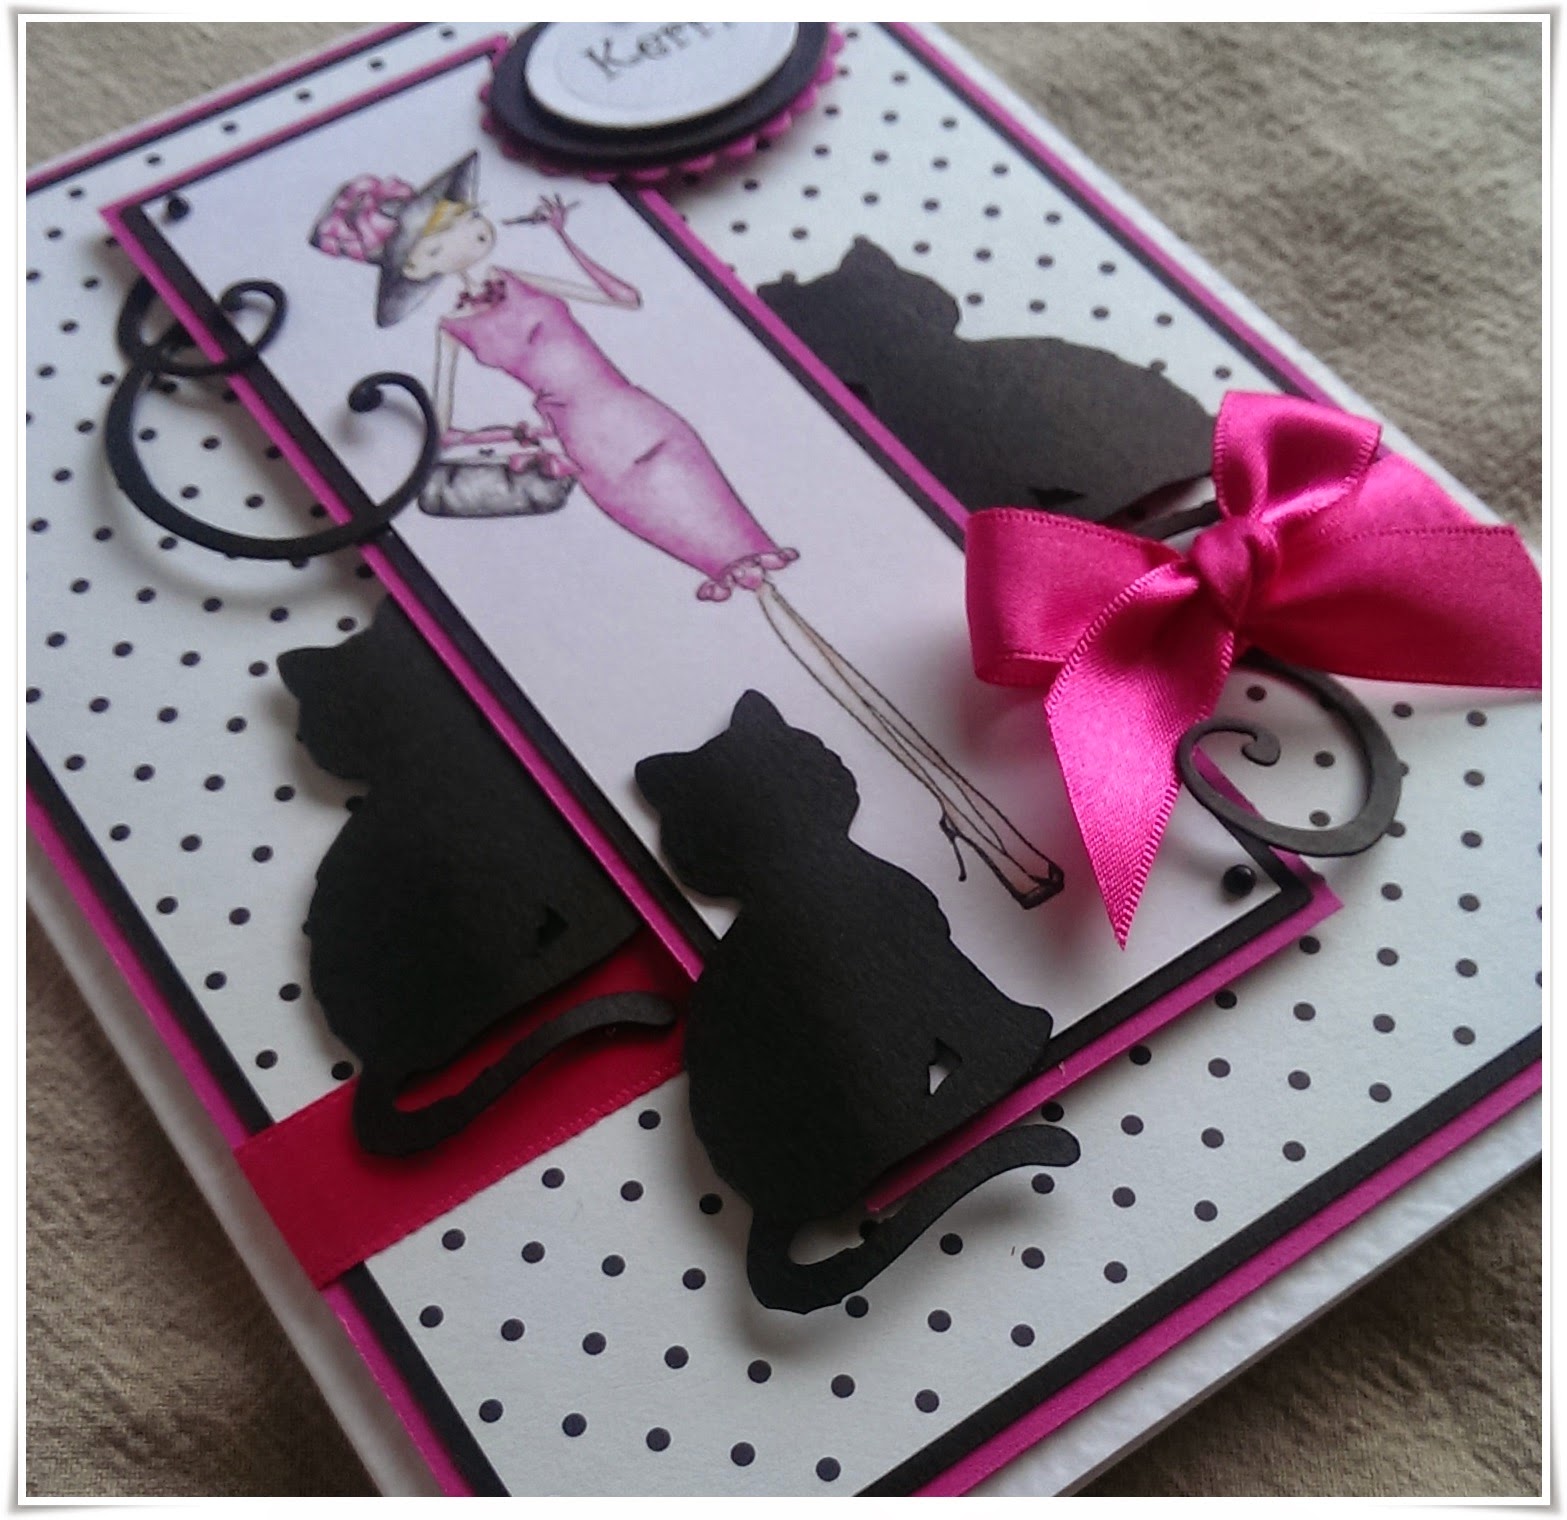
To demonstrate the versatility of these ready to decorate shapes, two are in a clean style and the other two are in a more rustic / distressed and slightly vintage style.
It's Christmas soon and these will make perfect gifts!

The first couple are for those good girls and boys who believe in Santa, and want him to visit this year - in blue and pink with the cutest baby deer (who of course has a red nose!)


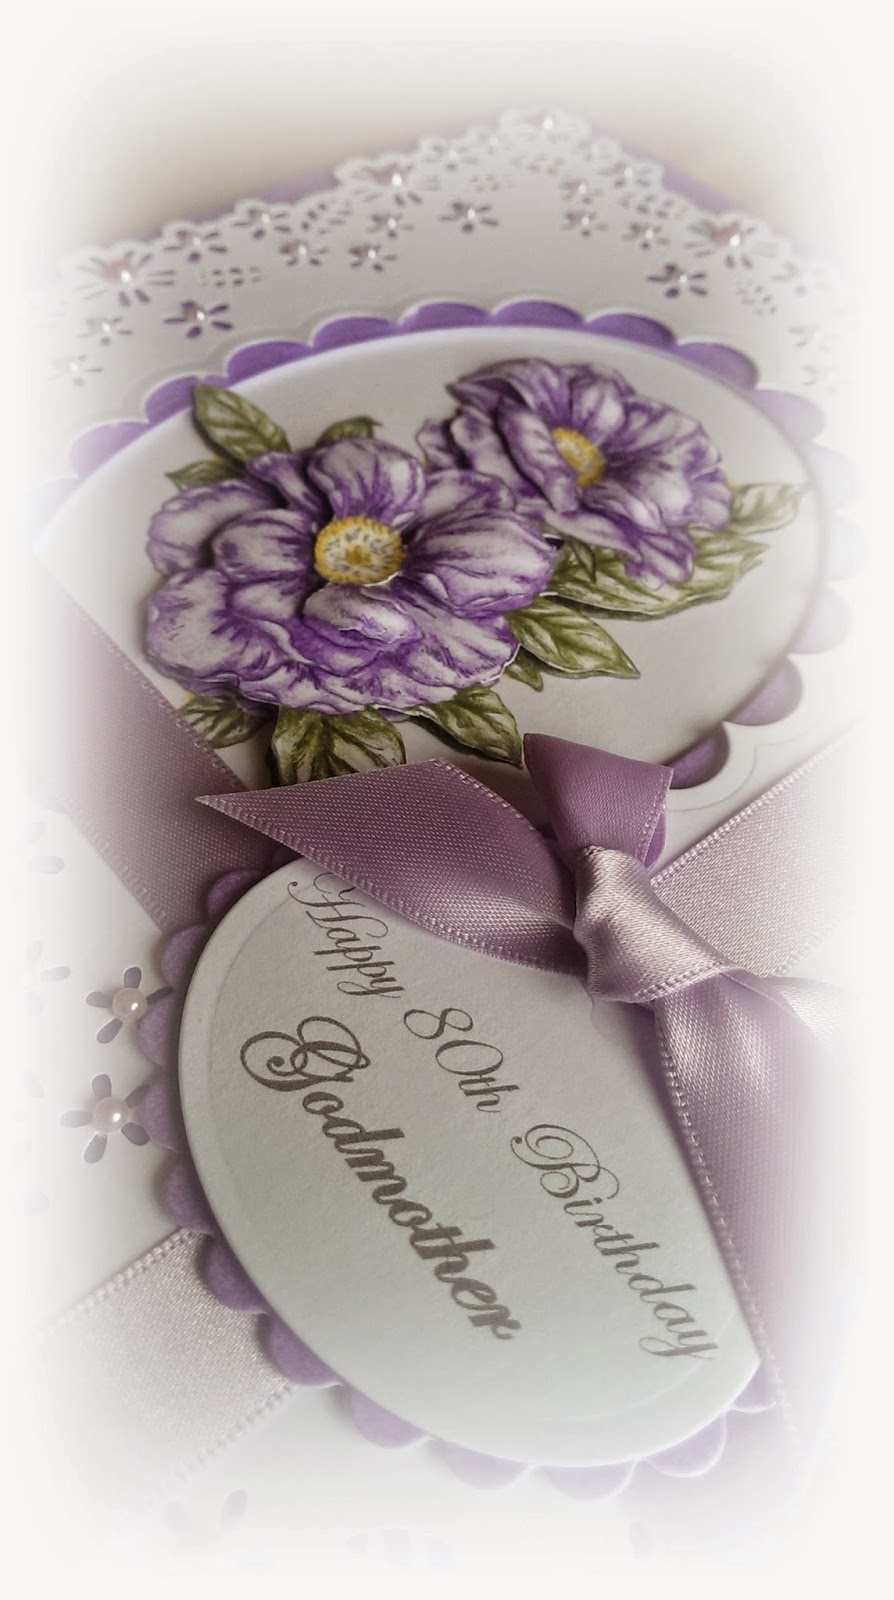
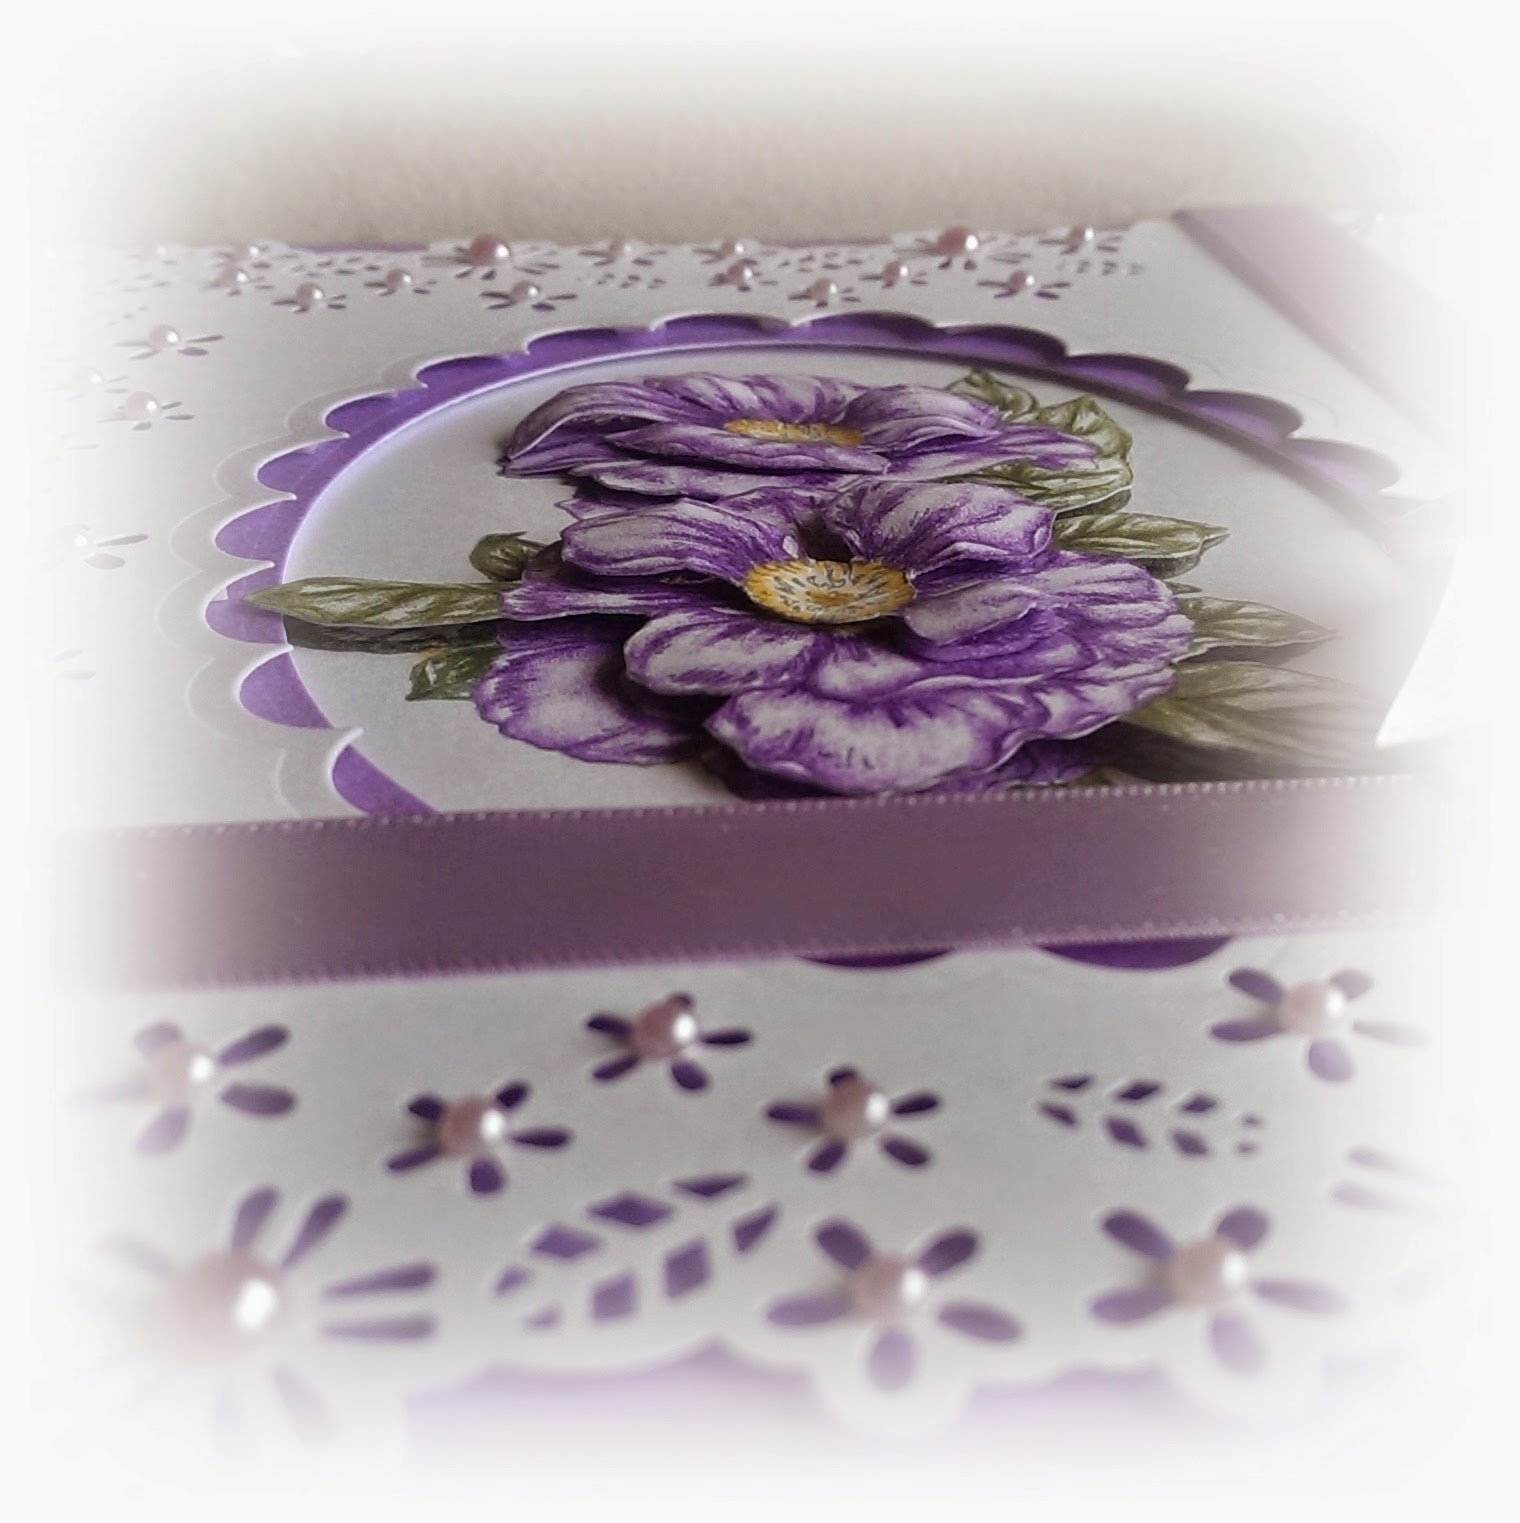
The hangers were covered and decorated with die cuts, lettering, pearls, charms and ribbon.


...and now for the boys:


Onto the hangers which were altered as Christmas Decorations / Gifts for our homes in mind.
I loved making these, and one is a simple design in white and silver, while the other has flowers, berries and ribbon added along with some glitter..


Christmas papers, LOTS of glitter and sparkly glitter card, Christmassy Ribbon and a simple sentiment for this one


The poinsettia is a spellbinders die and those centre round things are glittery beads.
The flourish is one of my favourite ones - a Magnolia Doo Hickey die.


Tried to photograph as best I can but the overcast winter weather set in here over the last few days. Never mind, with Christmas tunes (yes I am officially in the mood!), that helps brighten the day....


Last but not least, this is my favourite of all the hangers, as I could use lots of satin ribbon and glitter and flowers and the gorgeous new foiled papers/card from Craft Creations.


The holly die is from Cheery Lynn, the berries from stash and the flowers from Wild Orchid Crafts. The Santa post card was cut from a larger stamped image - Hero Arts Stamp


and the back has been decorated too...


If you would like to see these items, pop along to the CraftyCutting stand at the RDS this week and they will be on display.

Go on, get some and decorate with funky foam shapes and letters and decorate with pretty christmas papers.
Or, if you would like to order your own personalised hanger for Christmas, pop along to my Etsy shop HERE


Meljen's Designs Little Puddle Duck

Hi everyone, late popping in as have been busy with other things, including work. Real life has to take precedence over crafting sometimes LOL!!

Am sharing two posts with you today, the first is a similar card I did a while back in a workshop, but in pink. The second post will be some altered Christmas door hangers which I got very excited about over the last few days!!

Enough rambling, here are the photos of the pink duck card, so cute!!


You can find the duck image here.. I added balloons from another Meljen's image


Hope you like the girly colour scheme.


Wednesday, October 22, 2014

nautical card with a sailor's knot

Hello again, if you're popping in to catch my next card share. This time it's a masculine one for a wedding anniversary.


The ship stamp was sourced on eBay, I got ages ago, and the script stamp is a hero arts one.


The fancy tag is a spellbinders label tag, cut out from copper centura card, onto which was mounted the personalised sentiment.


Hope you like the sailors knot.. no thick twine at home so plaited two long strands of garden twine before tying the knot - if you want to know how to make these knots yourself, just google sailors knot and there are how - to diagrams and videos - just be patient with yourself!


The colour ink used on the circle topper is chipped sapphire distress ink - a different shade when you apply ink to ivory card!

Sunday, October 19, 2014

catching up........... with a Stamping Bella stamp

... yes I am doing that again - catching up! I have a few cards to show and didn't realise how many until I moved some photos.. oops.
Here is the first one, sent to Canada for a lady who has three black cats. I had the pleasure of playing with a cricut machine on loan from a friend (great fun thank you!!) so resized and cut out some black cats and teamed these up with a Stamping Bella stamp, coloured with polychromos pencil crayons.


The cerise pink colour didn't come out very well in the photos -  bright pink, black and white was the colour scheme..


And a side on view showing the cats tucked behind the main image..I like the way they look like silhouettes.


Will be popping back with some more cards over the coming days so keep checking back or subscribe to my blog if you fancy, using the email subscription box at the top right hand side of the main page - thanks for looking!

Wednesday, October 1, 2014

First Project for CraftyCutting Design Team

Hi everyone, sorry for being absent for a while, I was working away and yes there are LOADS of cards to upload and post on my blog, and today is time for something different!
I really enjoyed altering this greyboard photo frame and am excited to share my first CraftyCutting DT project.

Some of the other Team Members have already shared projects, and below are the links to their blogs - please pop over and take a look, am sure you will love them!


So I chose a greyboard frame and some Digi Papers from MR Designs plus a special photo of my great niece :)
You can find the papers HERE - they are called Seascape.
I also used the the back stand from a CraftyCutting Shadow box kit, since I wanted the  grey board frame to stand rather than hang.


Here's how it came together...


Two versions of the same paper were pasted into word, one layered over the other, as I wanted the shell pattern to show on the front left corner but also some of the design to wrap around the frame and part of it to show on the back, for a good finish.

Adhered the top piece of the frame from the kit with the aperture part to the rearside of the paper - 160gsm paper was used so it's nice and thick!


Next, cut a cross in the centre of the aperture and bring the edges of the paper through the aperture and around the rear of the frame and stick these down very well.


                              Adhere a small piece of acetate and the photo behind the aperture:


Trim the corners of the paper before adhering them to the back of the frame too.
After adhering the photos, I trimmed down the back of the shadow box panel (into which the stand will slot) as it was a little too big.  Adhered the back shadow box panel to the front grey board panel, thus making a photo stand.

Here are some closeup photos of the decoration and bunting..
The ticket comes from Graphic 45 By The Sea papers and the shells and other decorations I have in my stash. The stamps for the bunting are tiny alphabet stamps from Craftwork Cards.
The water droplets are home made dew drops, made with a glue gun.


 That's all for today, will be back with some other posts soon.

Happy Crafting!