Wednesday, March 30, 2011

Penny Black Pansies

Just one to share today and not feeling very productive as spent ages colouring this one, which was very enjoyable!

Also spent ages deciding if the punched edge was adhered to the card so it wasn't skew! Like the yellow and purple complimentary colour combo and love the pansy punches now.
The Stamp is from Penny Black and is an old one and the name is punched using foam with the QK Olivia Alphabet which is teeny tiny but so worth it!
Coloured with twinkling H2O's as normal.
thanks for looking!

Saturday, March 26, 2011

Scrapbooking and Cardmaking in Clonmel in April

Woohoo! I just cant wait to have loads of fun with some crafty ladies I have been waiting meet for ages! 
Jean and I will be having a combined Scrapbooking and Cardmaking workshop in Clonmel on Satuday 9th April, full details are available by clicking on the link below, but if you want to leave a comment or email me for more information, please feel free..
http://board.cardznscrapz.com/b/viewtopic.php?f=19&t=4507

Monday, March 21, 2011

Flourishes Timeless Tuesday and Bearly Mine Mothers Day

Just a really quick post, as I started this card yesterday and finished off the idea today, after mulling over and inking for ages, until I got the desired effect and turquoise hands (Stazon ink and a dauber were the culprits... it takes some getting used to but you can if you are quick with the stazon ink pad!!).

This card for the best Mom in the world (hope you dont see it yet until I get it in the post!)
and I used Flourishes Cherry Blossom Silhouette Stamp from the Cherry Blossom Set here, and Bearly Mine Digi Papers you can find here.
The white blossoms were stamped and embossed after the inking had dried.


Sunday, March 20, 2011

Another Lili of the Valley Baby Girl Card

Here's another gorgeous Stamp from Lili of the Valley which I have used recently and used again in a different colour, and using a Sketch over at Lili of the Valley Challenge Blog.


The scrummy papers are from Bearly Mine, and those little dragonflies are soooo sweet!
The same cuttlebug die used for the flowers as in the previous post from today, and spun sugar distressing ink on the embossed white card.
The leaf punch is a Martha Stewart one.

Thats all for today, will be back soon with some more!

Spring themed Bookmark card

oooh I love these stamps, I keep putting them away and then getting them out again and again because they are just so cute, the right size and just say Spring to me!!

...and I wanted to try a bookmark card with lots of white, but without the bookmark perforations on the fold of the flap, which fits inside the card, because it just didn't look that good perforated on the flap fold, it looked messy when I tried before.

 so this is what I came up with in the end, and I used a perforator I bought on ebay here - little more expensive than some brands and craft ones but when you tear the card on the perforated part it comes off nice and clean!
To make this card, I used an A4 piece of strong hammered card stock, scored to make a DL card from both sides, so there are three flaps. 
In order for the flap on which the bookmark side is stamped and coloured fits nicely into the main card, cut about 2 or 3mm off the bookmark side edge, before stamping and decorating the flap or making the perforations (used a steel ruler to guide the perforating tool).
After doing this, decide how wide you want the bookmark to be, make the perforations, cut part of the top and bottom off and then up the perforations about an inch, so you can use a corner rounder to finish off the bookmark edges.
Stamp and decorate as you wish - here is a view of the bookmark side of the DL card:

a closeup of the little bunny
here you can see the layers (the flower made with a cuttlebug die called asterisks 2x2), and the nestability die used as a stencil when embossing the edges with spun sugar TH distress inks
here is a closeup of the topper


this is a great card and gift to make someone for their birthday and I am entering the following challenges with this one:


Friday, March 18, 2011

Lili of the Valley Baby Girl Card

one last one to share with you (am having a very good day today) and guess what...........more pink!

Yep I am having a pink day, makes a change from green which I seem to use a lot of at the moment - maybe its all the spring colours around, and pastels..

this one is hard to scan cos the daylight has run away with me now and I cant use the camera, and there are lots of delicate pastels.. you get the idea anyway.

the buttons are teeny tiny about 4mm big and work well with the cuttlebug flowers from the die set called Askterisks 2x2
the stamp is from Lili of the Valley and can be found here
and the scallop die is from a quickutz cookie cutter set and the colouring with twinkling H2O's with the exception of the body part which are coloured with promarkers

am entering this card in Sweet Stop Saturday Sketch Challenge and thats it for today!


Second post for the day and a Challenge for Mothers Day

So it was a race for the light to get this coloured and photographed, because I prefer painting in daylight if I can at all, the end result is nicer than when using artificial light, and more importantly I am sure its better for your eyes!! I had got carried away and made thee other cards today but they arent coloured yet.. later maybe or tomorrow morning.

So here is another Mothers Day card, and I used Flourishes Stamp Set called Cherry Blossom which you can purchase here. The Stamp set is gorgeous and has sentiments, but for this one I needed a Mothers Day card so I used my own sentiment this time.


 ... some closeup photos showing the colouring and layering.. and no I am not going mad with the cuttlebug - embossed layer - I wanted to use it 'debossed' this time, it looks just as nice and a little different!

the scalloped edges were made using Quickutz cookie cutter border die set which has three scallop dies in it, and its soooo handy for doing the edges of large pieces of card, so I had fun with all the layers!

I am entering this in the Flourishes 'Cut above the rest' Challenge, which brief was to use cut borders.

I had a bit of a 'pink' day today, so will be back a bit later with ANOTHER pink card!

Black and White Wedding card


... and i hope it has turned out like I wanted.. simple and understated.
for this card I didnt want to use stamped images, too much punching, anything fussy or flowery and it had to be elegant, so I think I got it right and pleased with the way it turned out (am I allowed to say that!?)

The hearts are cut and embossed with spellbinders nestabilitiy dies and the embossing with cuttlebug folders.
No I dont have an A5 cuttlebug folder for the swiss dots, but you can emboss and A5 piece of card from each end carefully, and after embossing use an embossing tool to push the 'squashed' dots out again if you are careful!
Maybe provocraft will make some more A5 folders though.. one day maybe...

here is a closeup of the layering and embossing in the light, and the mosaic bit has names in black printing to go with the whole theme.

thanks for looking, and any comments are welcome if you pop by my blog

Tuesday, March 15, 2011

Twinkling H2O Poppies... soooo shiny!

Its great to find a nice sunny day when I can take a picture of a coloured image to show the layering and demonstrate the loveliness of the mica pigments in twinkling H2O paints... aren't they delicious!!

here is a side on view - the day I took this, the sun was really shining - you can just feel the warmth!!

and another view, so you can see the embossing and the organza ribbon


For this card I used Just Rite Stamps, and the set is called Plant a Little Love.
..the sentiments are also from Just Rite and the set was called Custom Design Card making kit - it came with 2'' circular wood stamper (with grooves so the rubber stamps fit in without glue or an acrylic block), 10 borders and centers and times new roman font sets - its a great starter kit and you can find it here!


a couple more as promised..

to follow on from my last post, here are a couple more to share - a card based on a sketch and stamped with a Lili of the Valley stamp.

and some more detailed photos showing the colouring - you can see how the twinkling H2O paints shine in the light and some of the inking on the paper using colorbox chalk inkpads


 the embossing is a cuttlebug folder


and a little gem butterfly with some papermania gems; the sentiment is from LOTV too.

last but not least is another card made using the Hanoverian Paper range from Docrafts and that gorgeous Penny Black stamp again from the Garden Friends set.


thanks for looking!

Sunday, March 13, 2011

Its Springtime so flowers and bunnies galore!

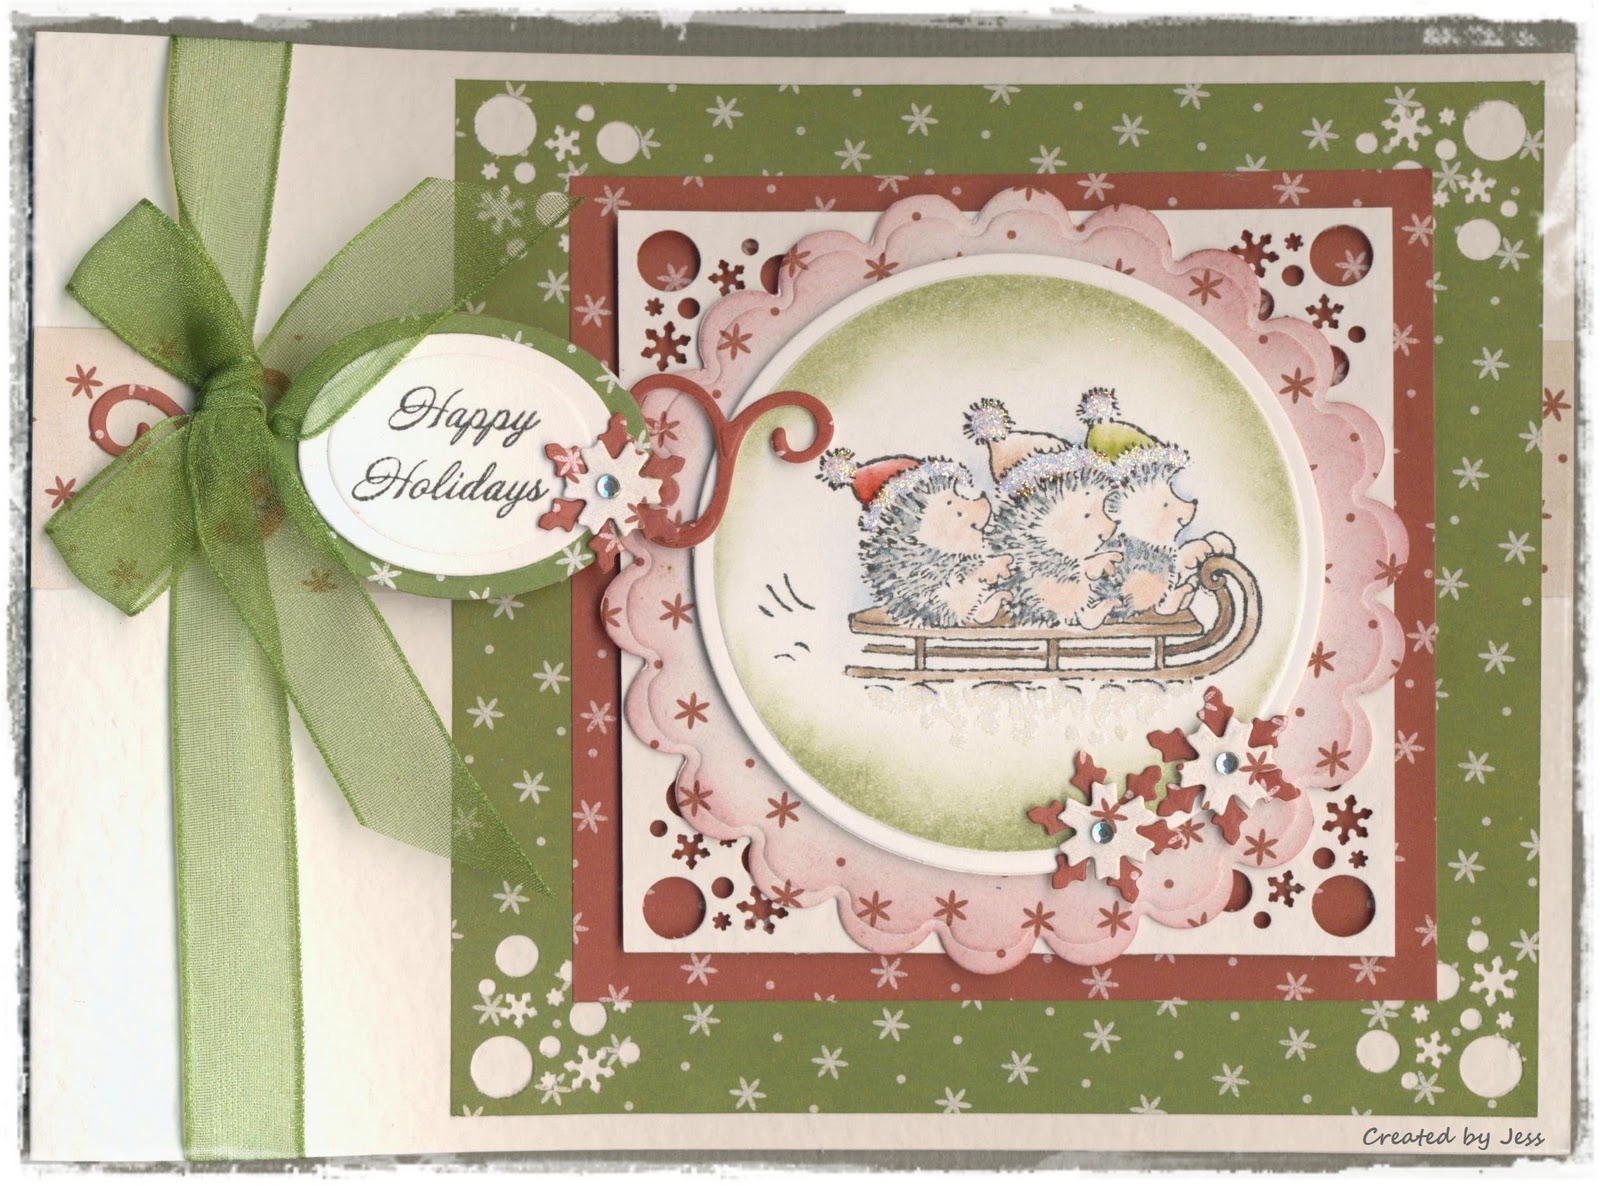
Have quite a few makes to share, which I have been working on over last couple of weeks and in very good time for Spring and Easter.
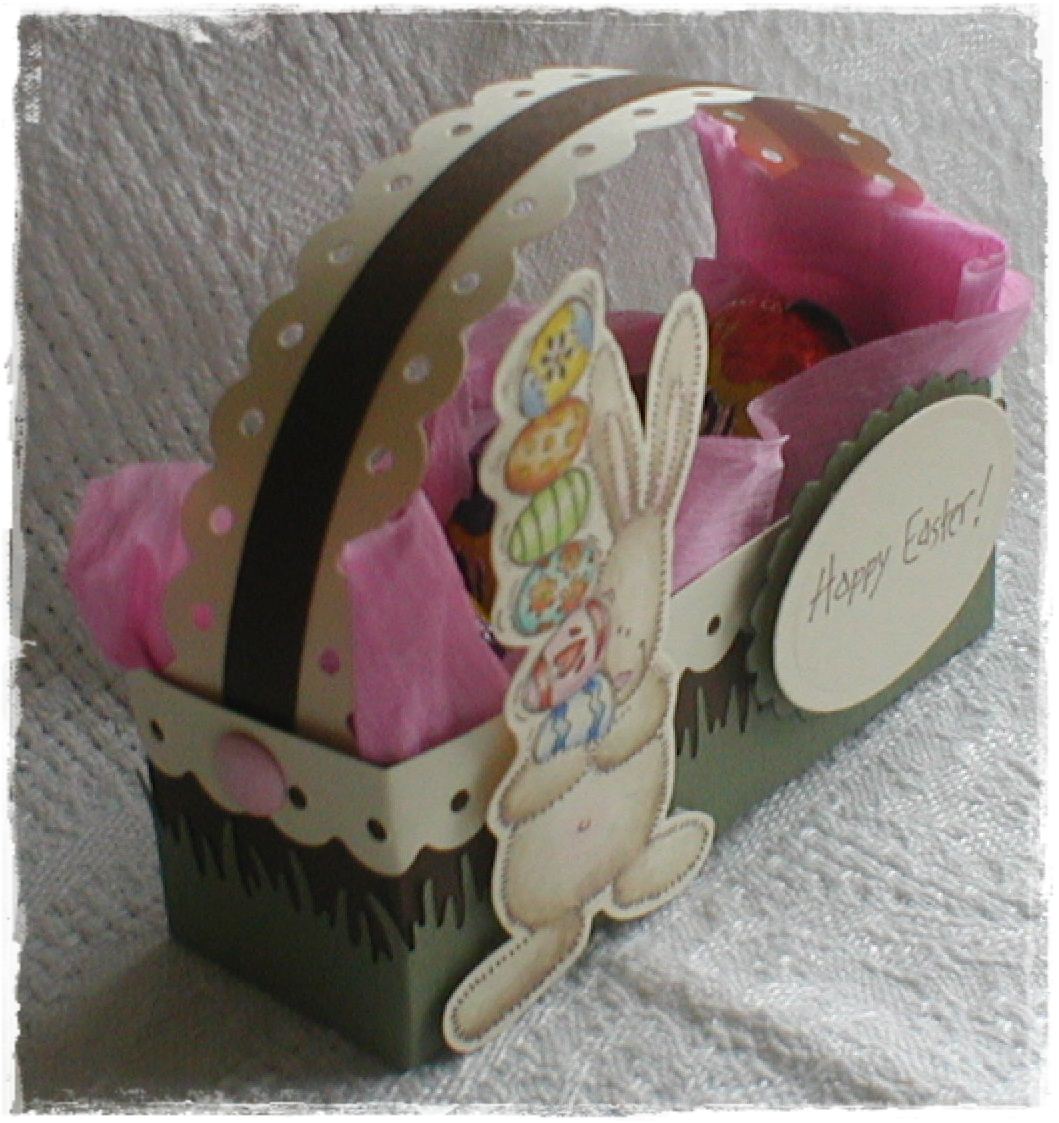
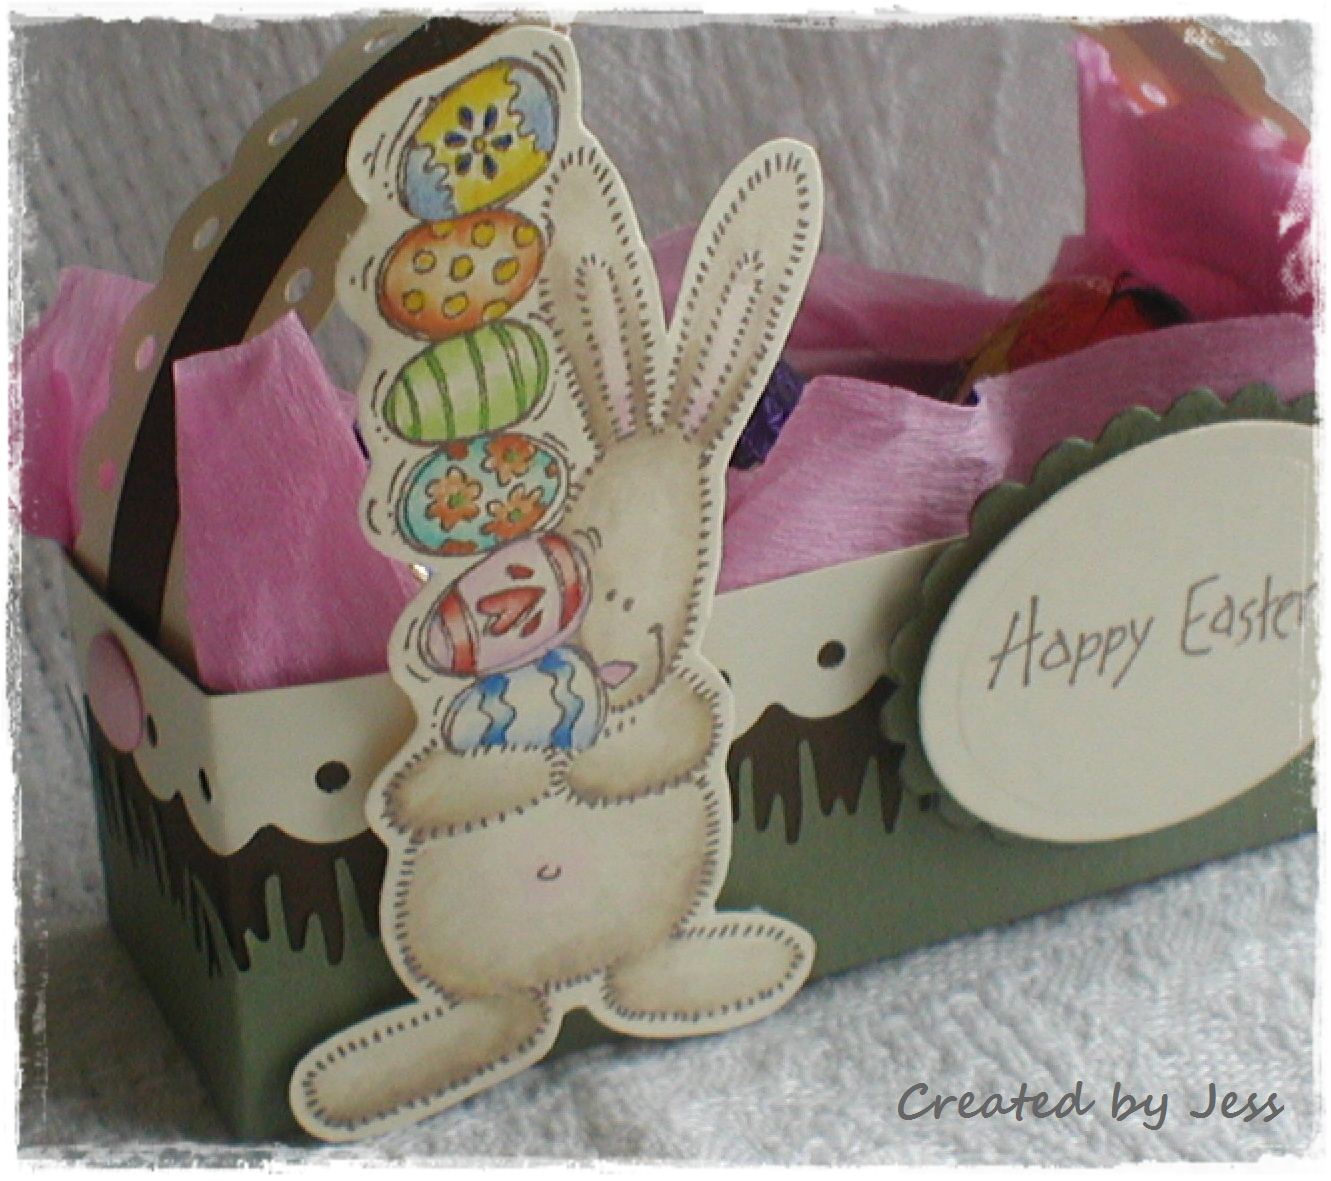
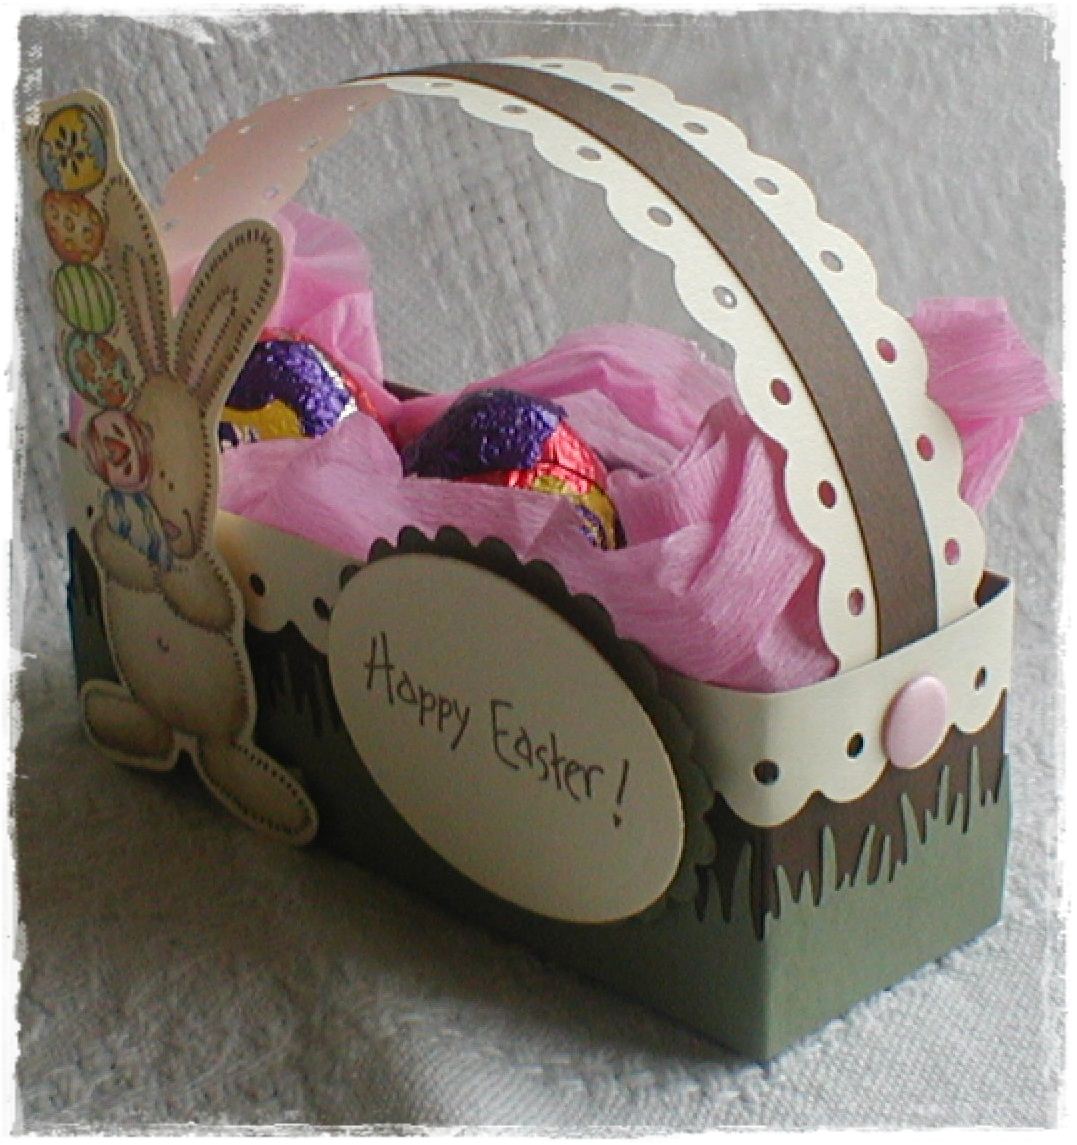
First is a simple treat basket which is big enough to hold 3 creme eggs and made using Stamps from Darcie's, a fiskars border punch, nestabilities oval dies, Martha Stewart border punch for the grass, some tissue paper and card candy to finish.
a little closeup to show the colouring with twinkling H2O's
mmmm eggs!
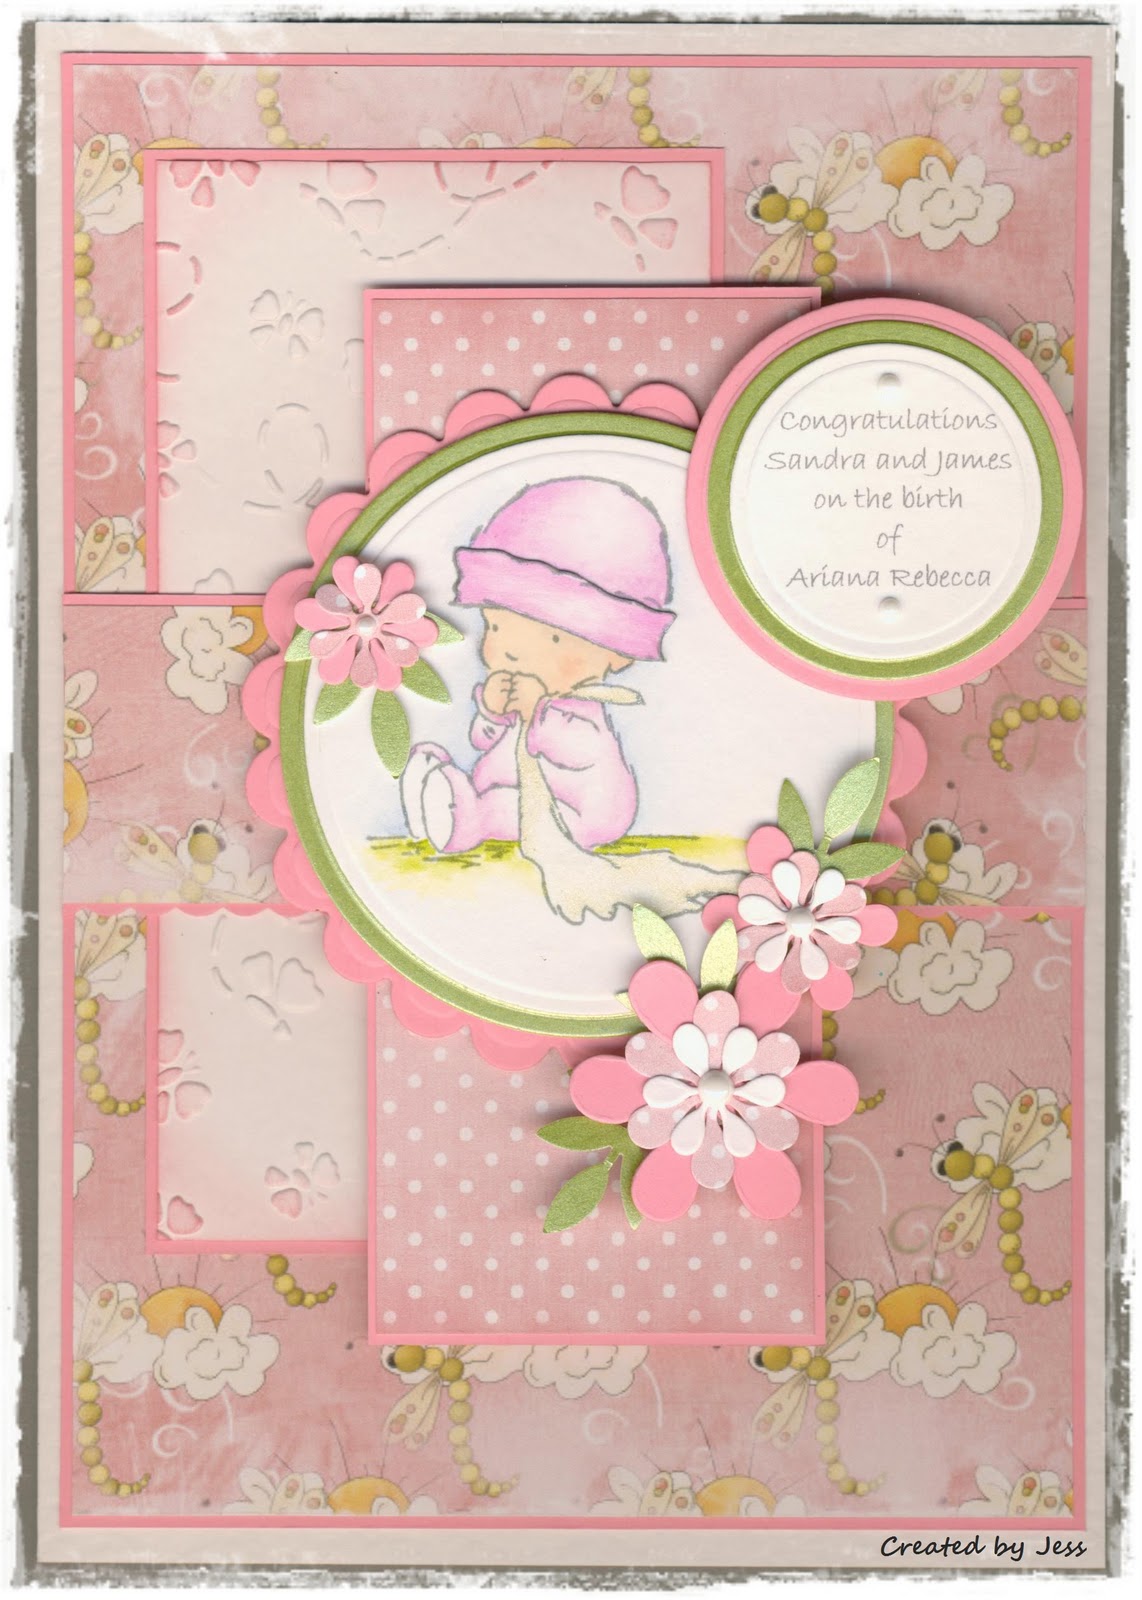
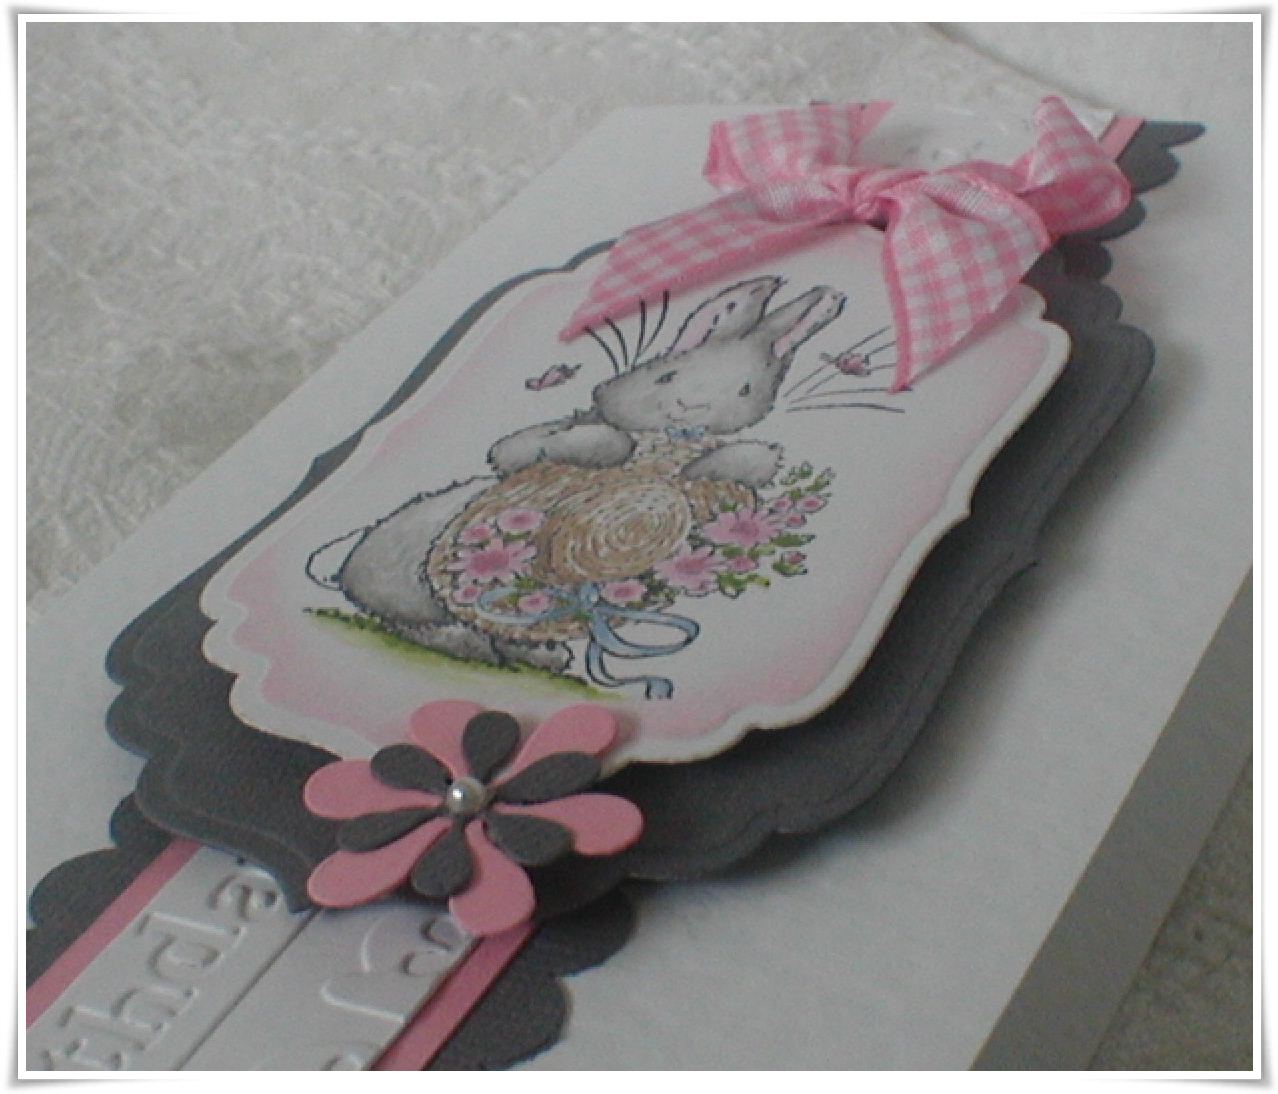
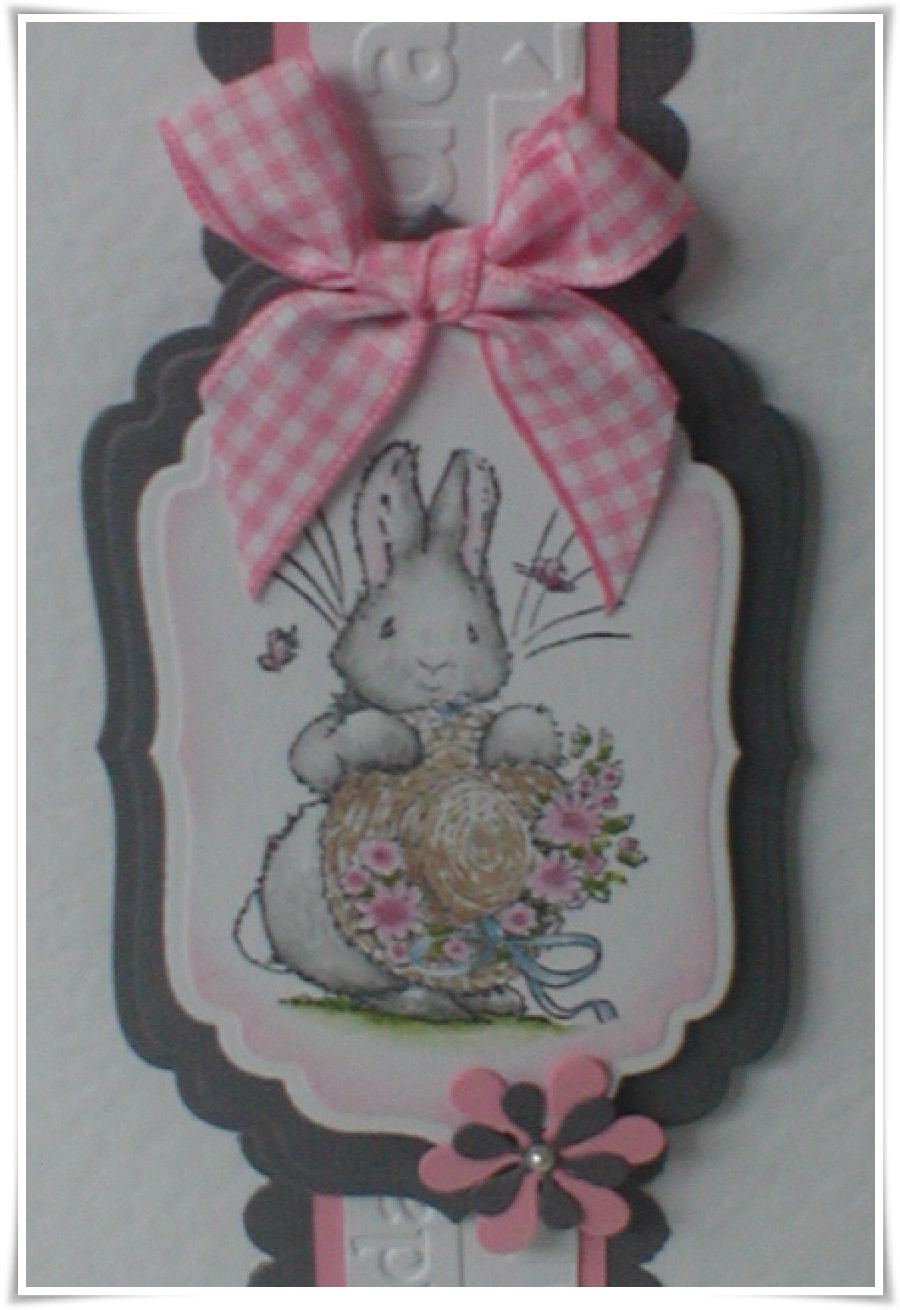
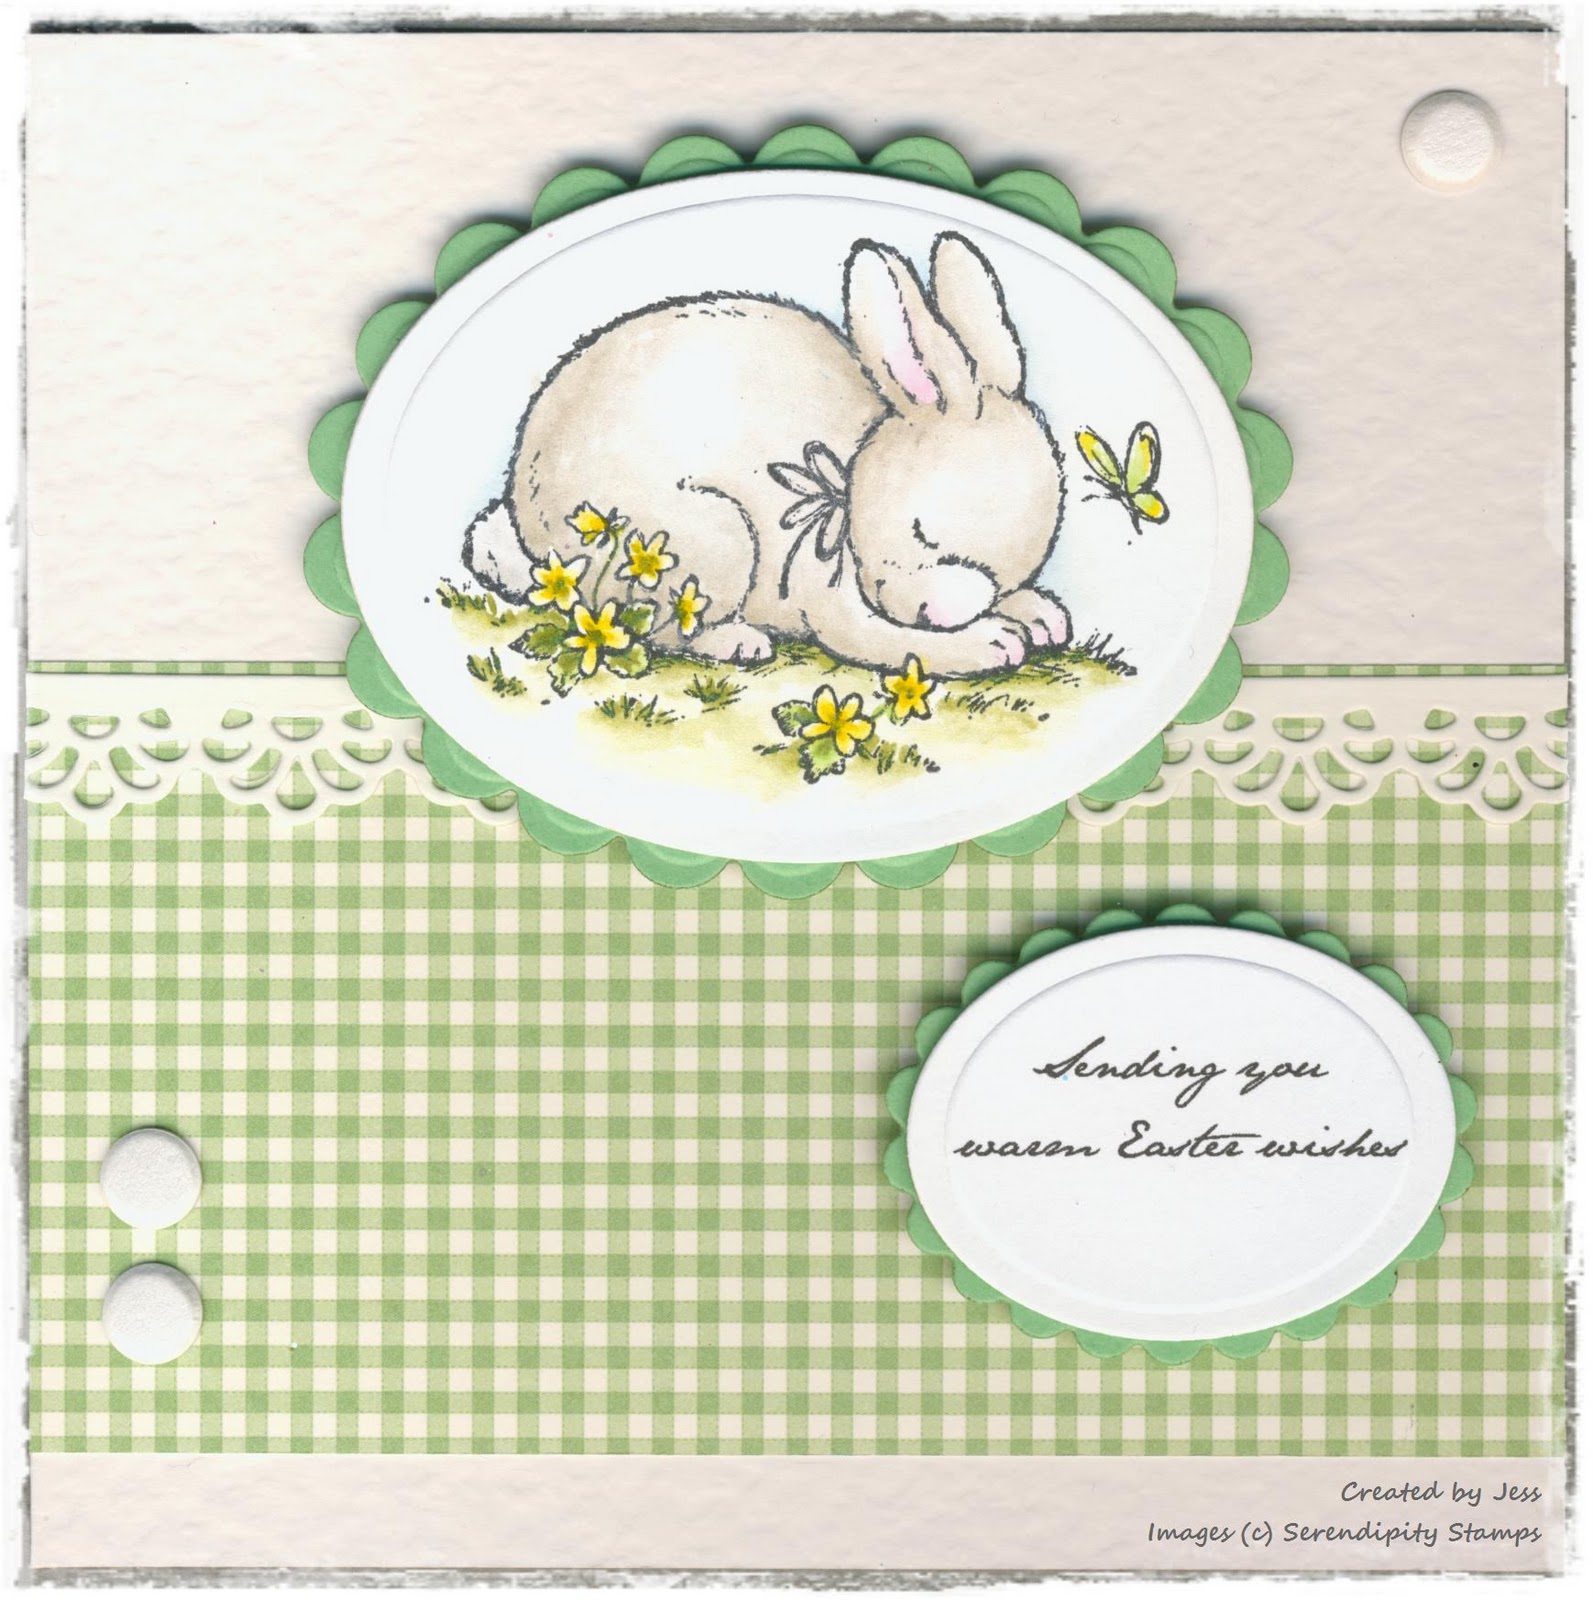
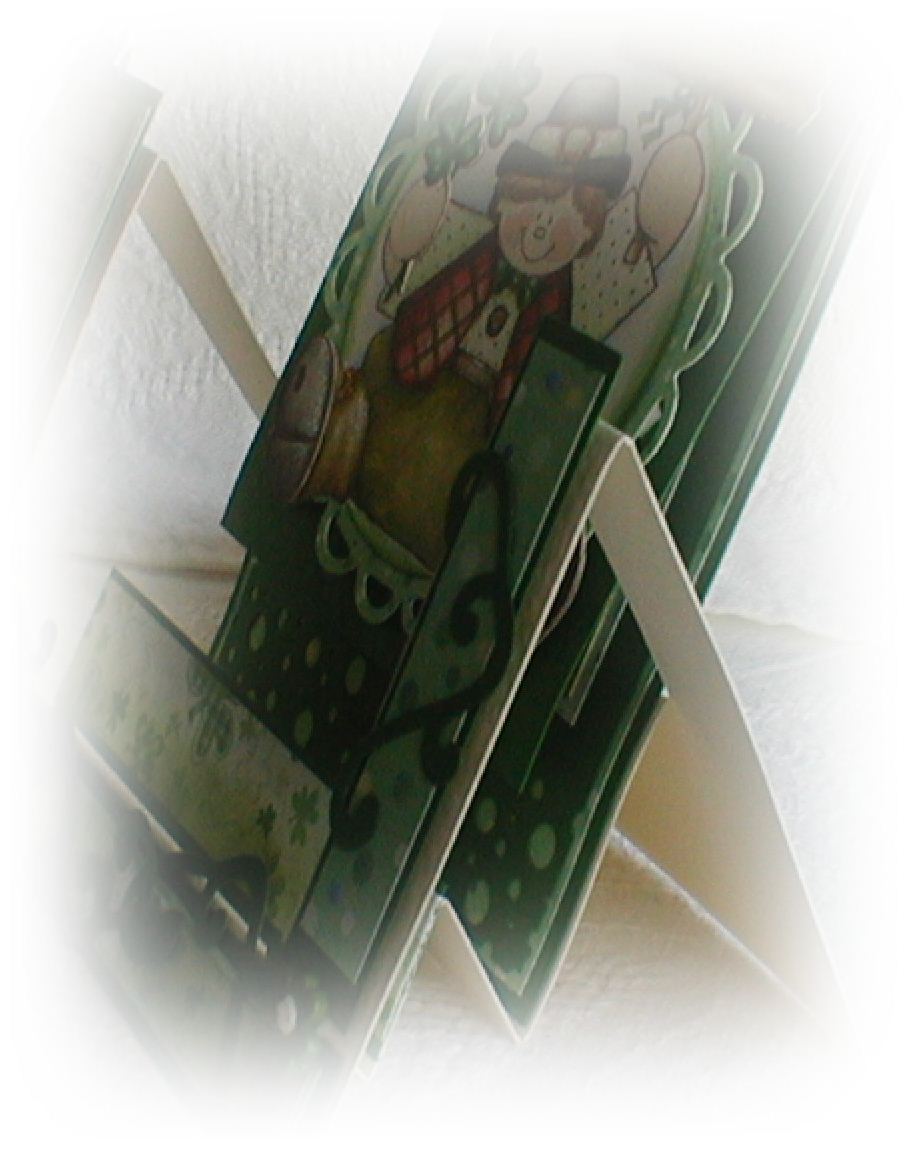
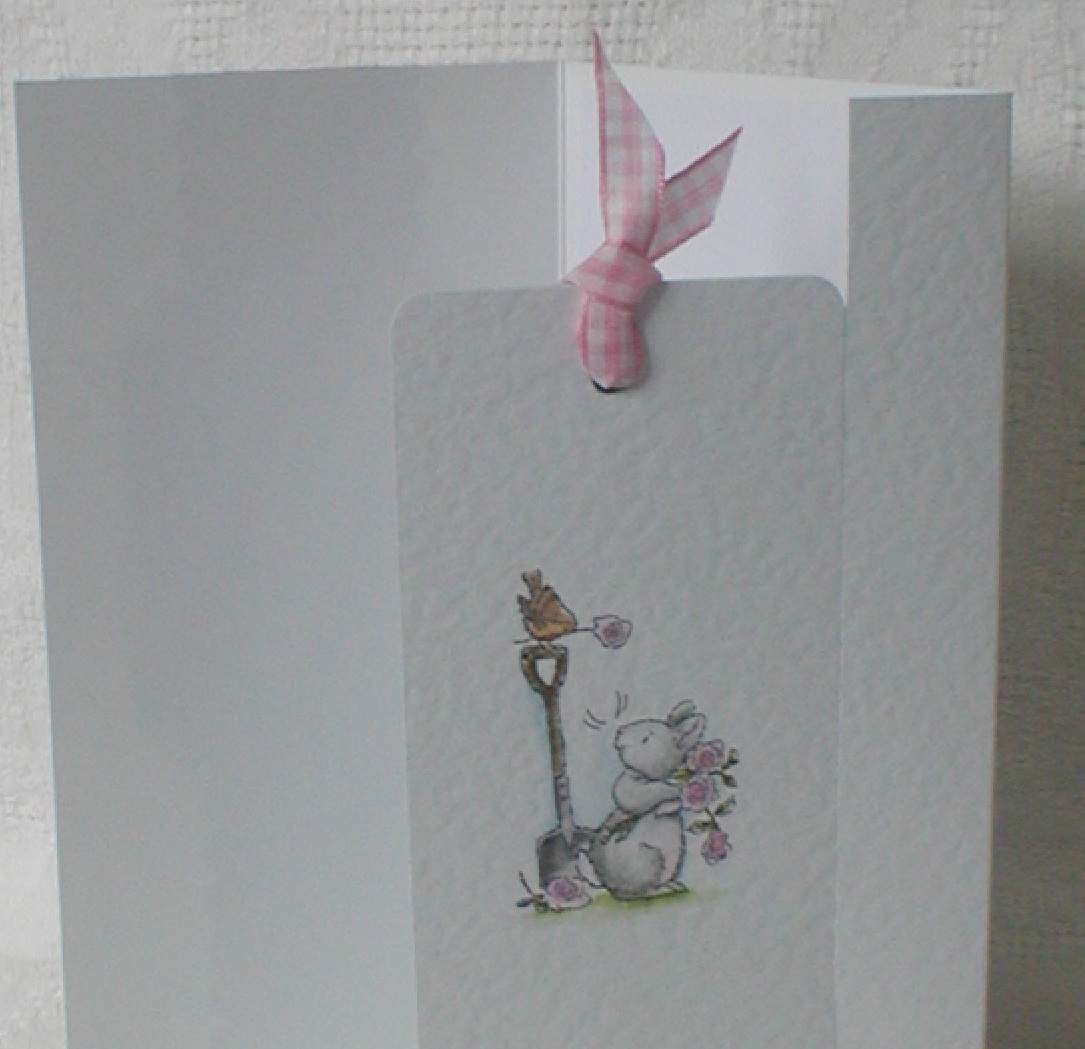
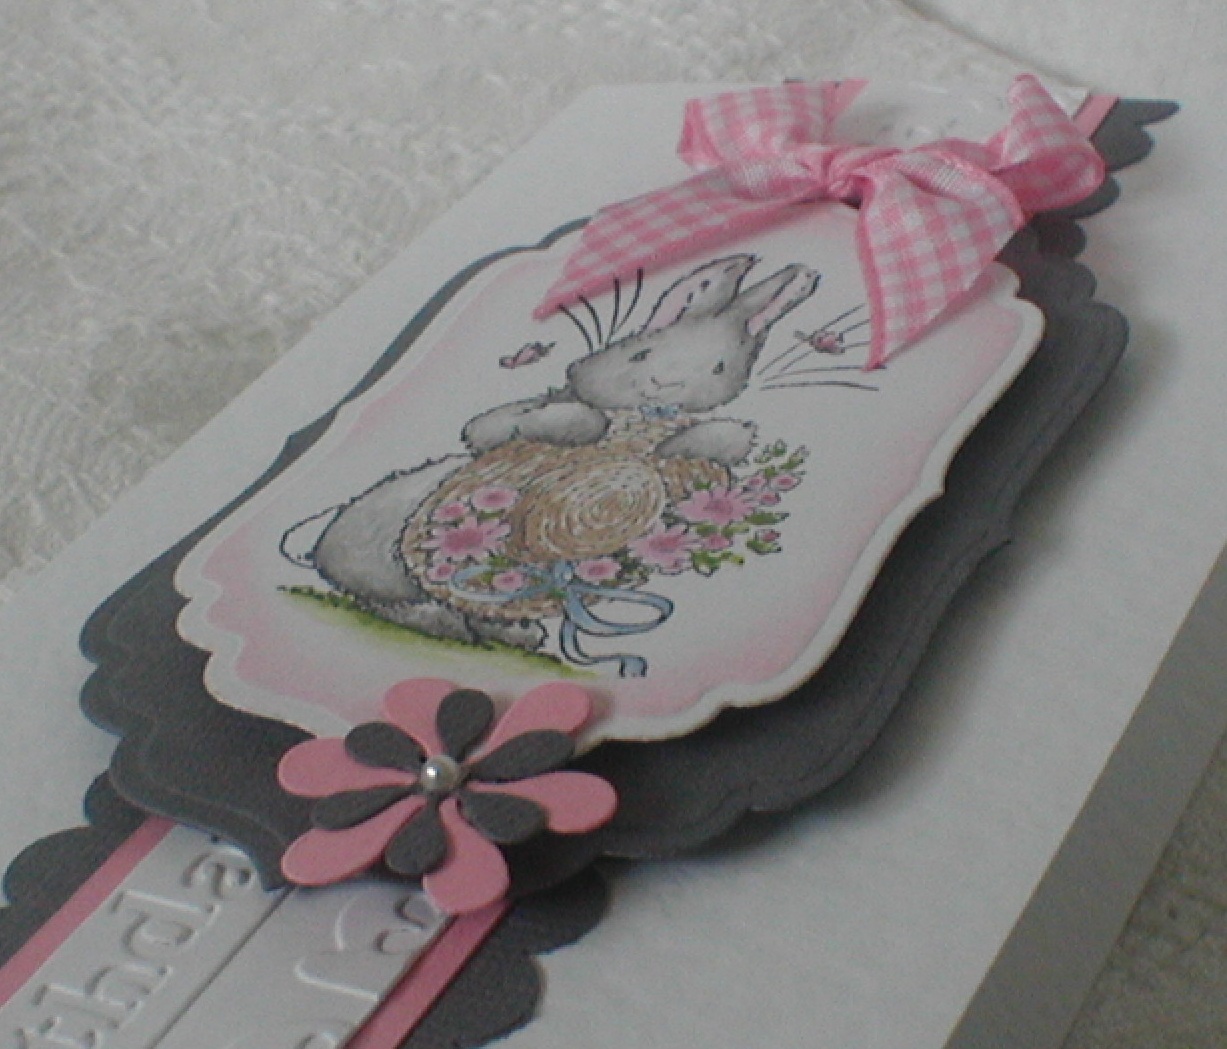
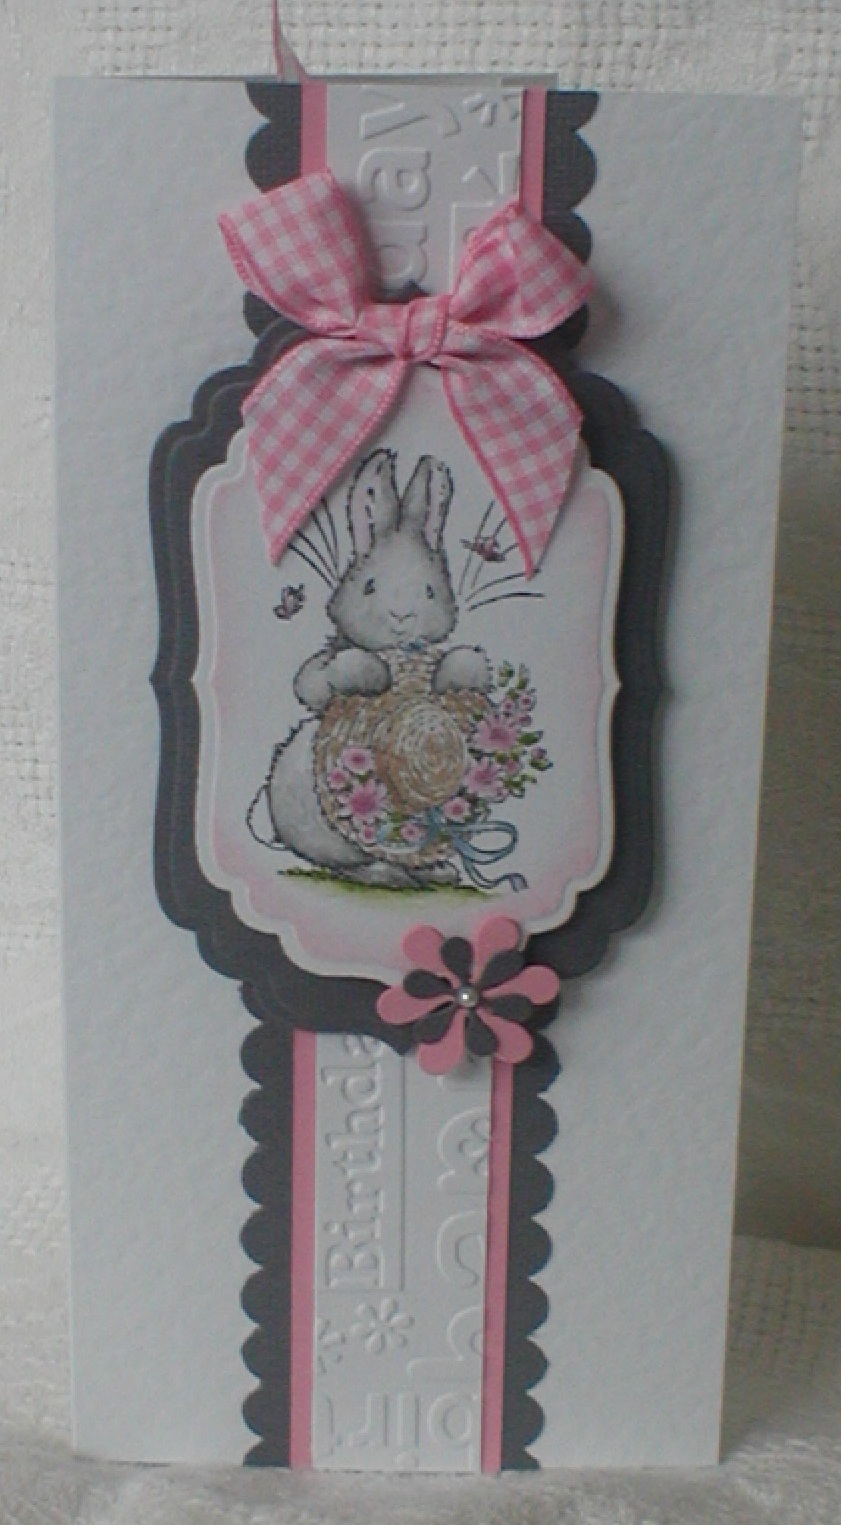
This next card is made with a stamp from Serendipity stamps and is just the sweetest bunny image I have come across, and I know I am going to be making baby cards with this one very soon!!
Twinkling H2O's were the colouring medium again, and the sentiment is computer generated with 'Jane Austen' font..
The cutting die on this one is crochet lace from My Favourite Things die range called die-namics and can be found here.

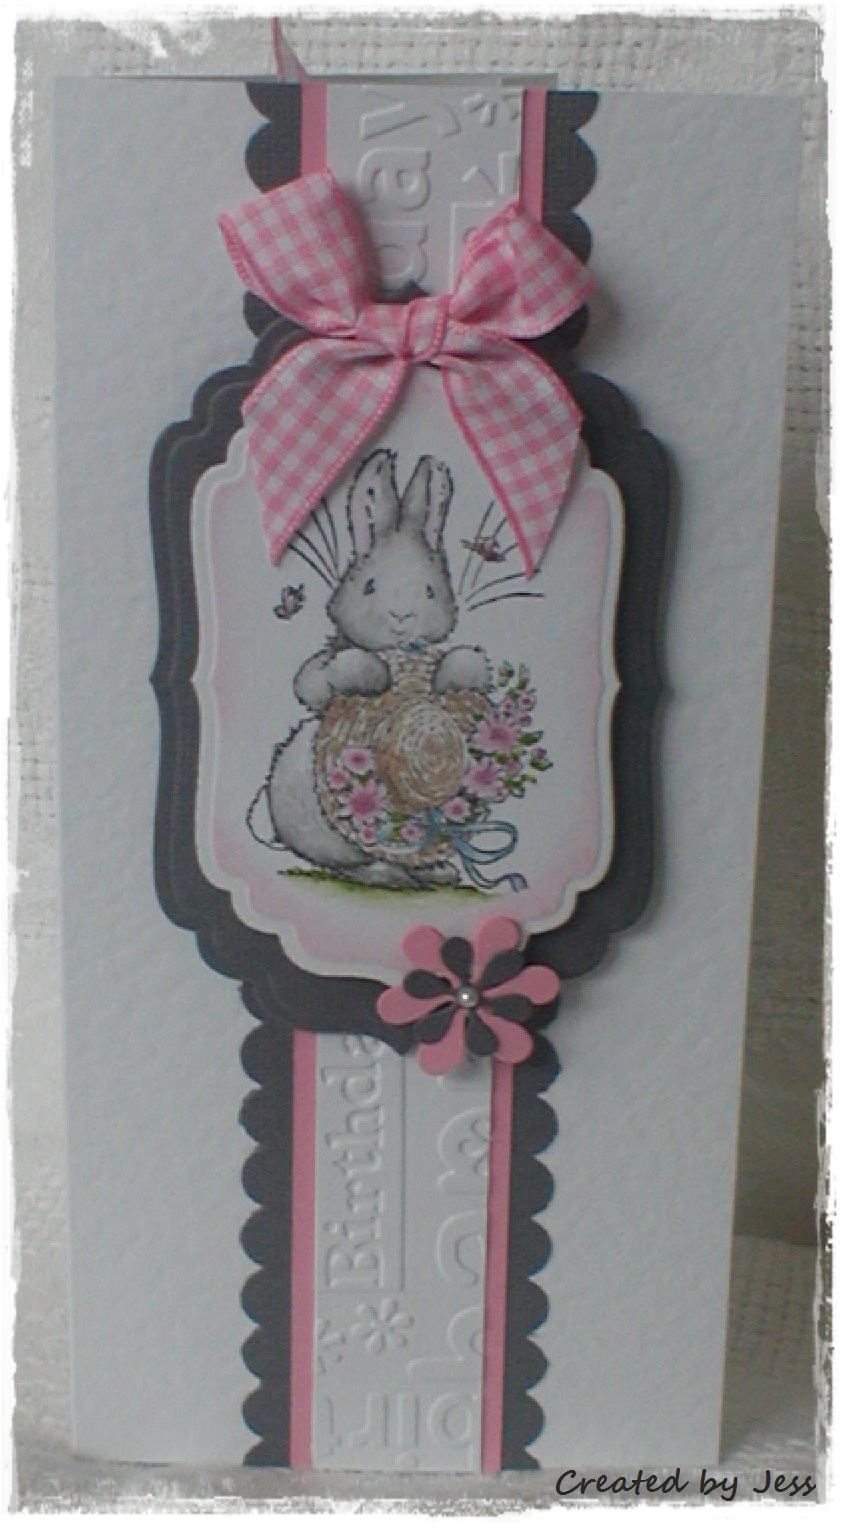
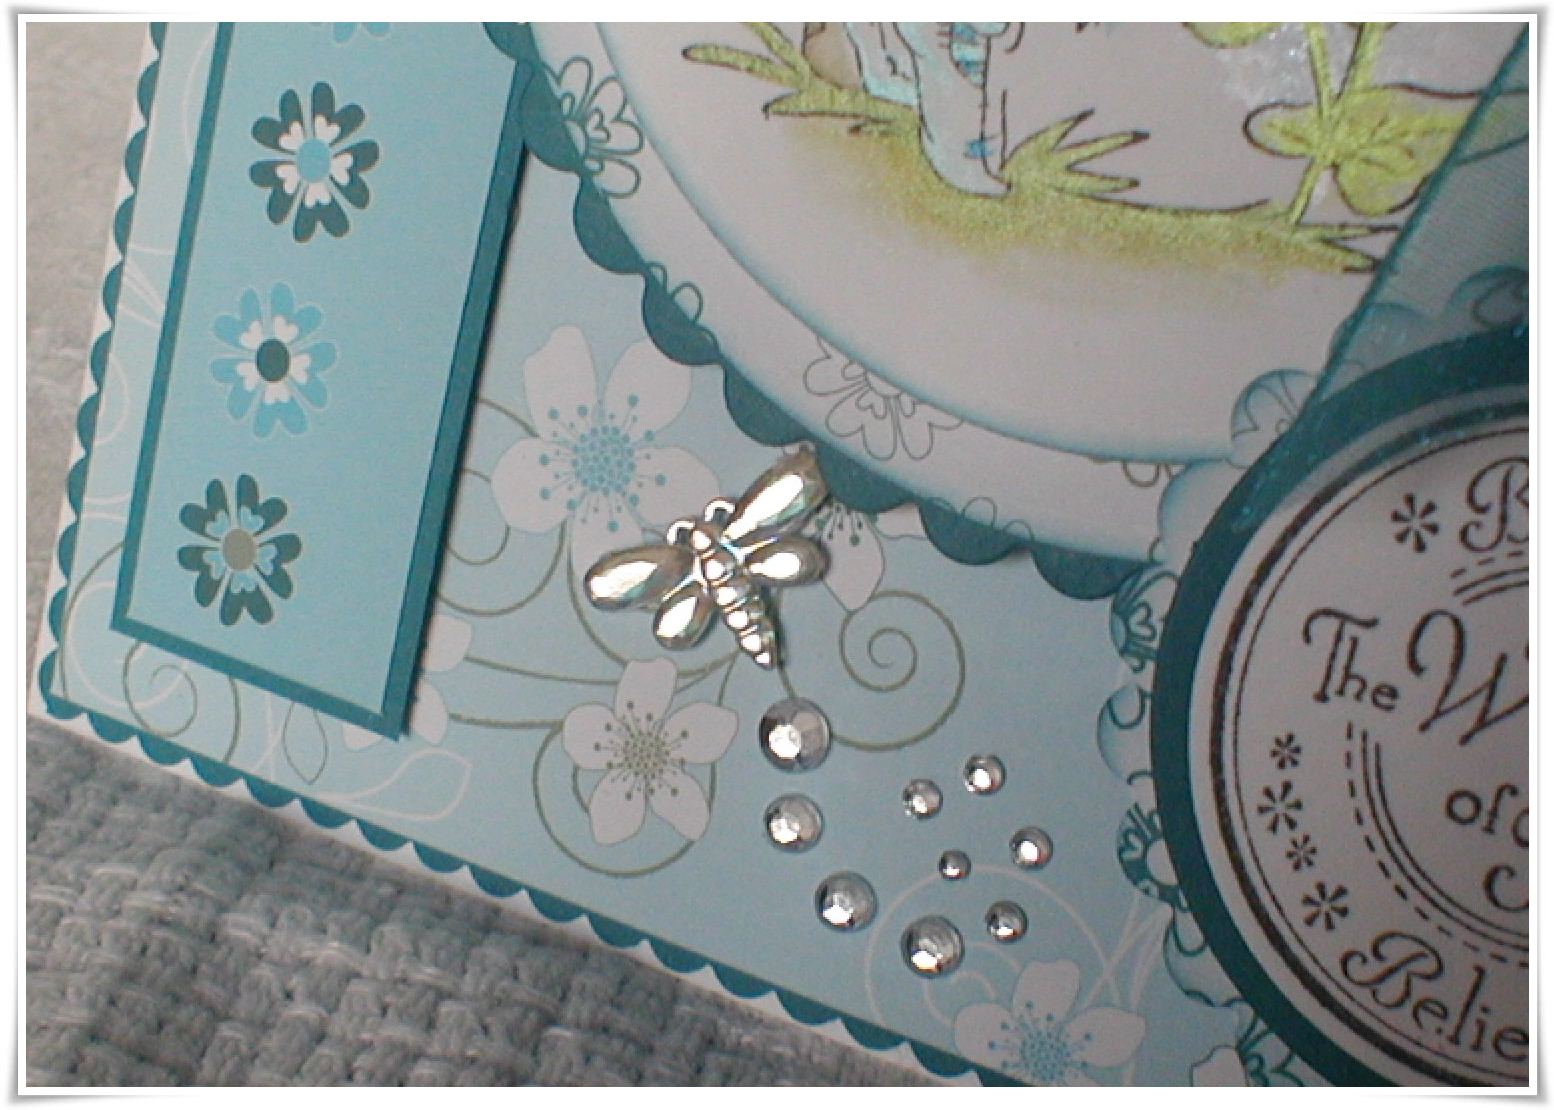
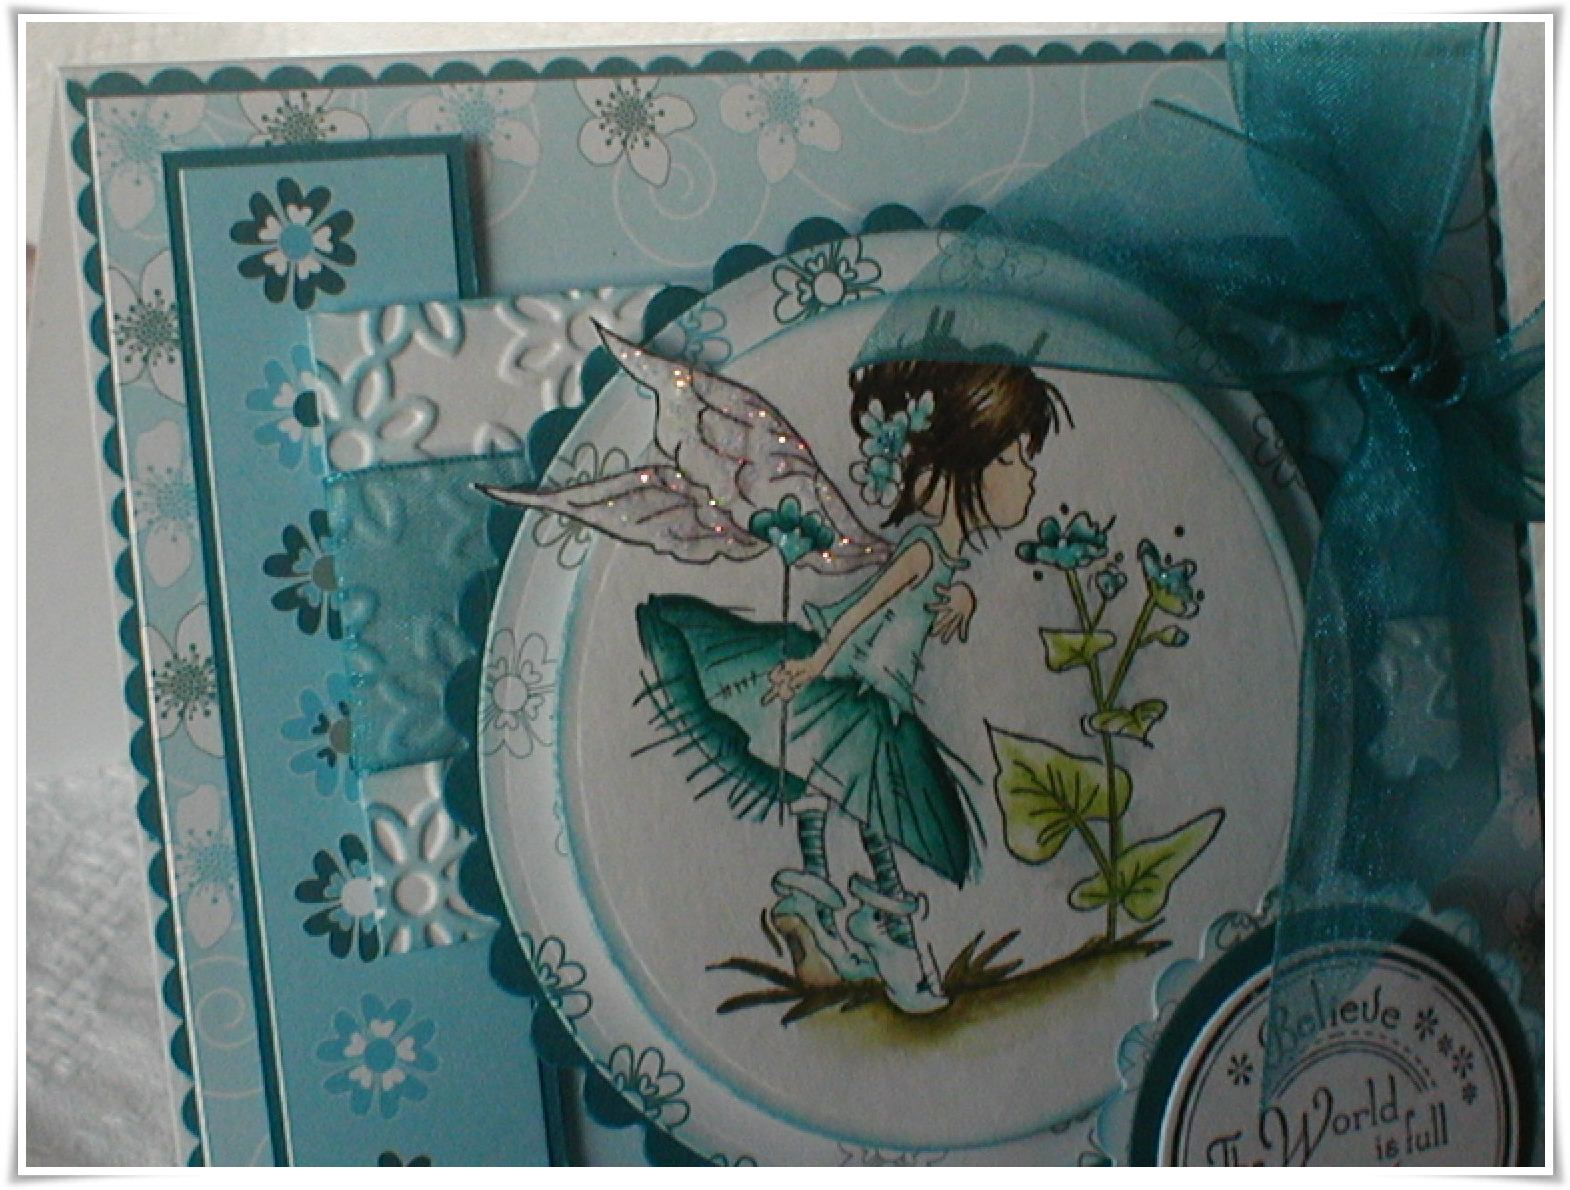
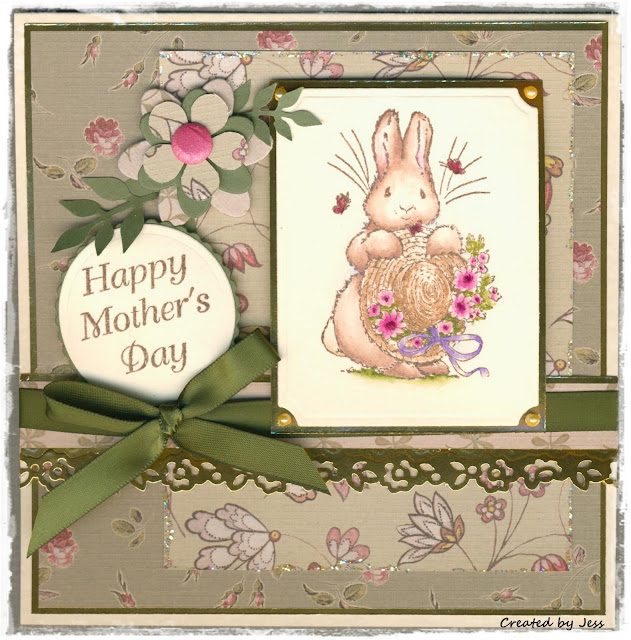
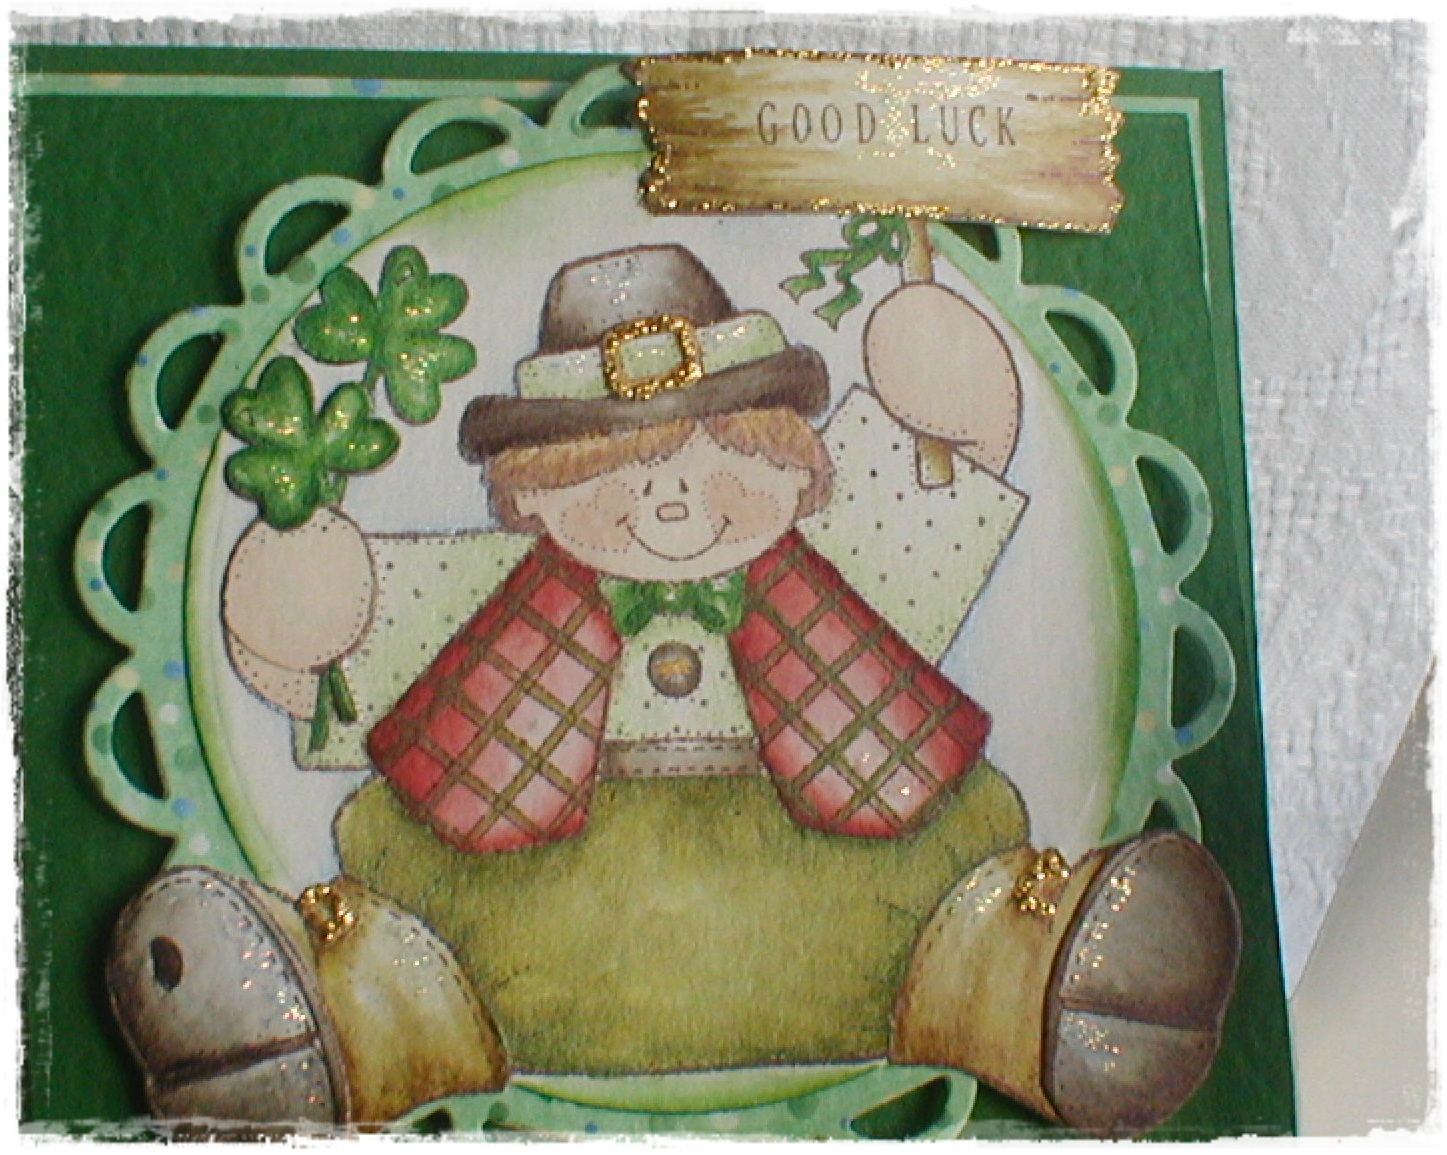
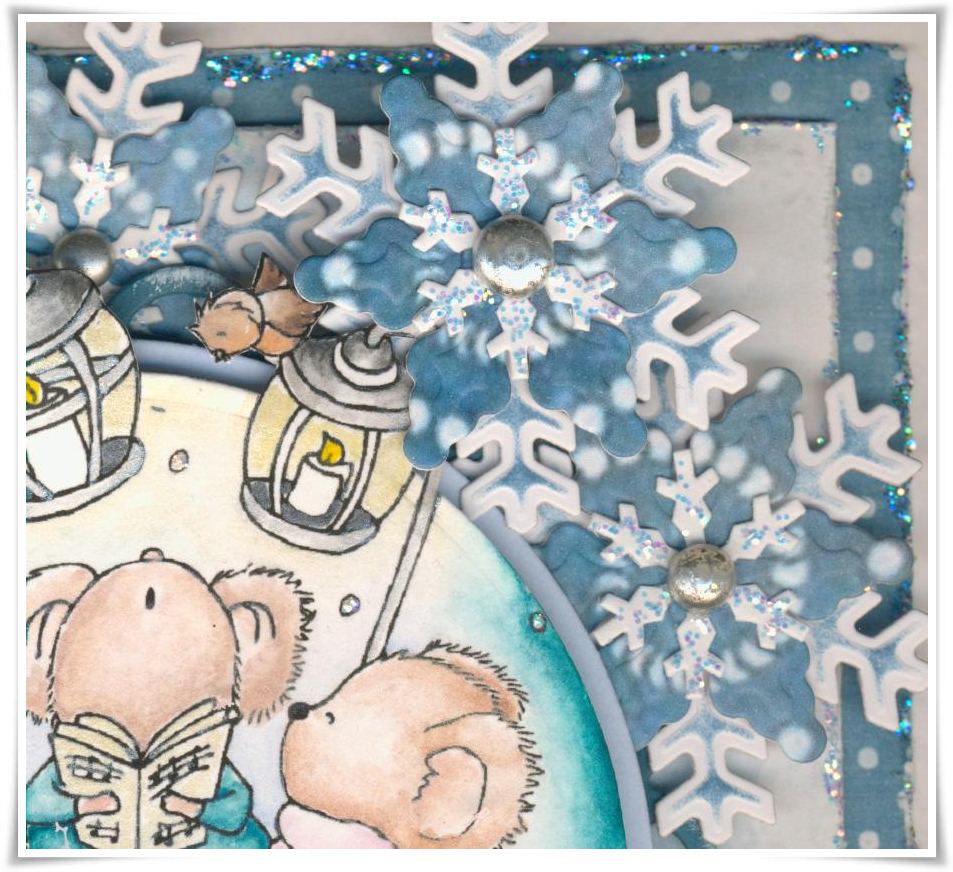
The next card is another Easter bunny one, similar to one I made recently but this time with the Docrafts V&A Hanoverian paper range (I have one more to show later today or tomorrow when the glitter glue has dried and I can photograph it!).
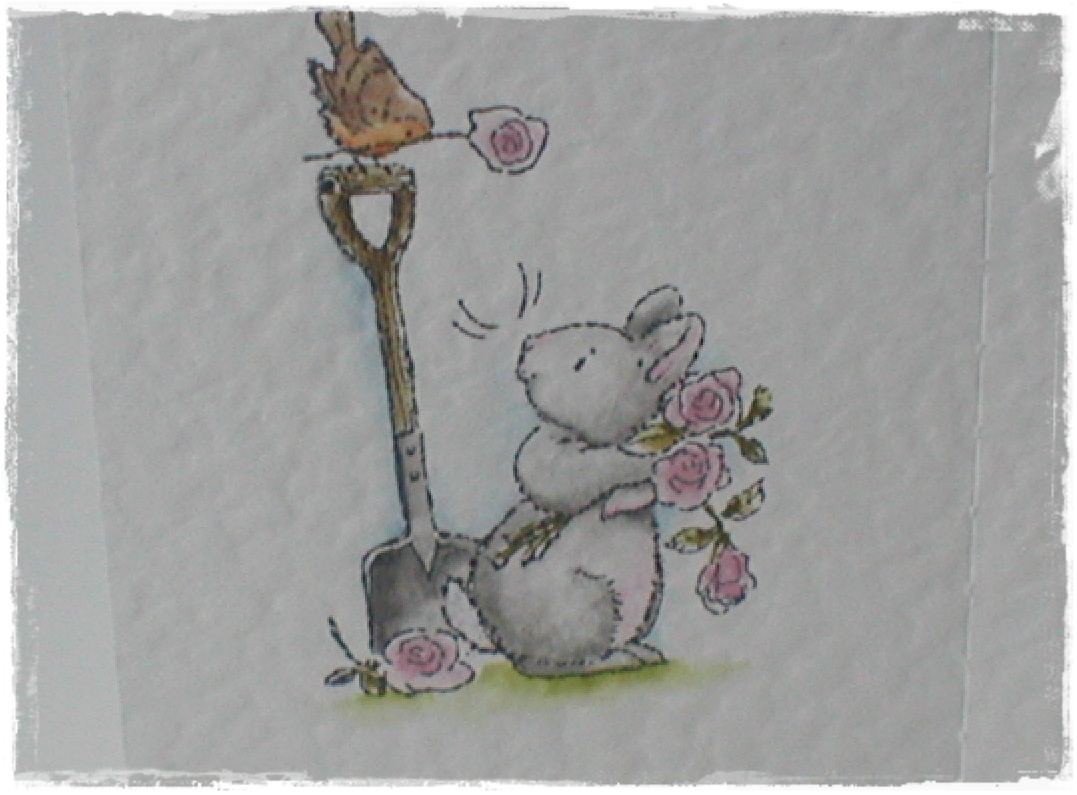
The stamp is a Penny Black one from the garden friends clear stamp set widely available, but seeing as I have added other links for Simon Says Stamp, you can get an idea of whats in the set here.
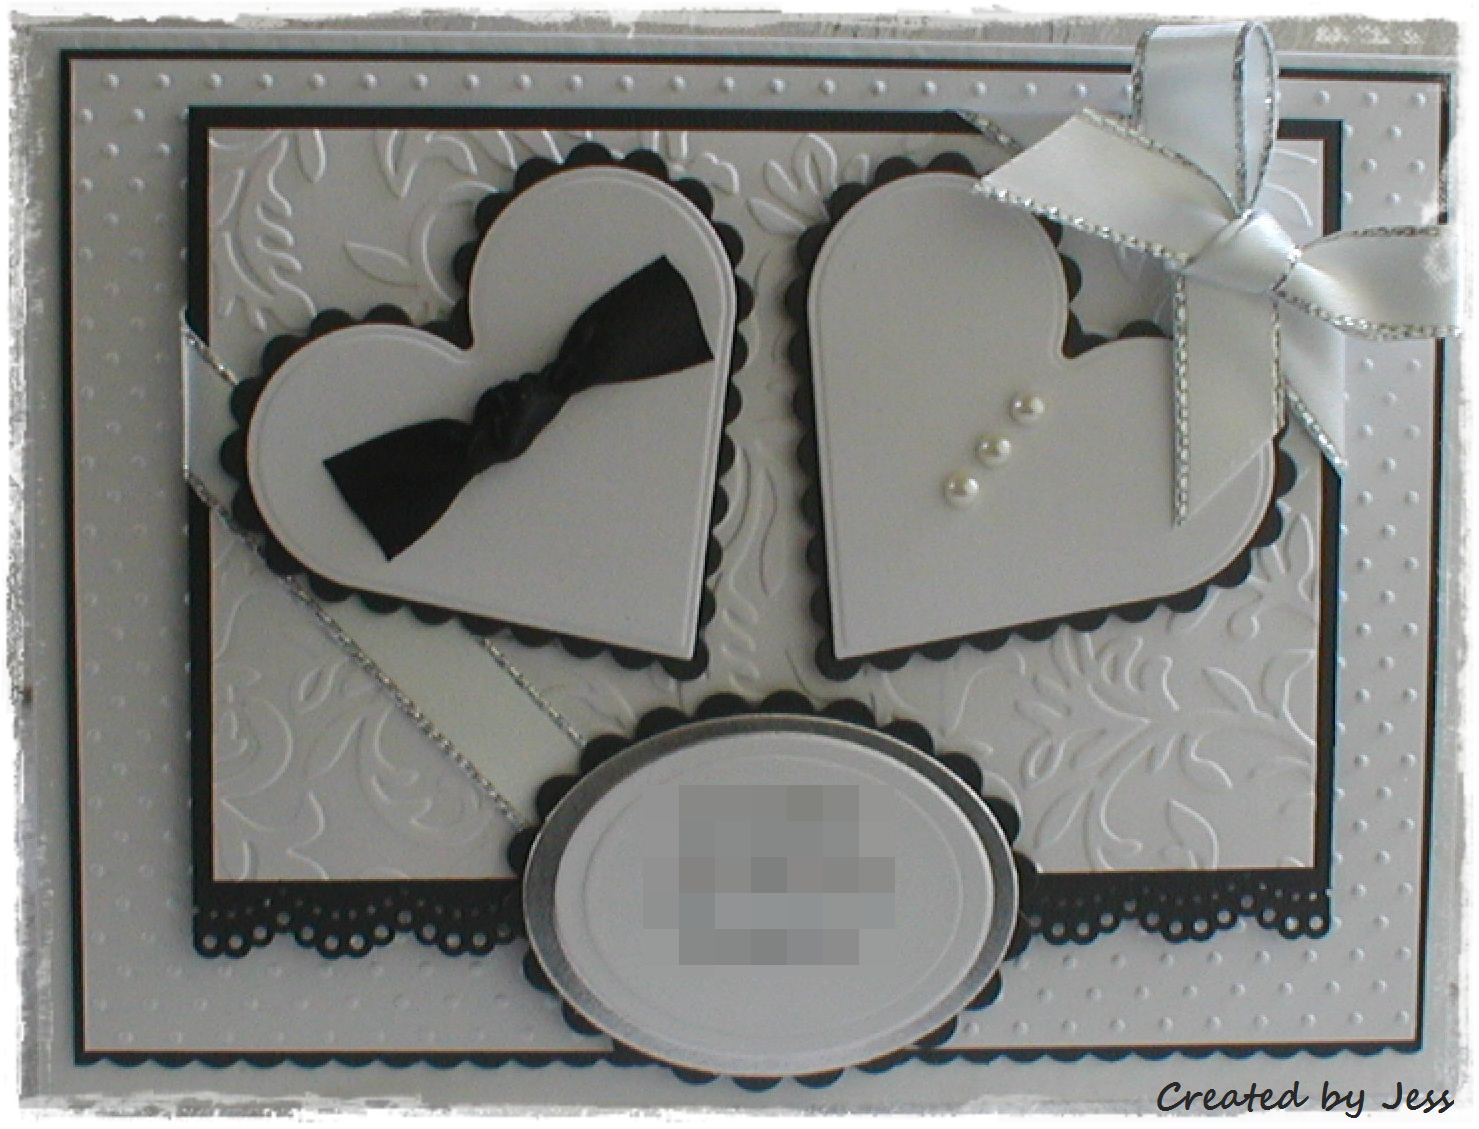
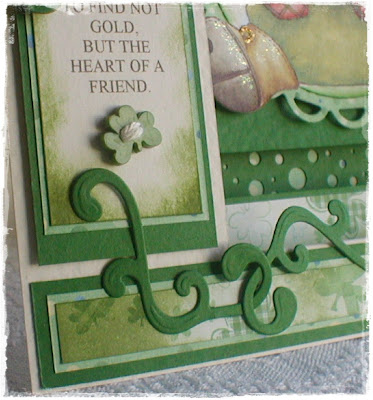
the papers below seemed to pair well with silver and white..
the flowers are a cuttlebug die called Asterisks 2x2 and can be found in loads of craft outlets, also here and the leaves are punched with a Leone Em punch, which I found at The Glitterpot.

and another one in gold and cream.
the Border is made with a fiskars punch and the sentiments are from Lili of the Valley.


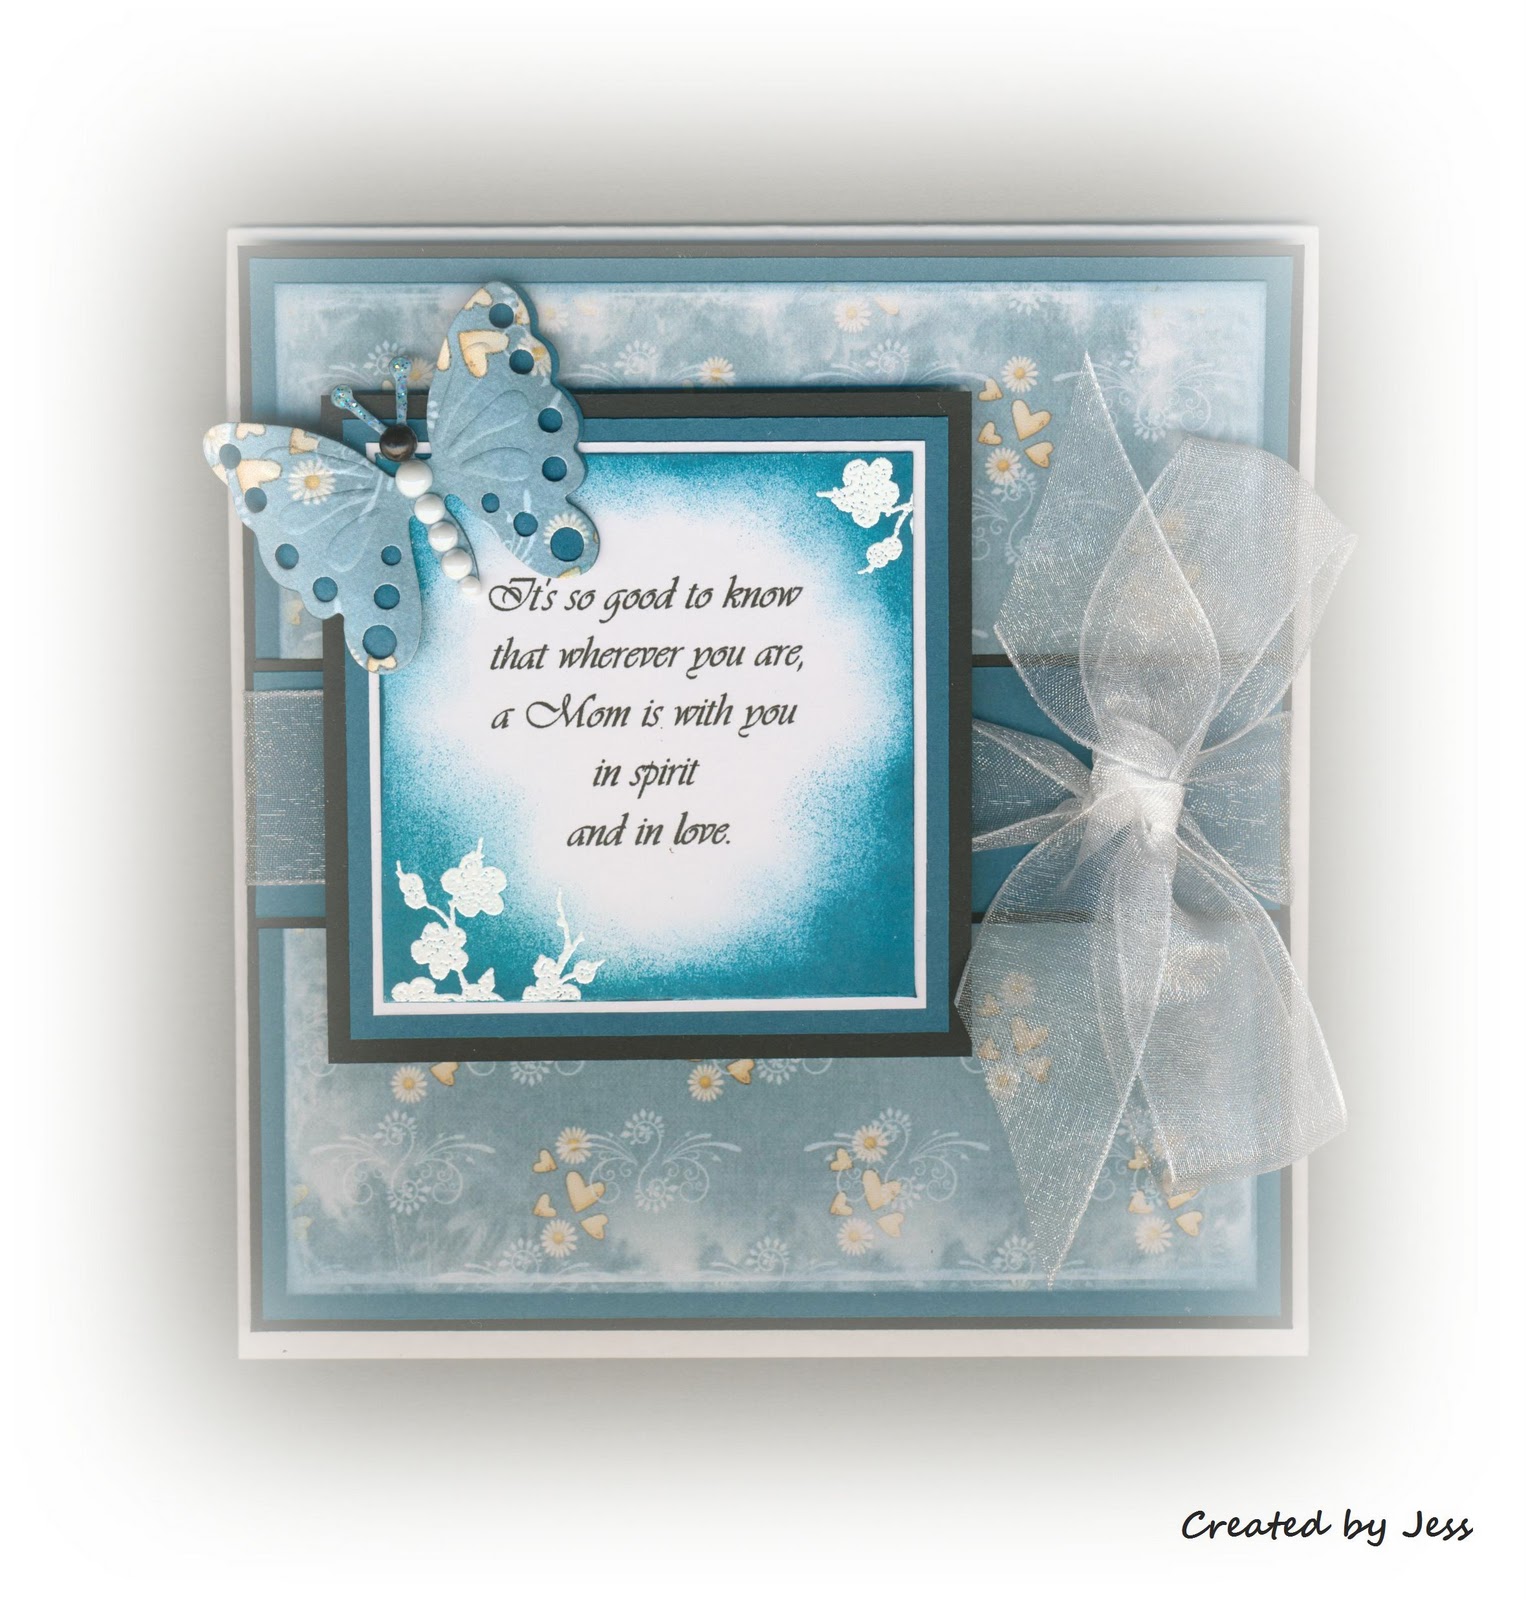
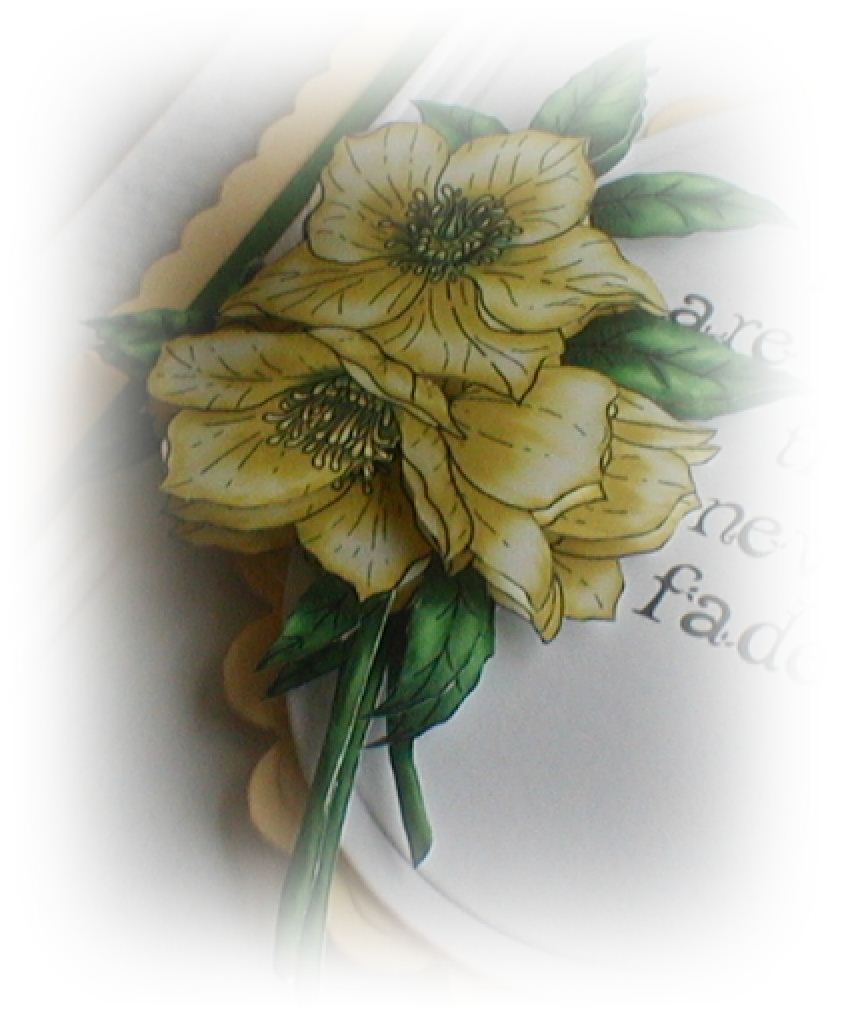
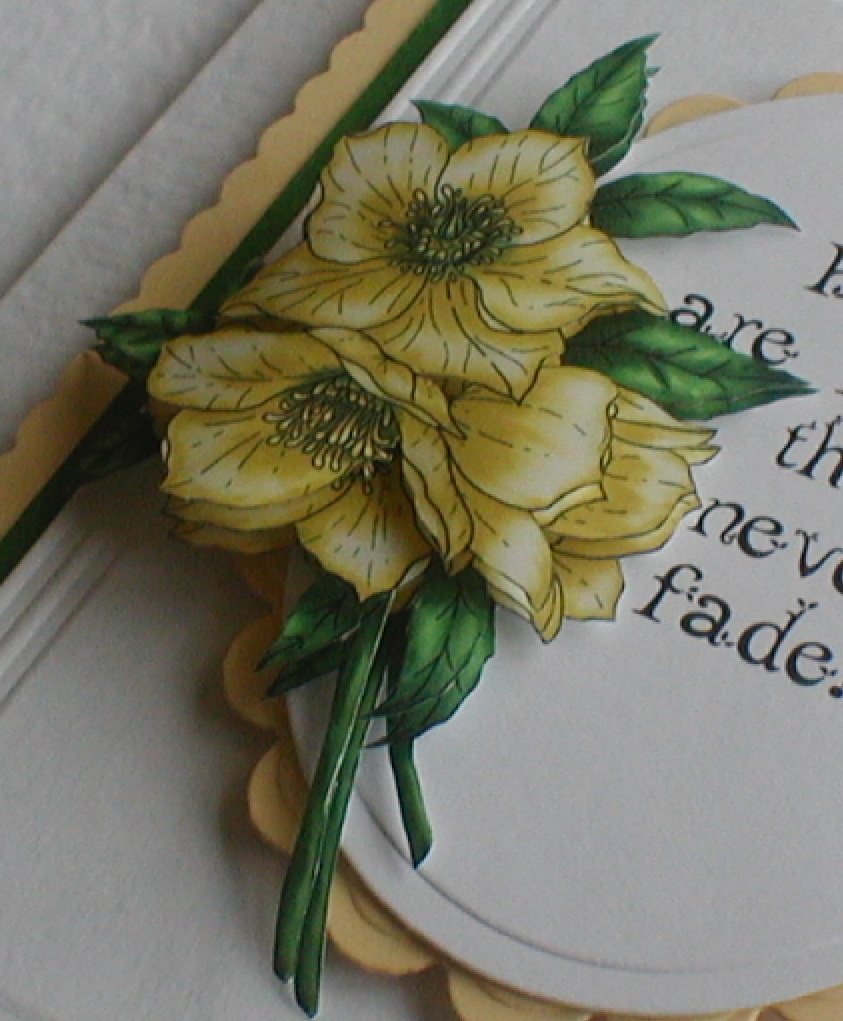
the next couple of cards are flowery and could suit any occasion..
.
the first is one I made with a sentiment I really love and this was computer generated with a new font called Leaf1.
The flowers are digi images from Fred She Said and come in a few different colours, so hop over to Tracey Lynn's blog and have a look! the flowers were printed on glossy paper and then three of the image cut and layered.
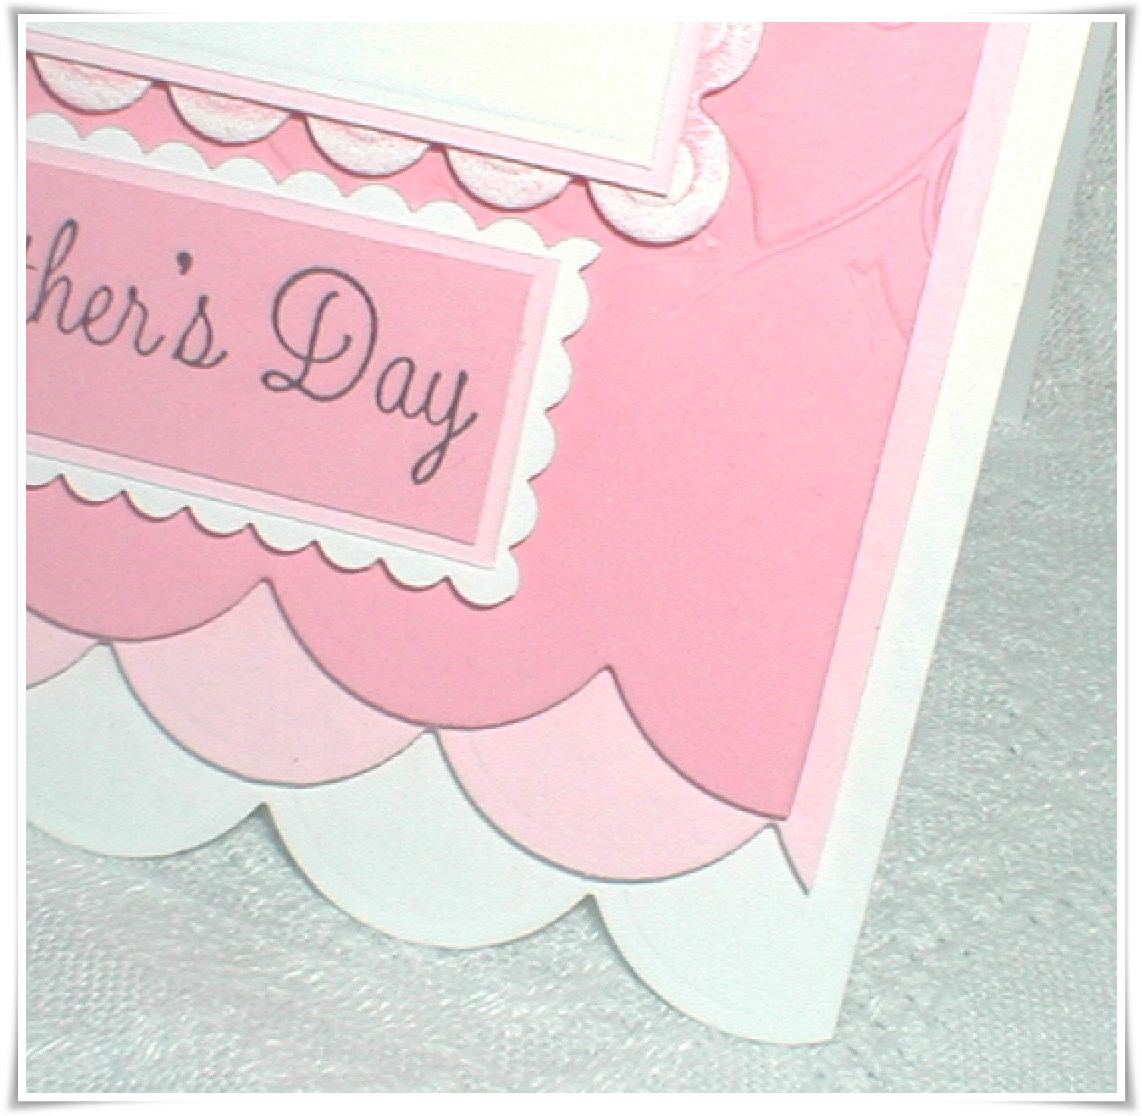
..the border around the card is cut using scallop scissors, so nothing fancy..
The embossed border in the centre on the card is made using the Simply Stately Craft Concepts Embossing folder you can find here on ebay - a seller called Swincraft has loads of embossing folders in one place and are good to deal with on ebay.


and a closeup of the layering

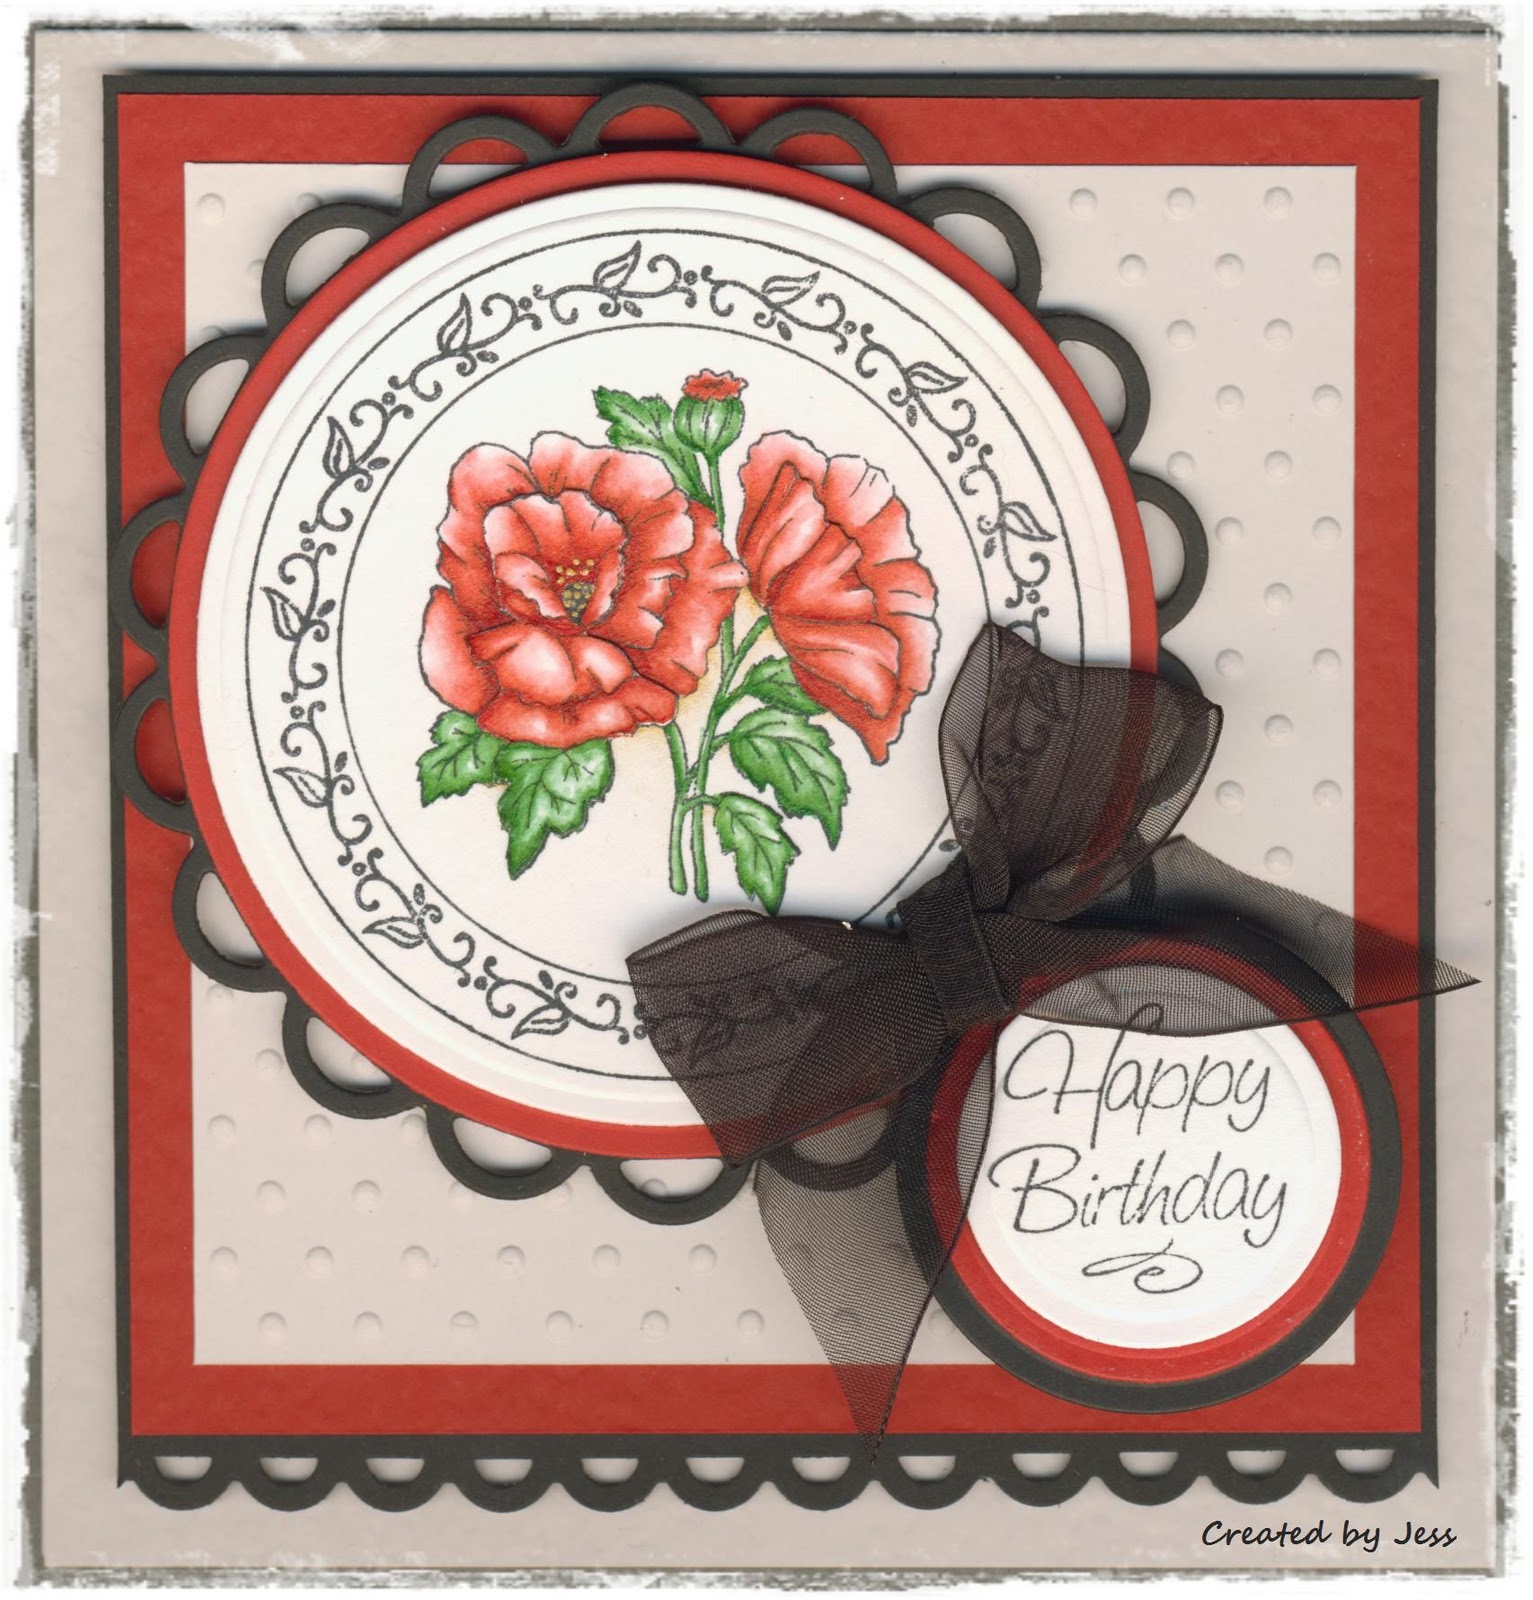
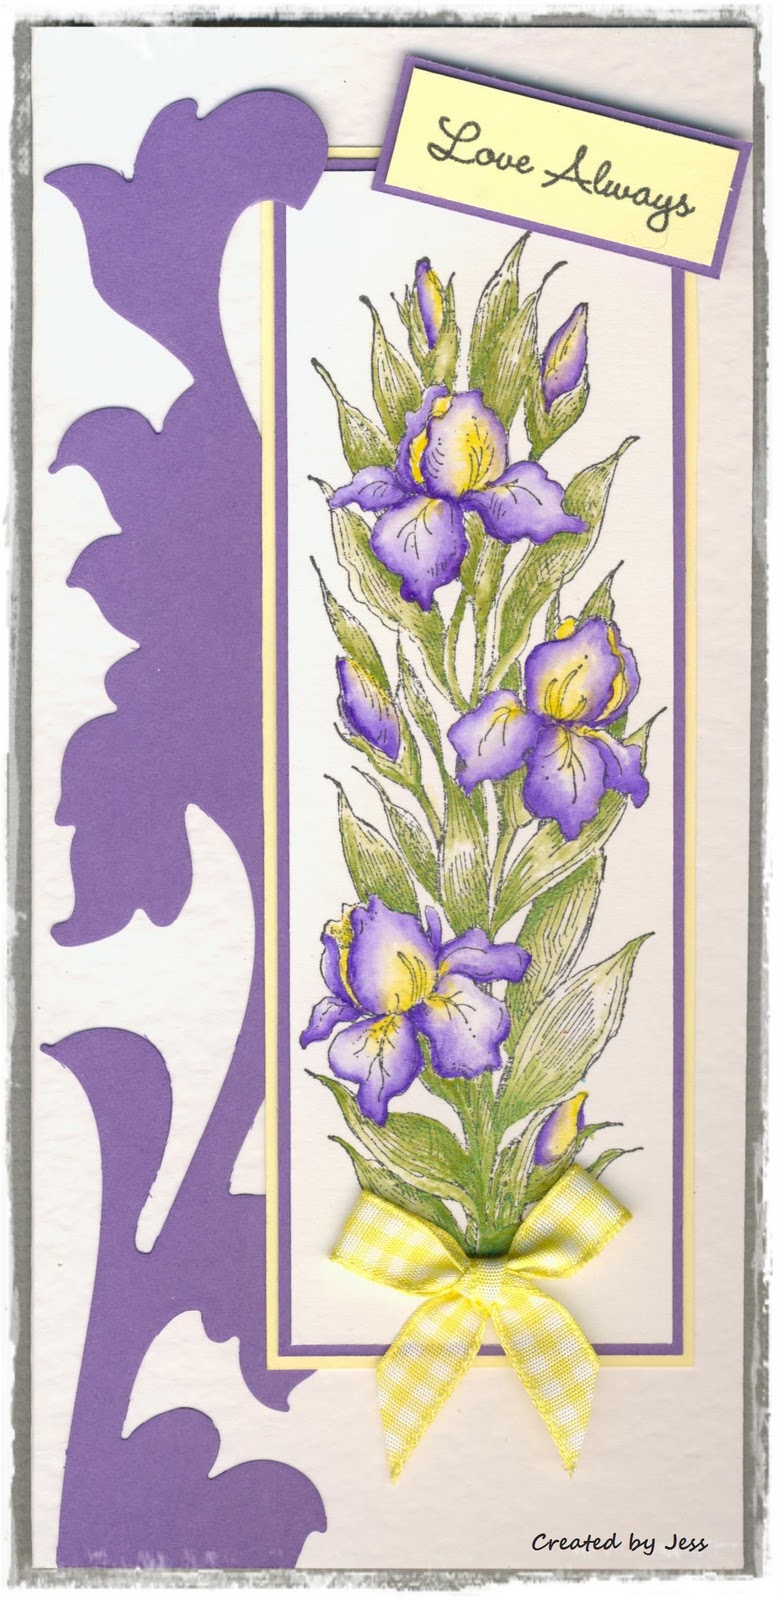
last but not least is a card made with one of my favourite flowers, Irises, and by one of the best flower stamp illustrators Penny Black. Its a retired stamp, so hard to find but PB Stamps might have them in stock and are one of the largest Penny Black suppliers for current and retired P Black stamps - if you sign up to their newsletter you get to see all the latest Penny Black releases too whoohoo!!)

The vivid colours in this one are coloured with twinkling H2O's and the colours I used (only 3!!) were Moss Green, Sunflower and Snap Dragon - one of the reasons these paints are so delicious is because you don't need a whole range of colours with which to 'shade' your stamped images.
The die cut is a cookie cutter 12'' die and I cant remember where i got mine from so had a search around and you might get them in various craft outlets, but I found one on ebay here.
That's all for now, plenty to browse through and look at for one day LOL!
will be back later with another couple more makes, the easter bunny one and another Lili of the Valley one..

Sunday, March 6, 2011

Making it with Meslyn March Challenge

woohoo another month has started so that means another Making it with Meslyn challenge and it was my turn to set the theme....sorry its late posting, I thought I had done that already but the post was sitting there in draft form oops!!
Seeing as I grab any excuse to use green or red or both, and its March, I thought a good luck or St Patrick's Day theme would be great so my entry is a middle step card..
Its made with an image from a Darcie's stamp I won on eBay last year (I love these stamps and they are hard to get so if you like them just save a search on eBay and bid in hope LOL).

The papers are from Nitwit collections called Bit O Blarney and the nicest green St Patricks themed papers I could find.. really really like them and will use them again I am sure.
Also used an EK Success Swiss cheese deep edger punch to go with the dotty paper and some swirly bits cut with spellbinders dies.
Lots of stickles and some distressing with memnento dye ink.
On the closeup above you can see some clover buttons which I think are made by buttons galore and I threaded cream string through them for some texture...
some more stickles..............!
 
and finally, a closeup showing the step part of the card - the flap lifts up to reveal a panel inside to write a message.


Saturday, March 5, 2011

Christmas Cards All Year Round and a guest DT entry

hello fellow bloggers and crafty friends, am back with some cards to show,  now I am feeling a lot better from being sick. 
I was delighted when Colleen and Lesley picked me to be one of their guest DT members over on Christmas Cards All Year Round, and here are the samples I made for the March challenge - click on this post heading to go to the challenge which runs for the whole month, so plenty of time to get your 2011 cards started.
Its great to have an excuse to make Christmas cards in January and February :) and the first one is one of the cutest images from Di's Digi Downloads which I cut with nesties and used the beyond the border technique which is a bit addictive at the moment - the digi can be found HERE and is called Merry Mice.

... some detail on the colouring and snowflakes. the Papers are from Bearly Mine Designs and the edges are glittered with stickles.
The next card is made with some papers I have had for ages and thought I better use them and I cant just look at them (they were too nice to use!!) .. they are from Anita's and are called Classic Christmas Black Stack. 
The stamp is a Stampin up reindeer one which I embossed in silver on black card and cut the windows with nesties.
the border punch is from fiskars.

and a closeup to show the layering
another closeup.. used three of the papers from the paper stack in case you're wondering!

the last one is made with Craft Creations new A5 landscape fold card blanks so its a bit unusual from the layout of my other A5 cards.
I love Penny Black stamps for anything Christmassy, especially those little hedgehogs!
The punch on this one is another fiskars one, but the border corner type.
The sentiment stamp was from a flourishes set and the snowflakes and die for the sentiment from spellbinders.

 
Now you know you want to join in the challenge so hop over and take part, its still early in the month!