It's good to get inking and creating again, have to make up for lost time now. This post was meant to be up last week but I couldn't finish it, so had to leave it for a bit - very frustrating.
Glad it's done now and I can show it.
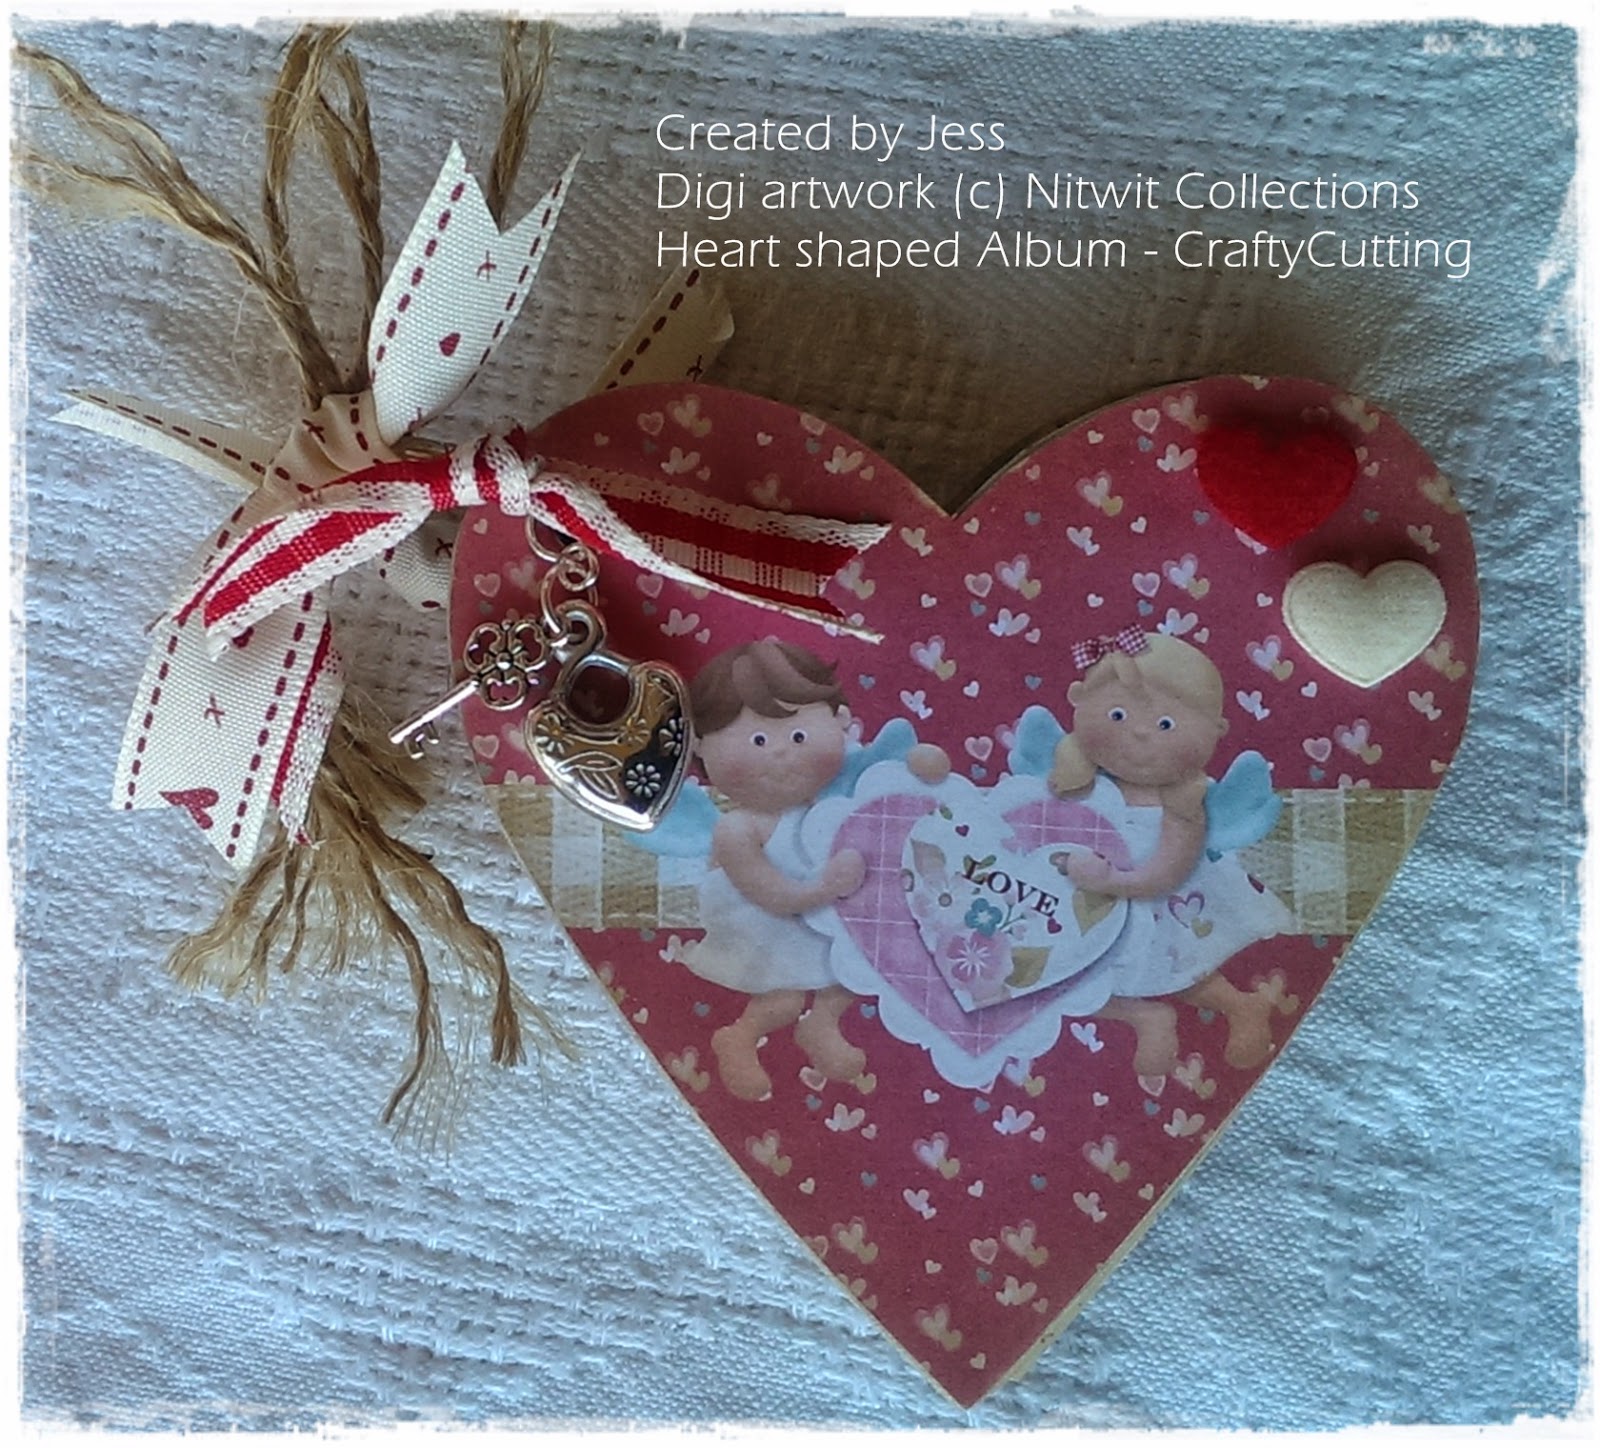
CraftyCutting make various size and shape albums which are great fun to alter and this time I get to do a heart shaped one. It's a nice size and good for passport sized photos or a little bigger perhaps. This album measures 4'' x 4''.
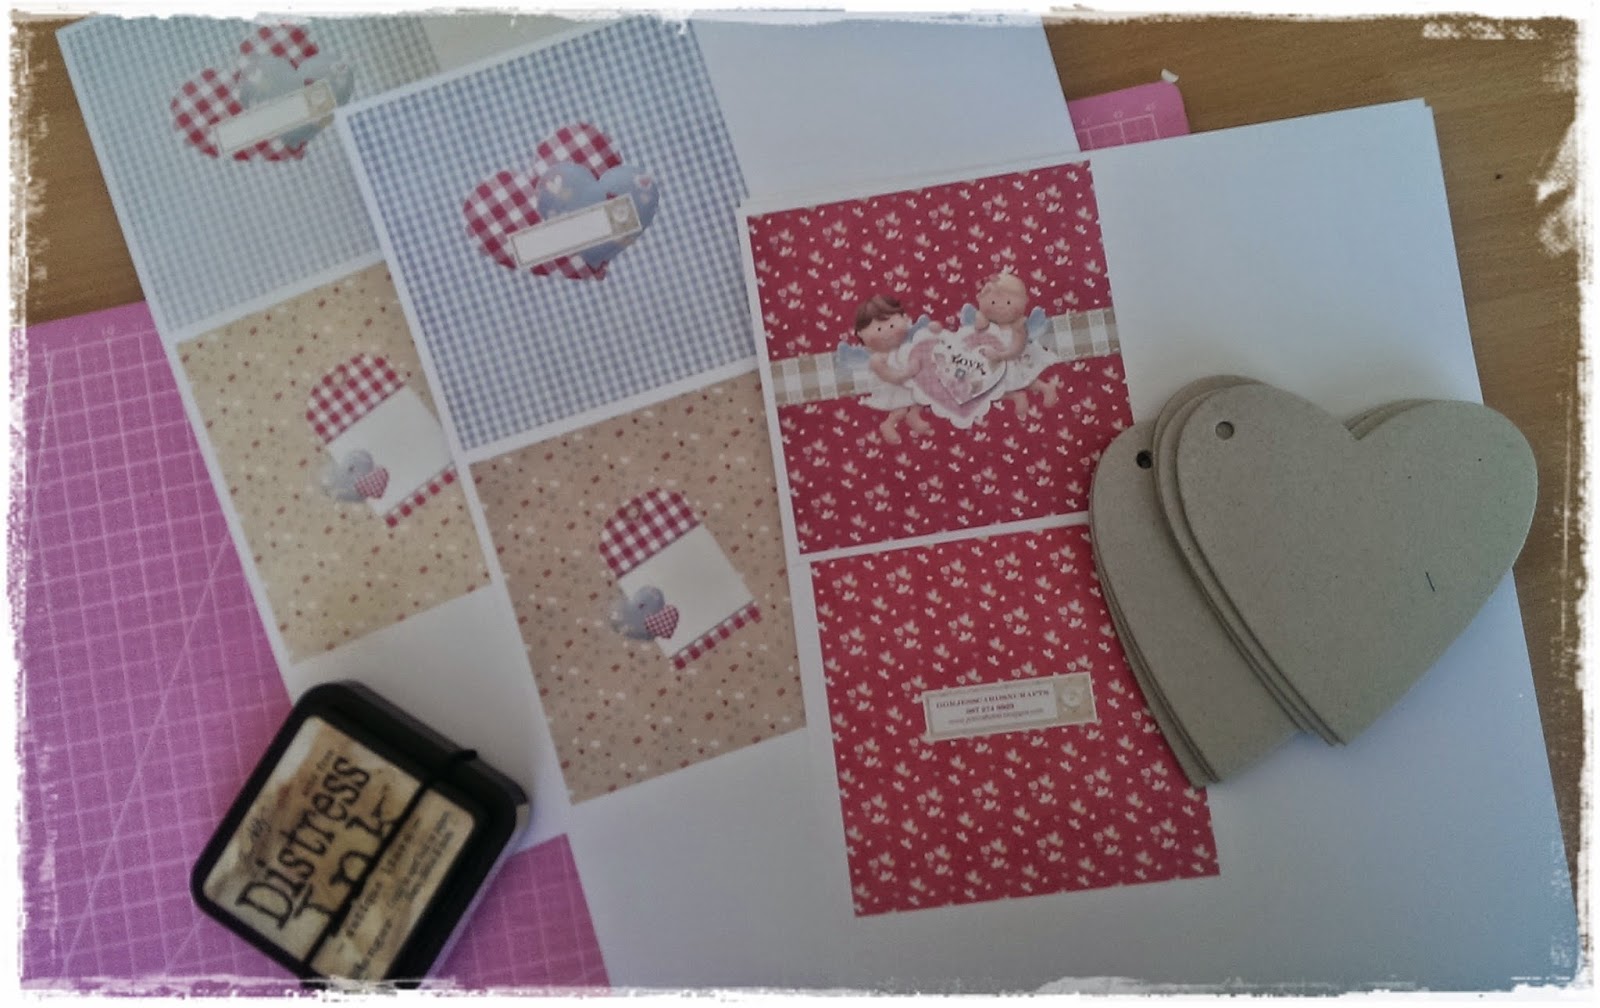 |
I saw the new release from Nitwit collections, called Lovestruck and bought it straight away, knowing I had to use it on something... love the arrow designs on the papers and that fabric feel to the papers as always draws me in!
|
Also trying to do more digital work, as this interests me too - not to replace paper crafting or physical paper itself, but to create my own composition, print it and embellish, ink etc is great fun as well.
I only have basic photoscape software, and one of these days I might give CraftArtist a try when I have some free time.
So I used papers and elements from the main Lovestruck Bundle and layered them for the different 'pages' in the album, printed them after fiddling a bit with size and layout. Mental note - don't try and do this again with an odd shape like a heart - a square album would have been a lot easier LOL! well it's a challenge then and I did okay........

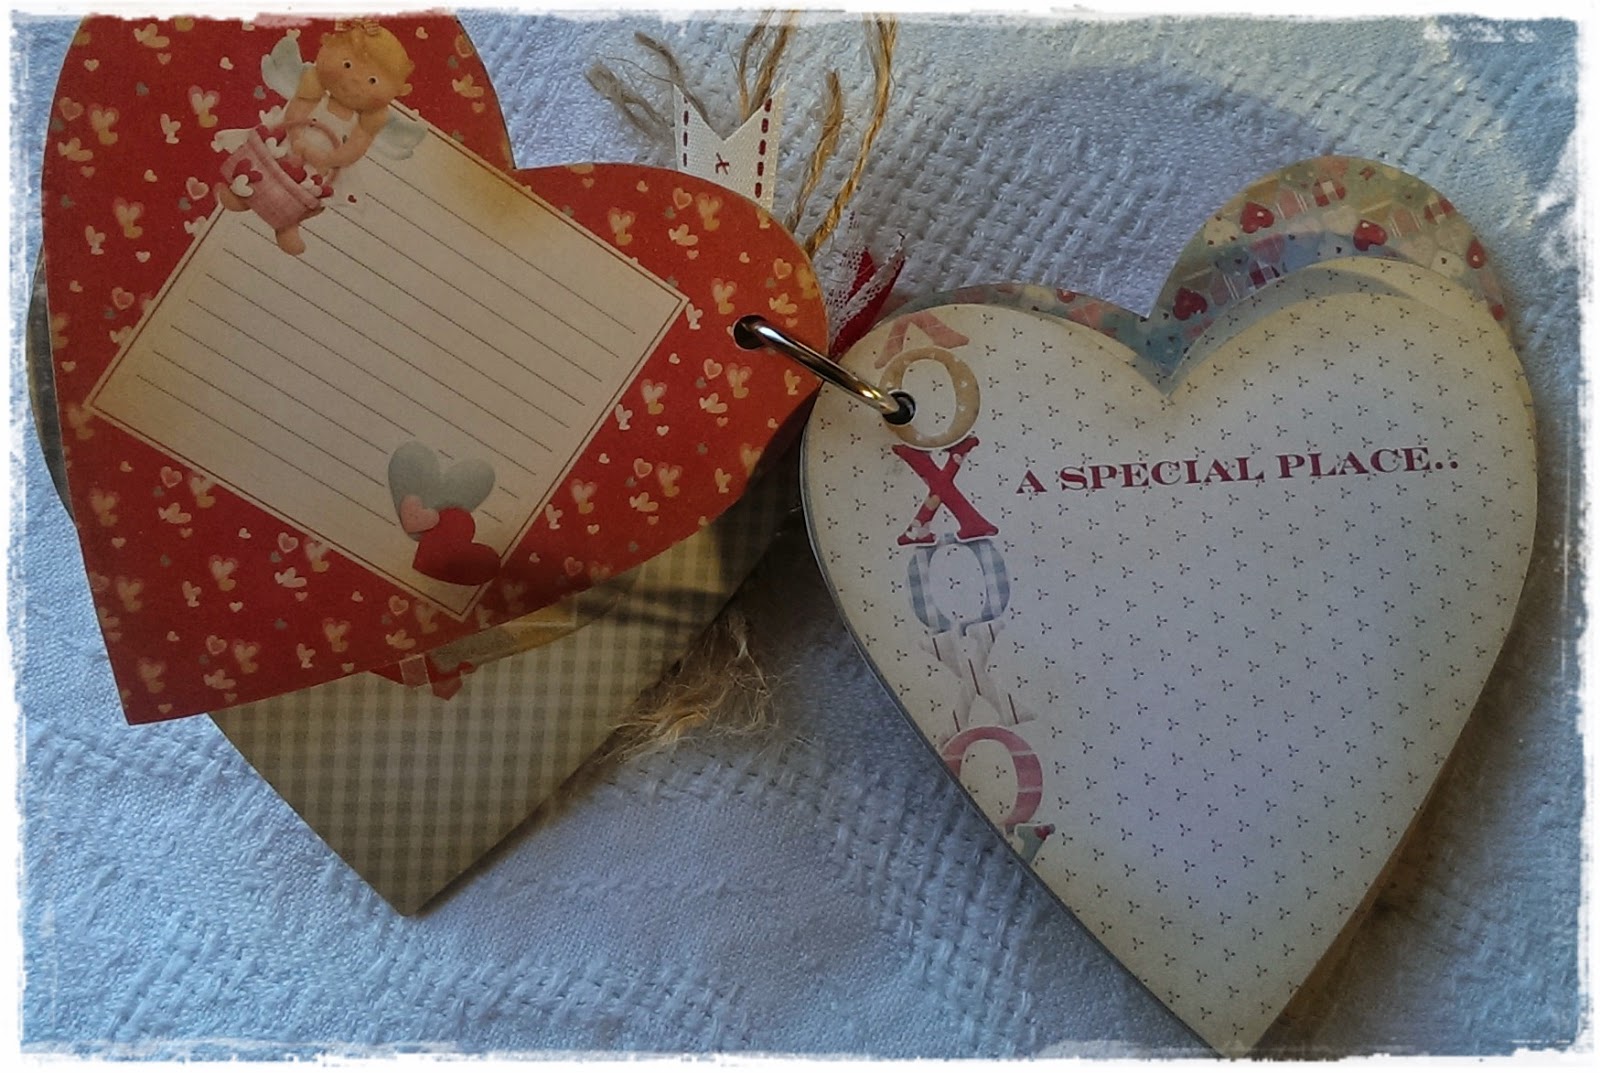
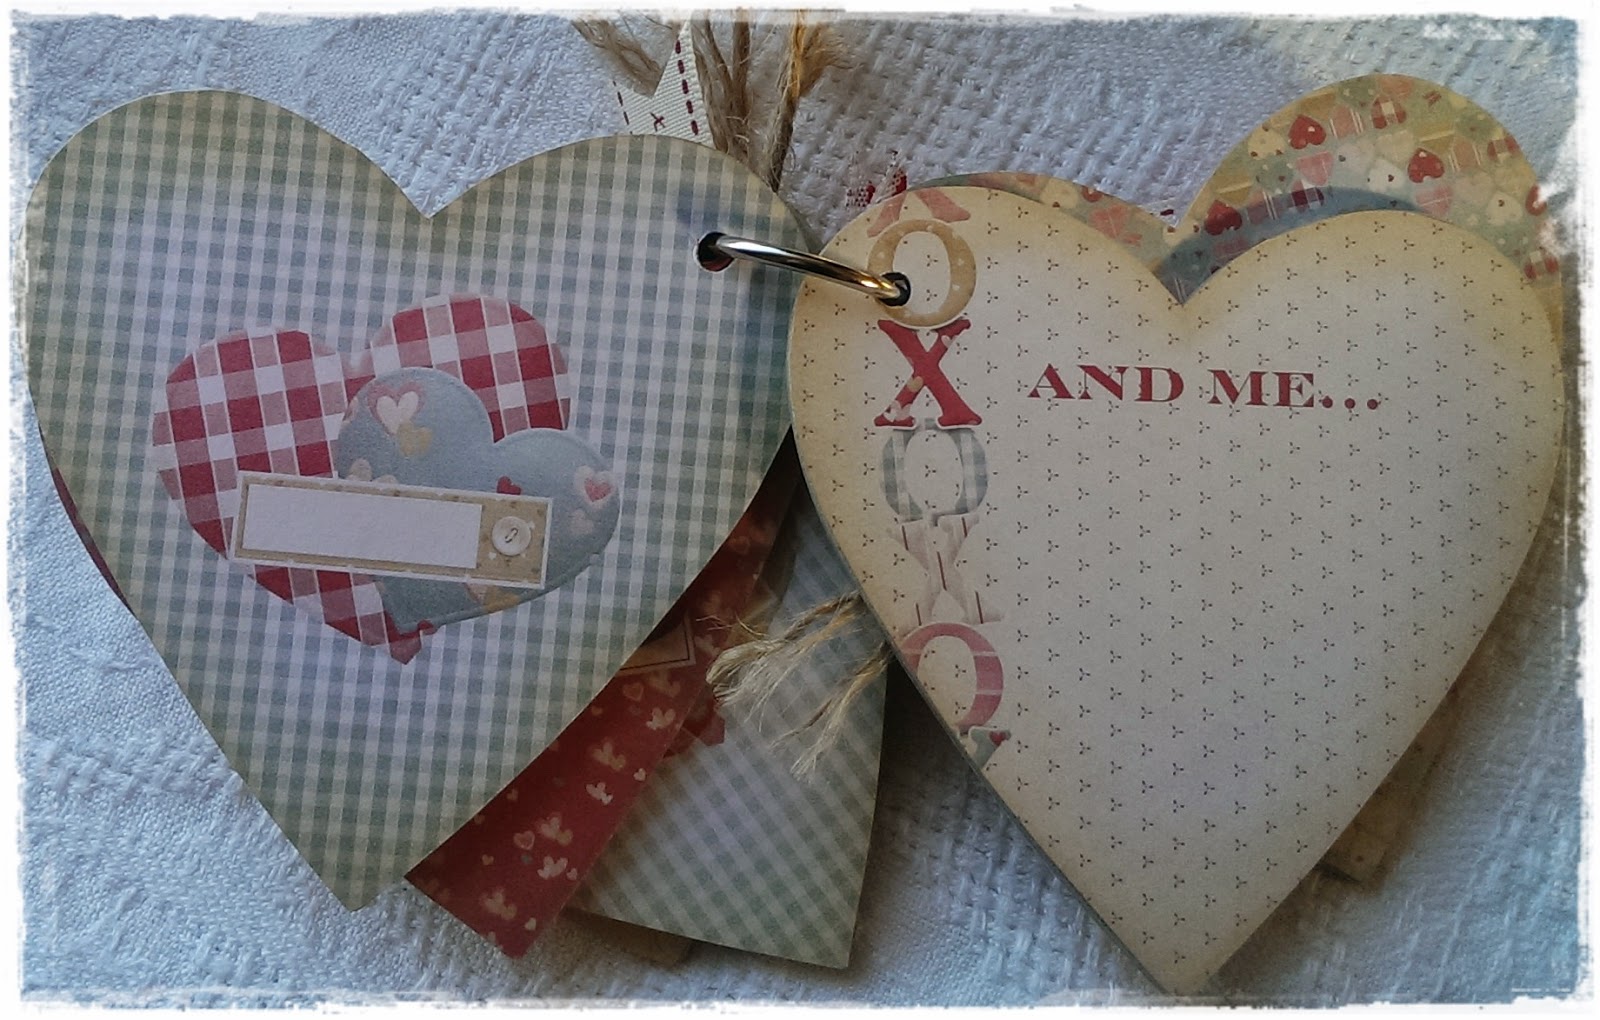
The easiest way I found to decorate album pages is to open the book ring, lay them on the table and plan your design (I numbered mine as it has a little story from start to finish and adding journal elements on opposite pages - had to keep them in some sort of order).
Use your page die cuts as templates to trace a line on the paper you wish to decorate them with, and then cut out the papers just inside the trace line. You might have to trim a bit more here and there.
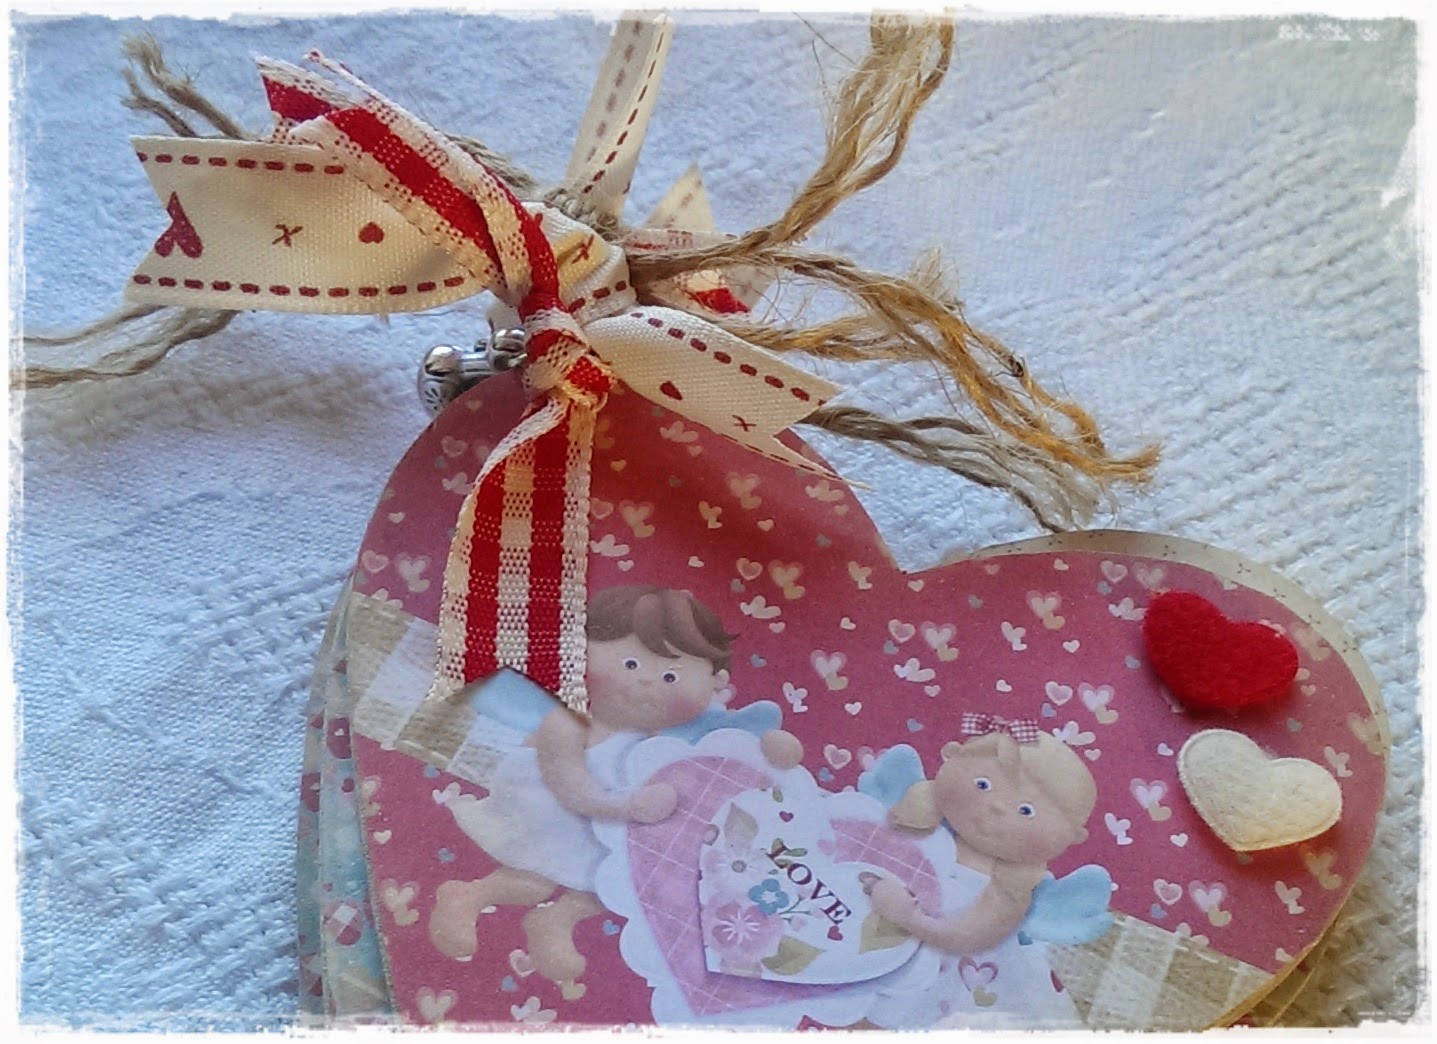
I inked the edges of the hearts with antique linen distress ink, and the papers as well before adhering them to the heart shaped pages.
Adhere one sheet at a time, taking care to punch out the book ring hole before covering the other side of the page.
Now I guess this album could tell a little story for a special couple and I intend to make an album for my significant other, adding photos from special times, like a photo from where we met, where he popped the question etc etc
Each open double page I have laid out as a journal page on the left and room for photos and other trinkets to be stuck on the right.
Love the new journalling tags and the usual tags from Mary Fran's designs, they are good for all sorts of projects!
This is the back of the album:
To go along with the rustic fabric feel of the papers, I added little fabric hearts, twine and rustic ribbons.
Hope you liked this project - I am looking forward to making lots more different things this year, and will be back with some more posts later in the week.
Wrap up and keep warm everyone, another frosty night ahead, but it's meant to ease soon by the look of the forecast.