Wednesday, January 21, 2015

Royal blue and white Wedding - Lili of the Valley Wedding Couple

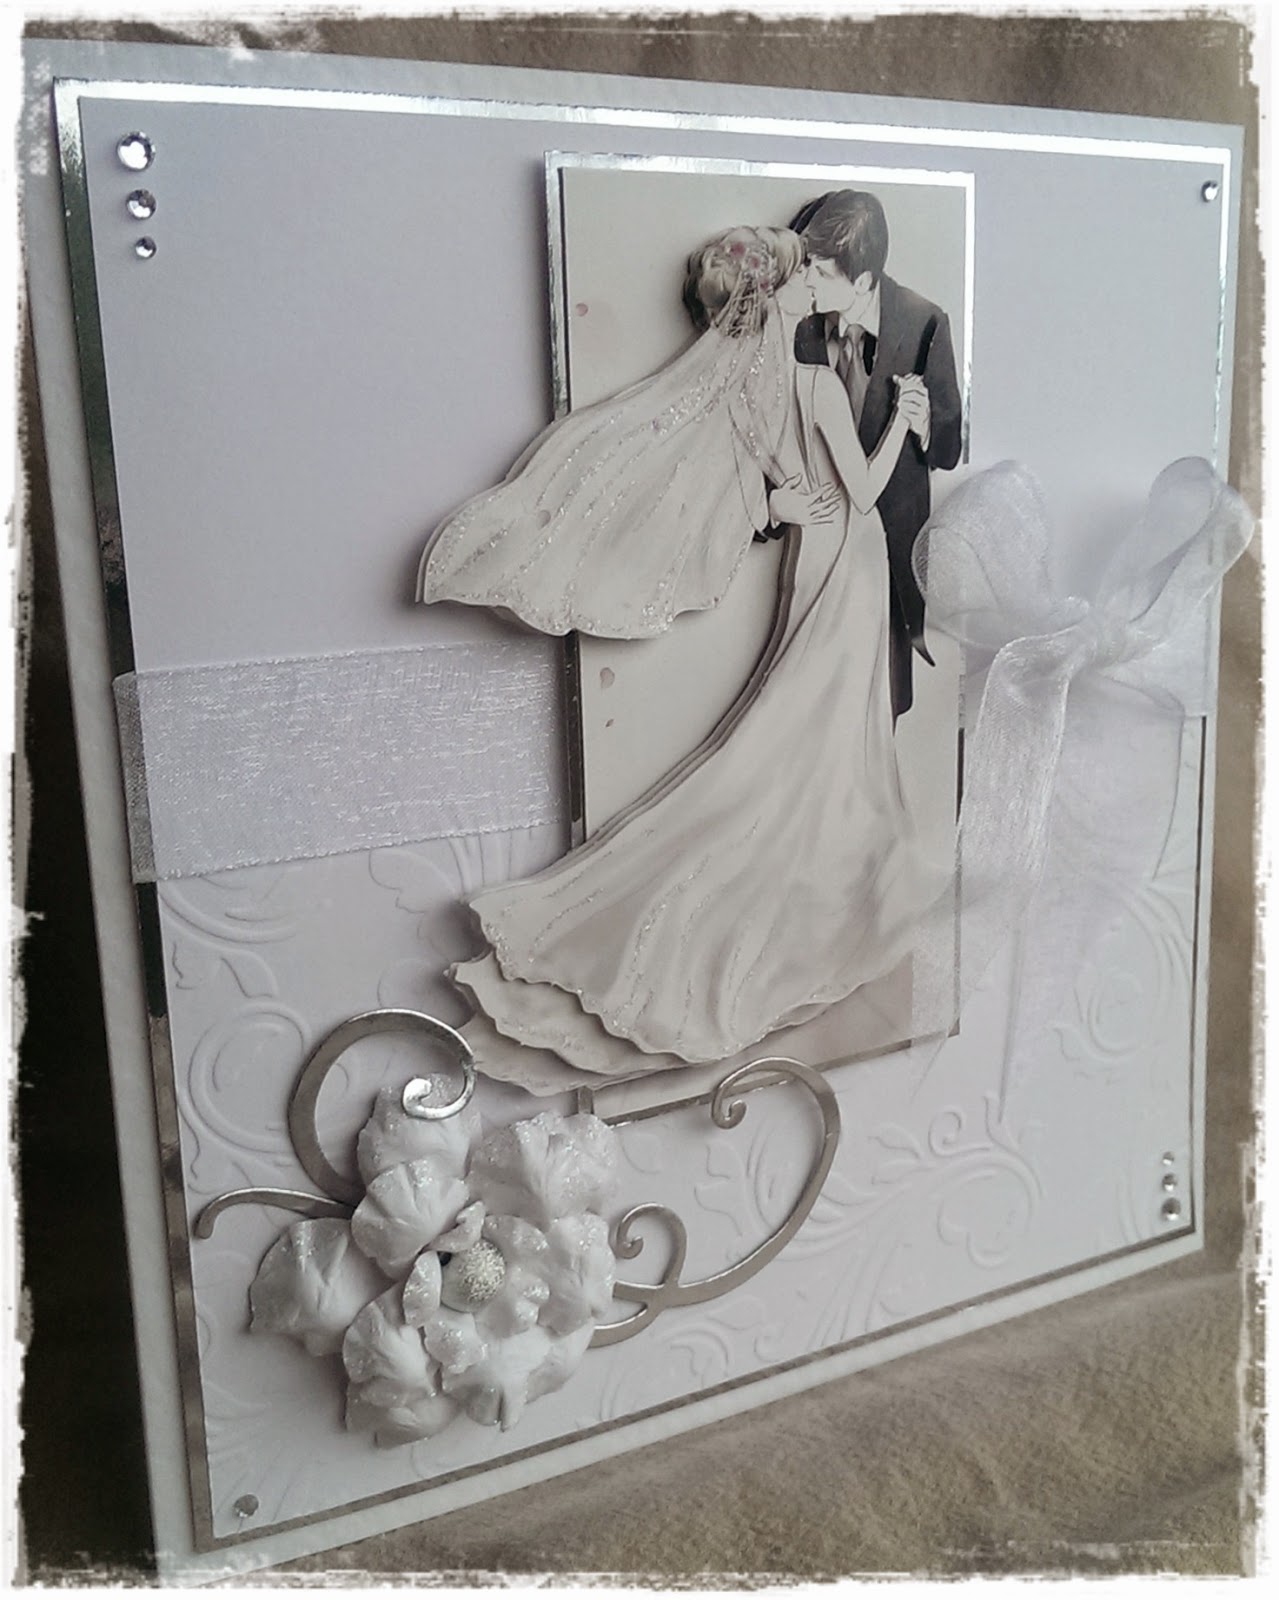
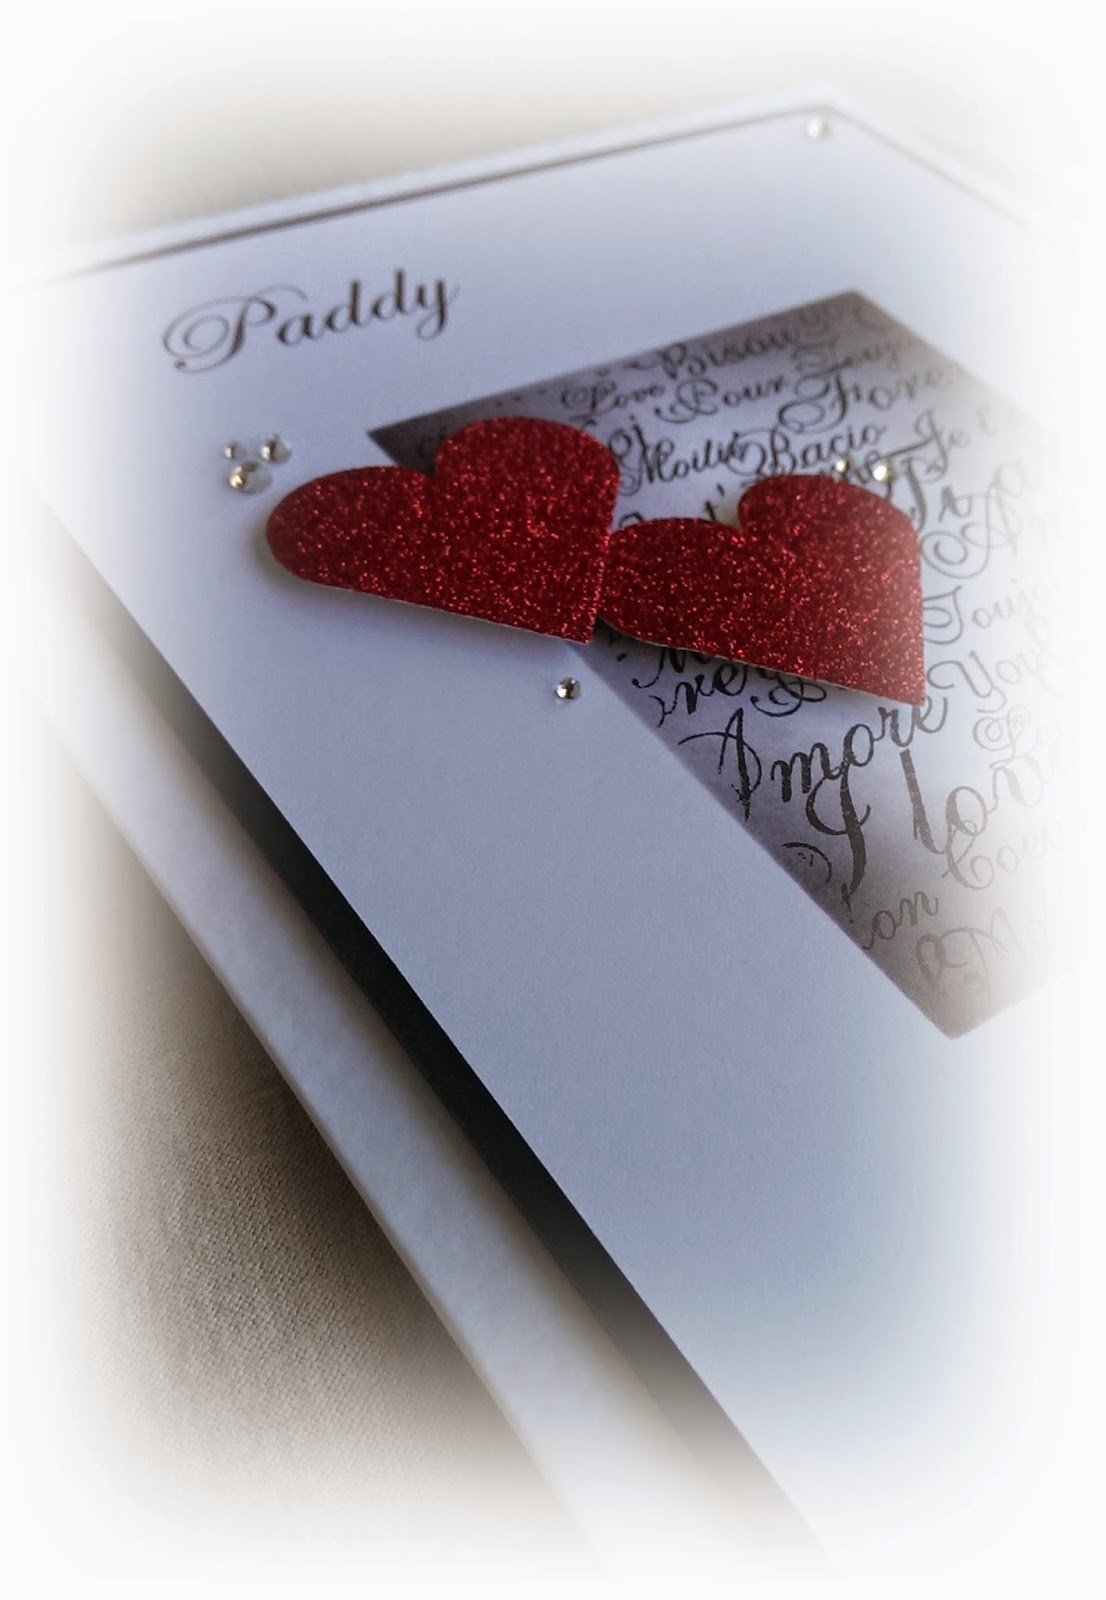
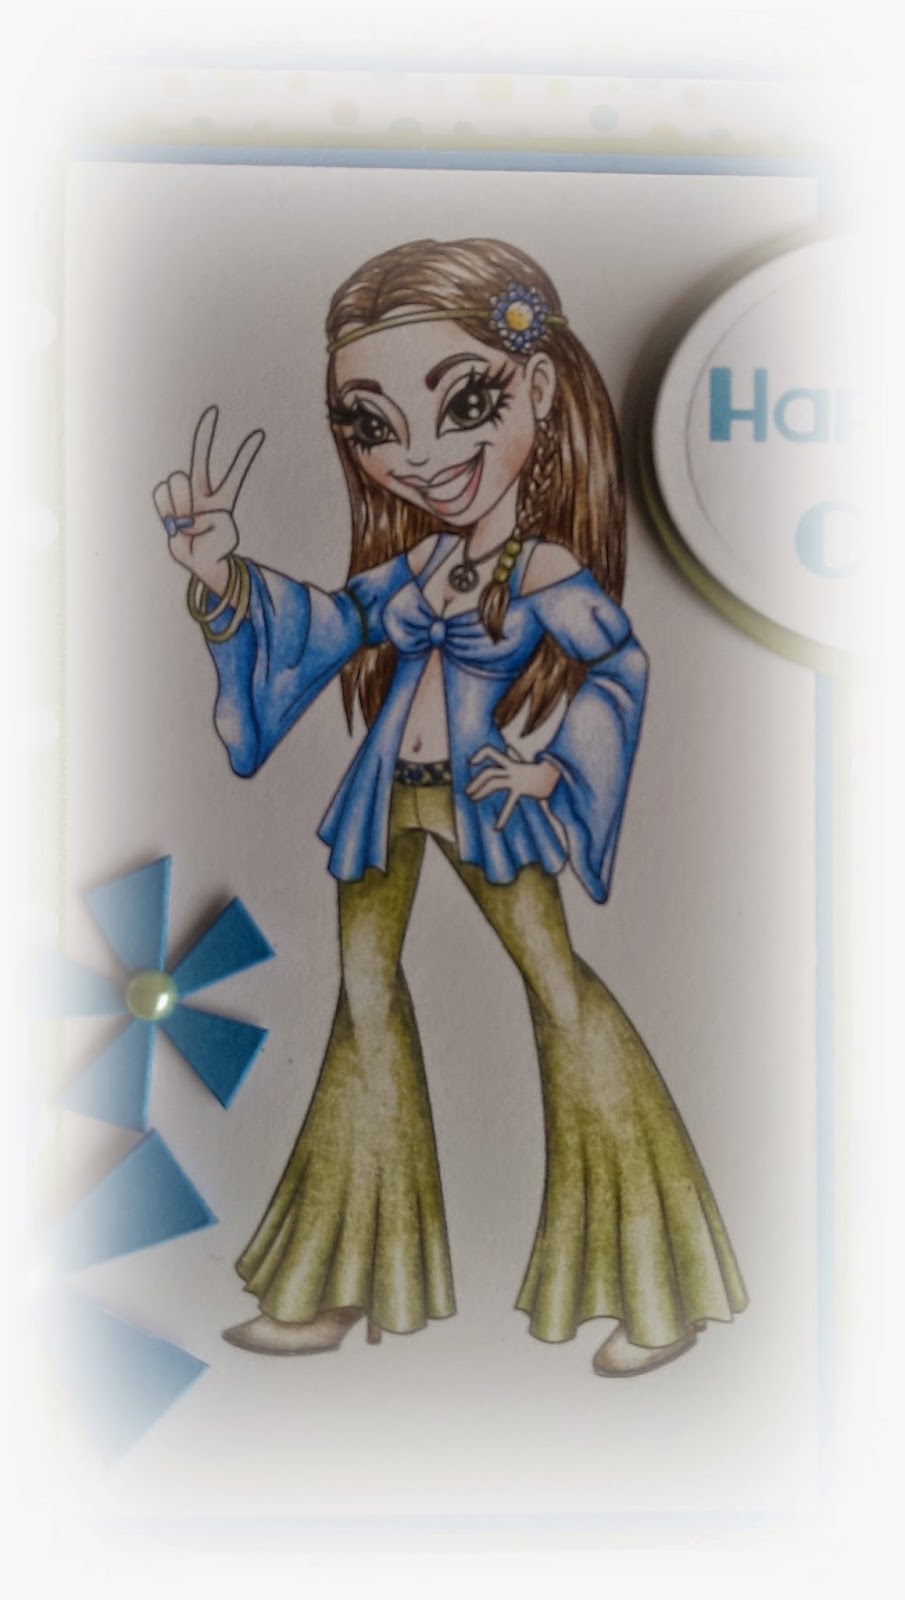
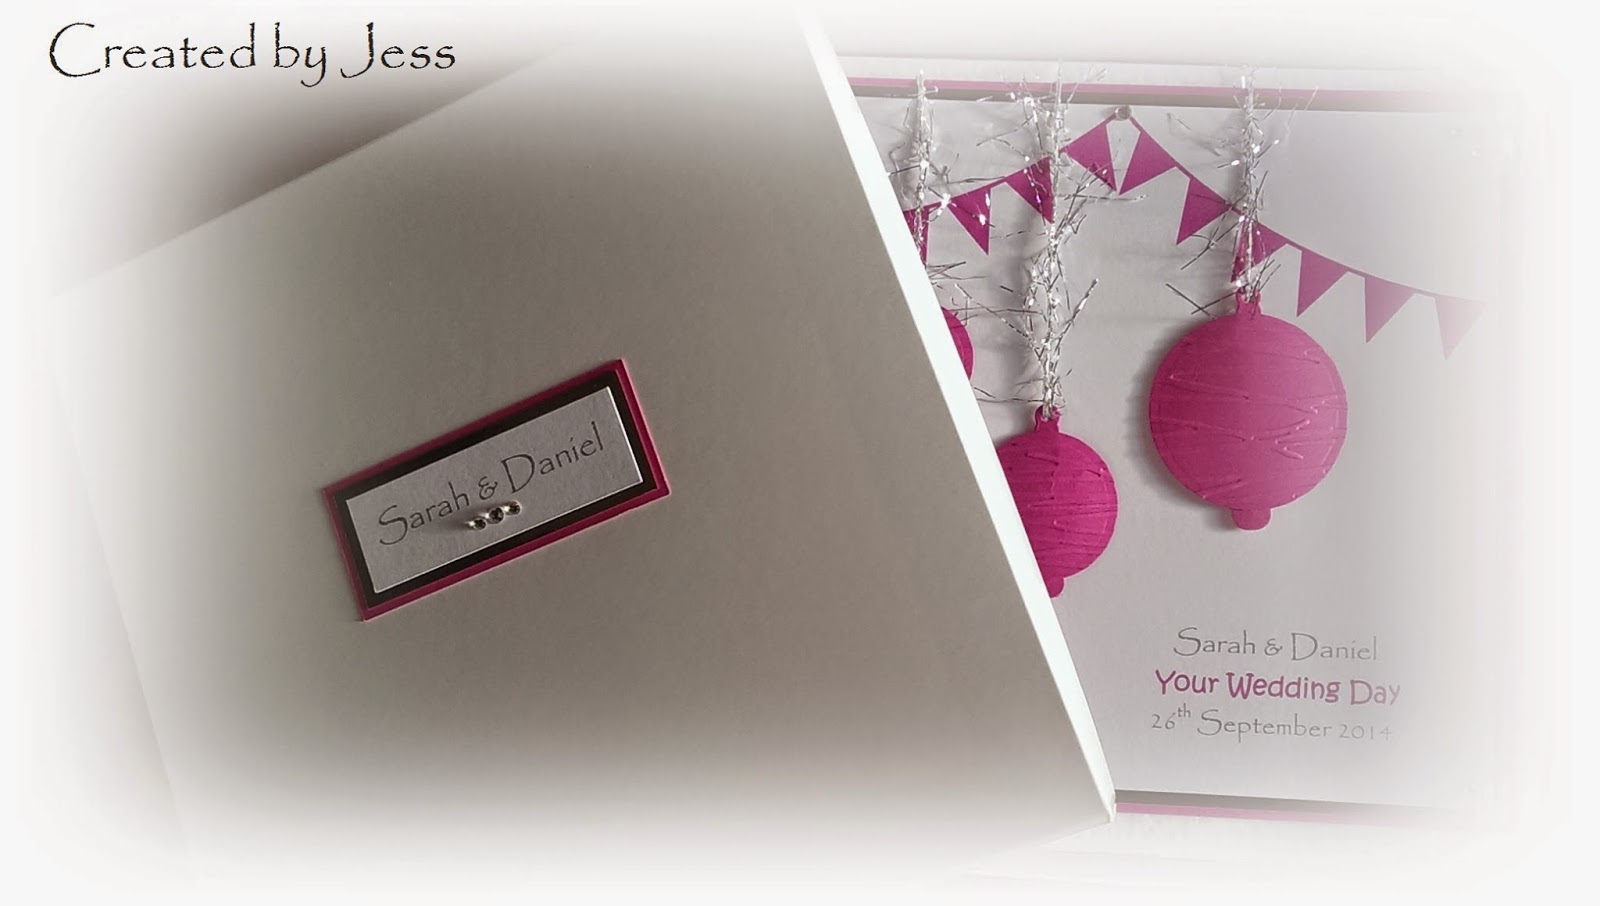
Sorry it's taken so long to sort the photos and share these posts, but I thought I better hurry up and make sure I do.  It's no secret that blue and white go so well together and this card was no exception with the royal blue ribbon and pearls.


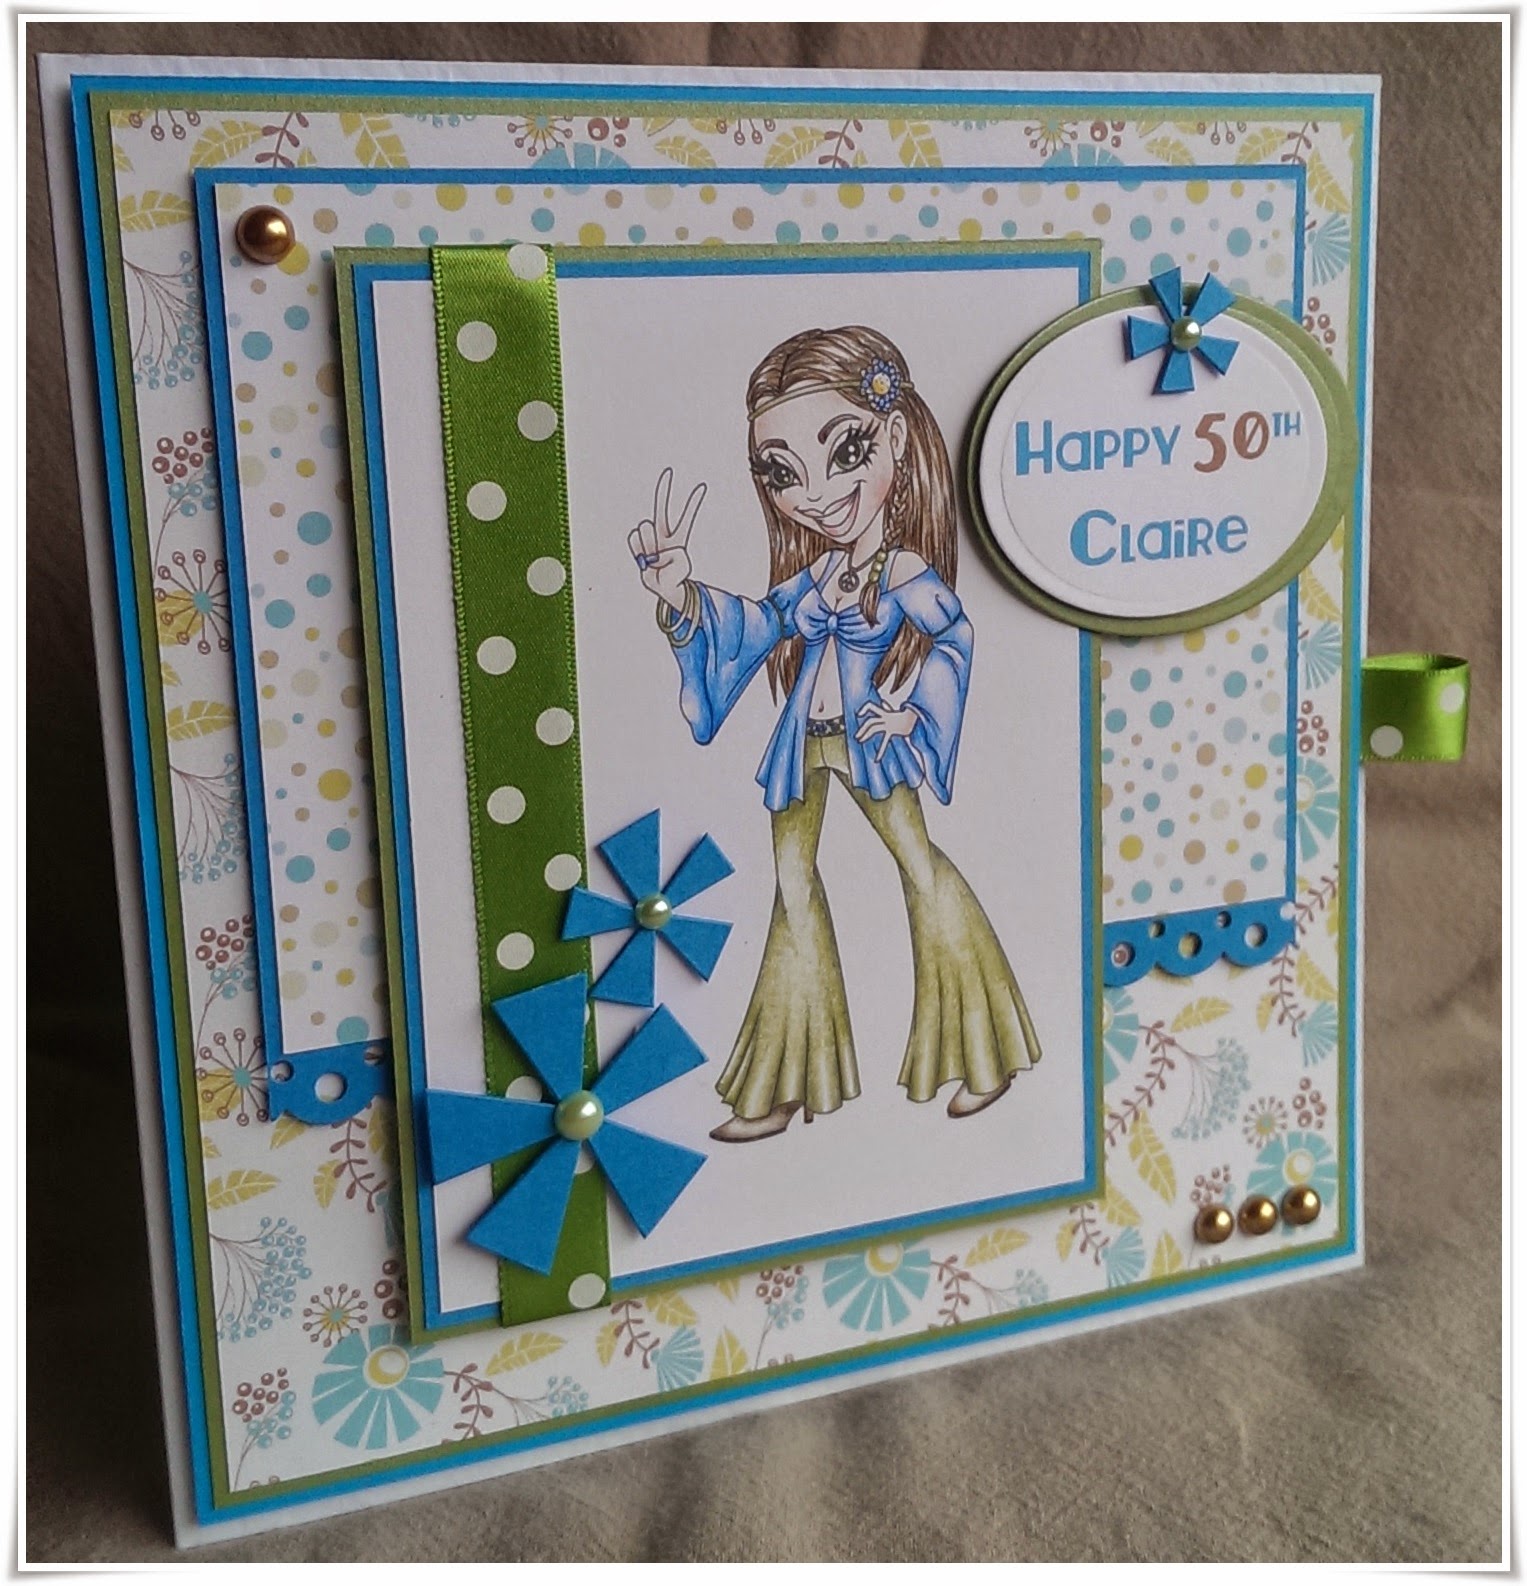
The same flower making technique used here as in my last wedding card post, except that I inked the petals with blue ink. 


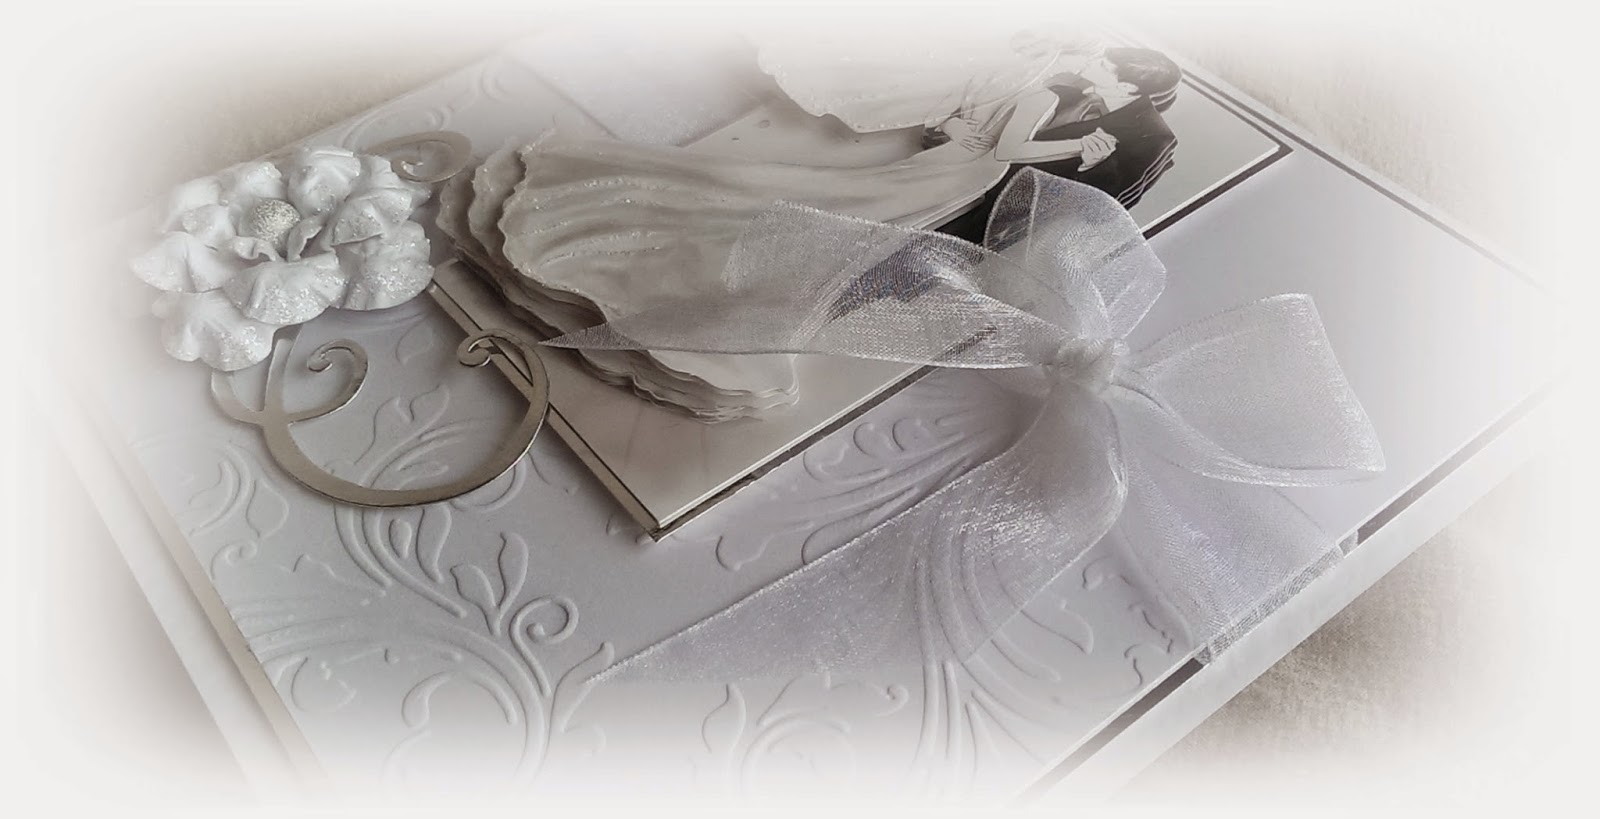
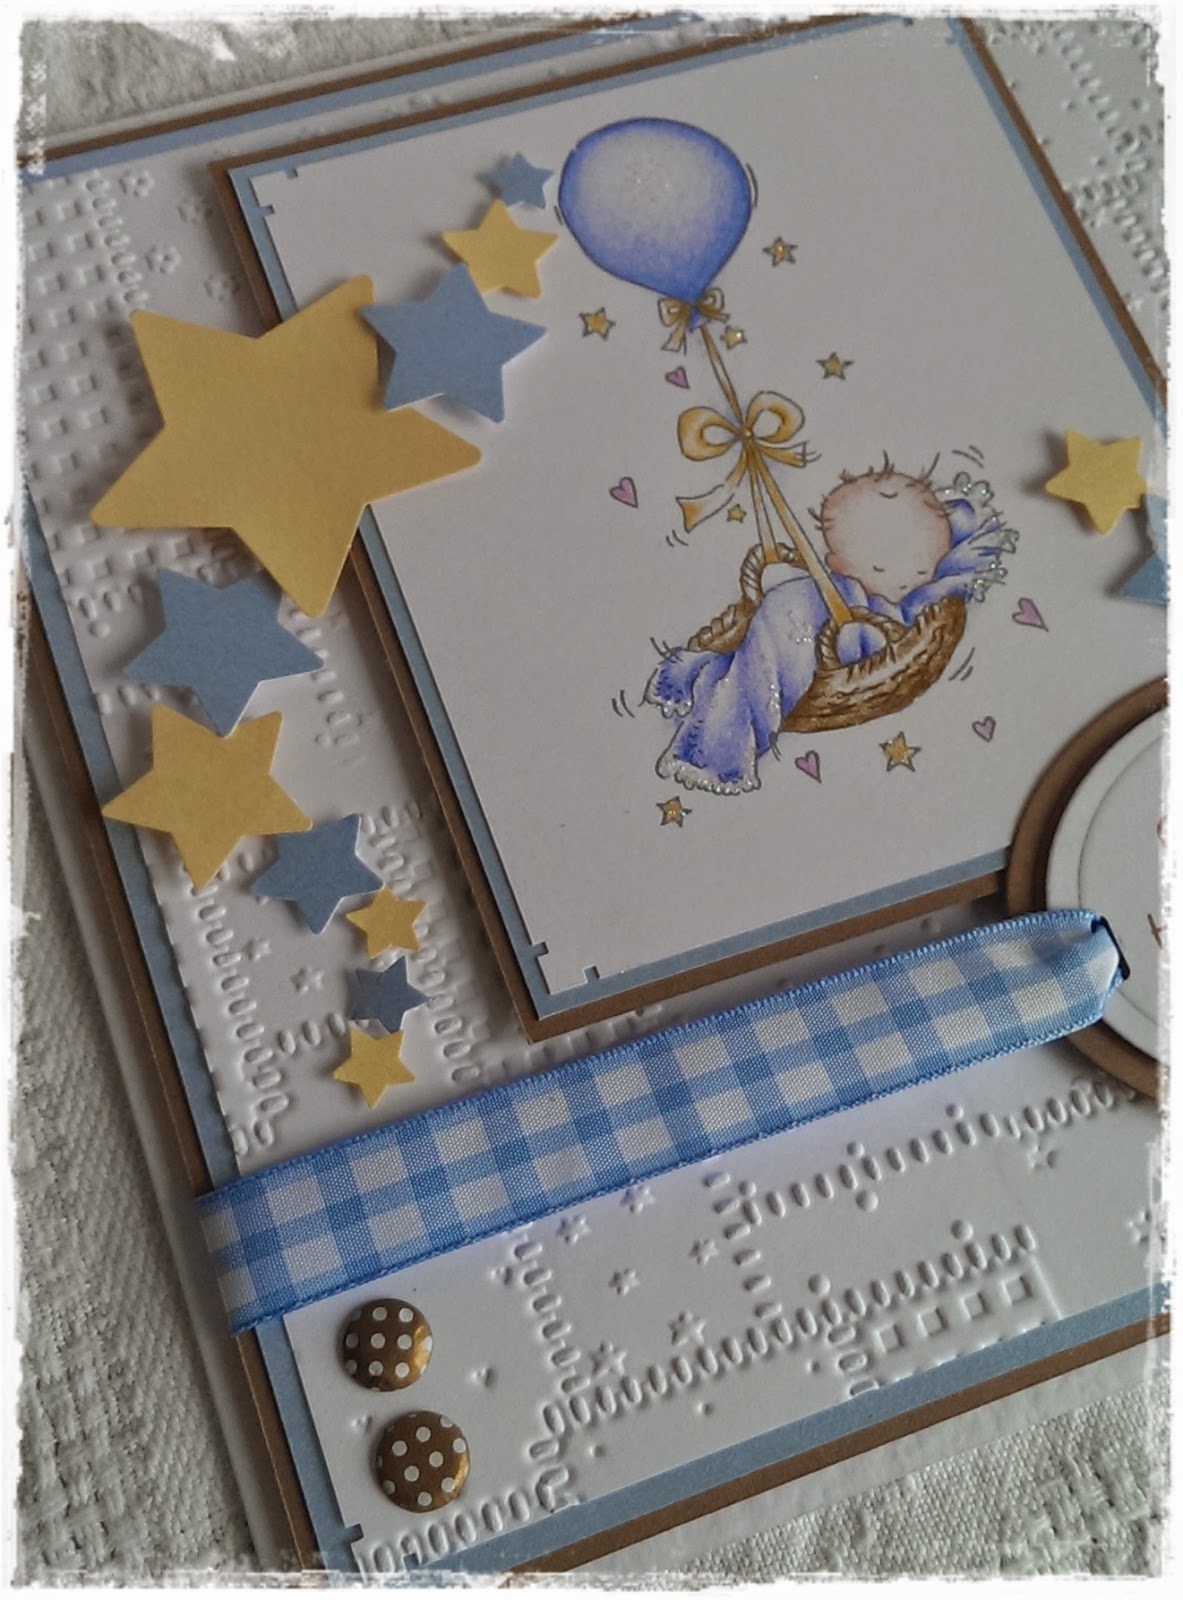
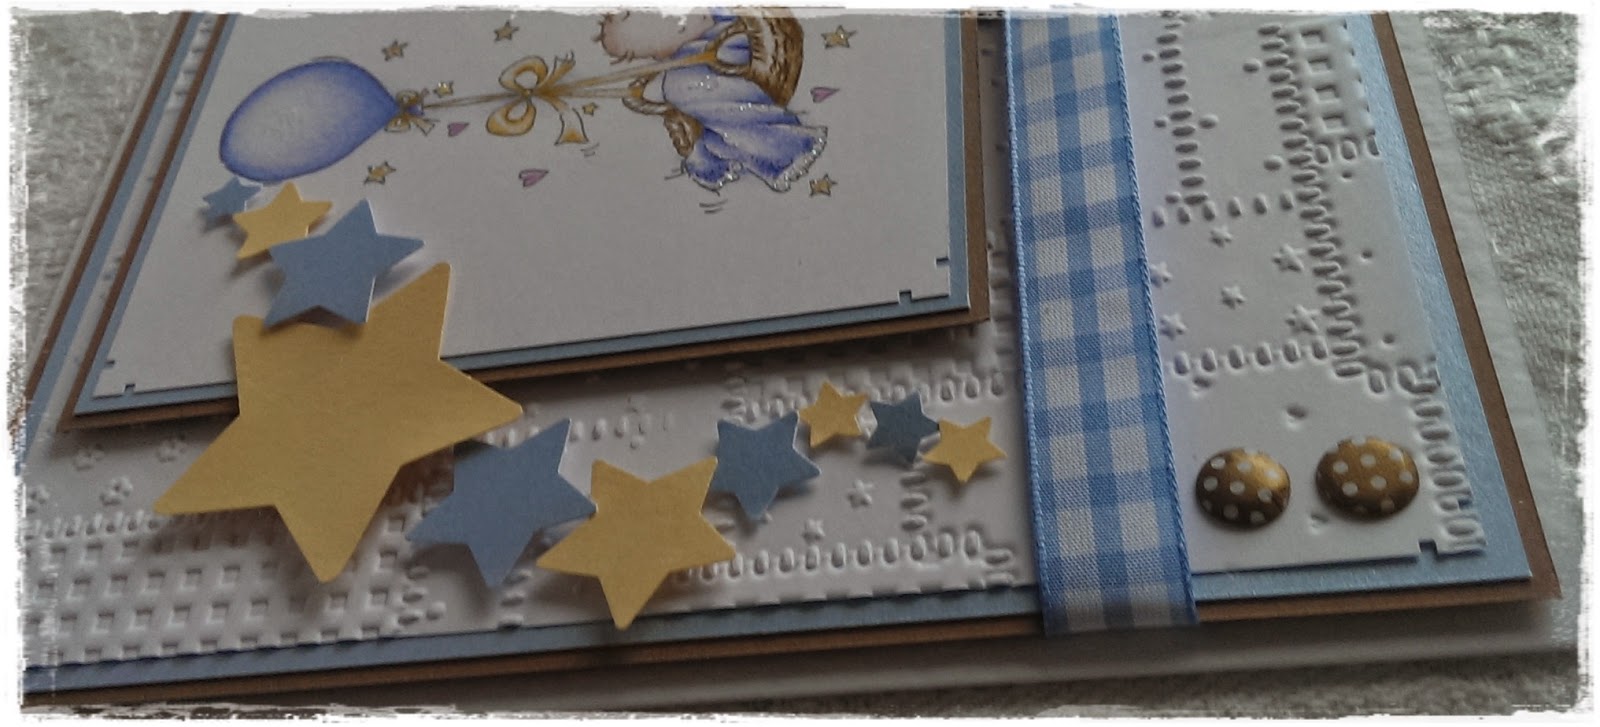
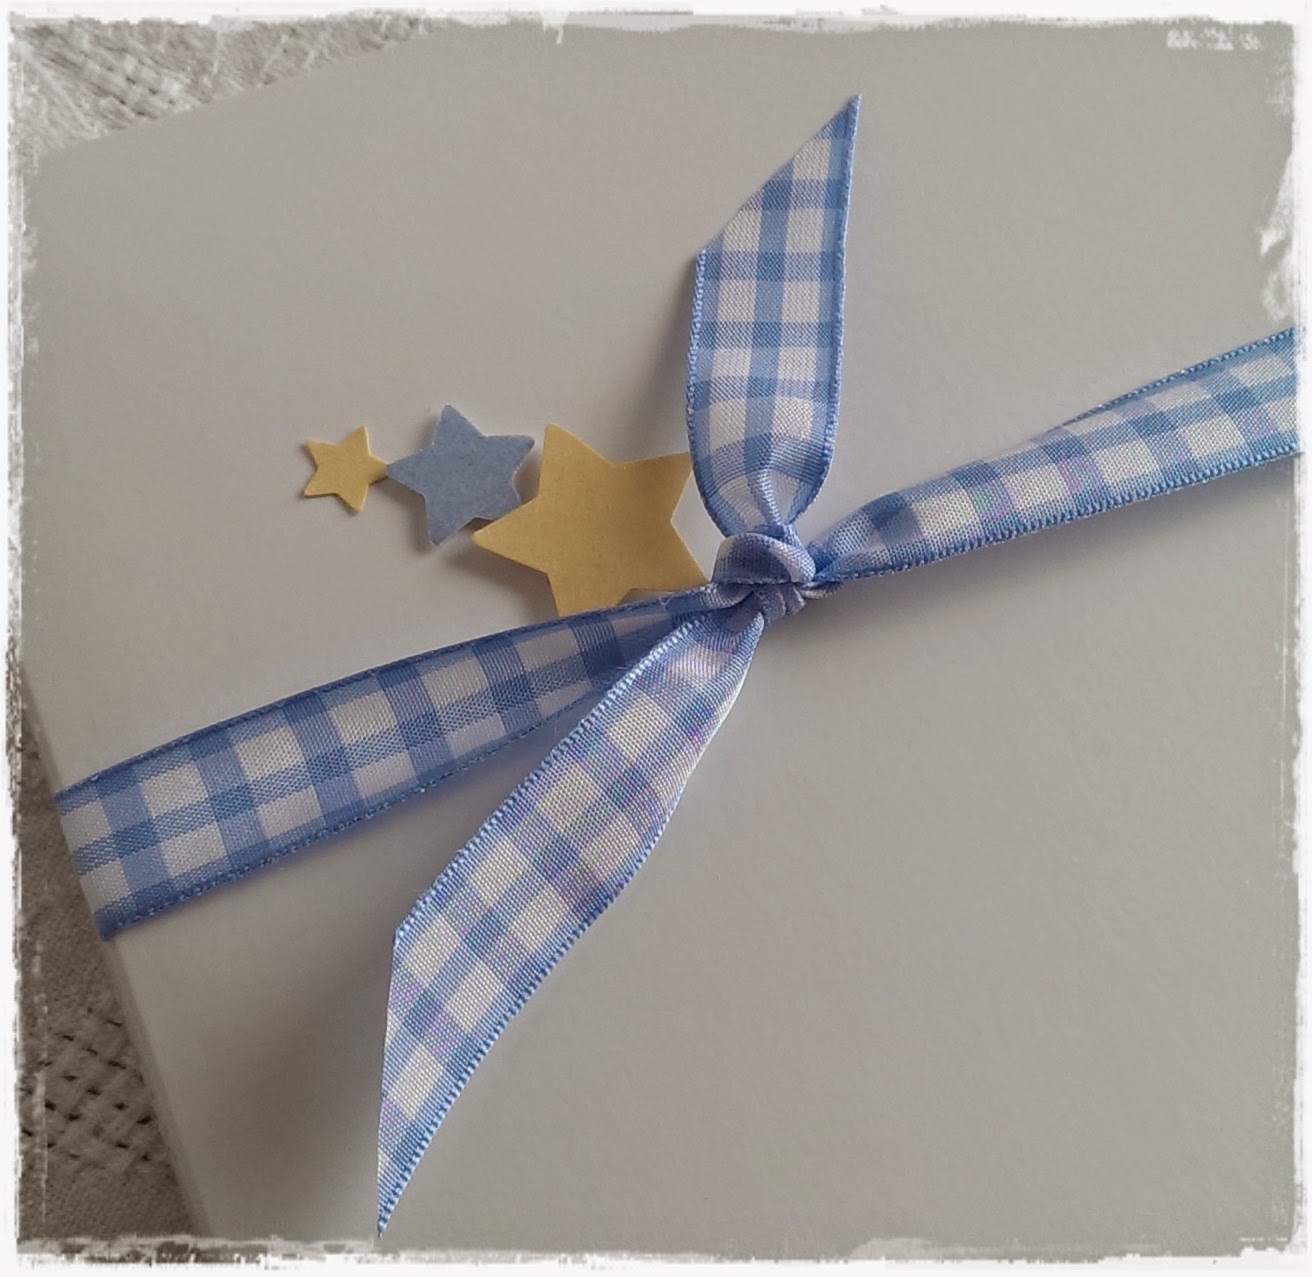
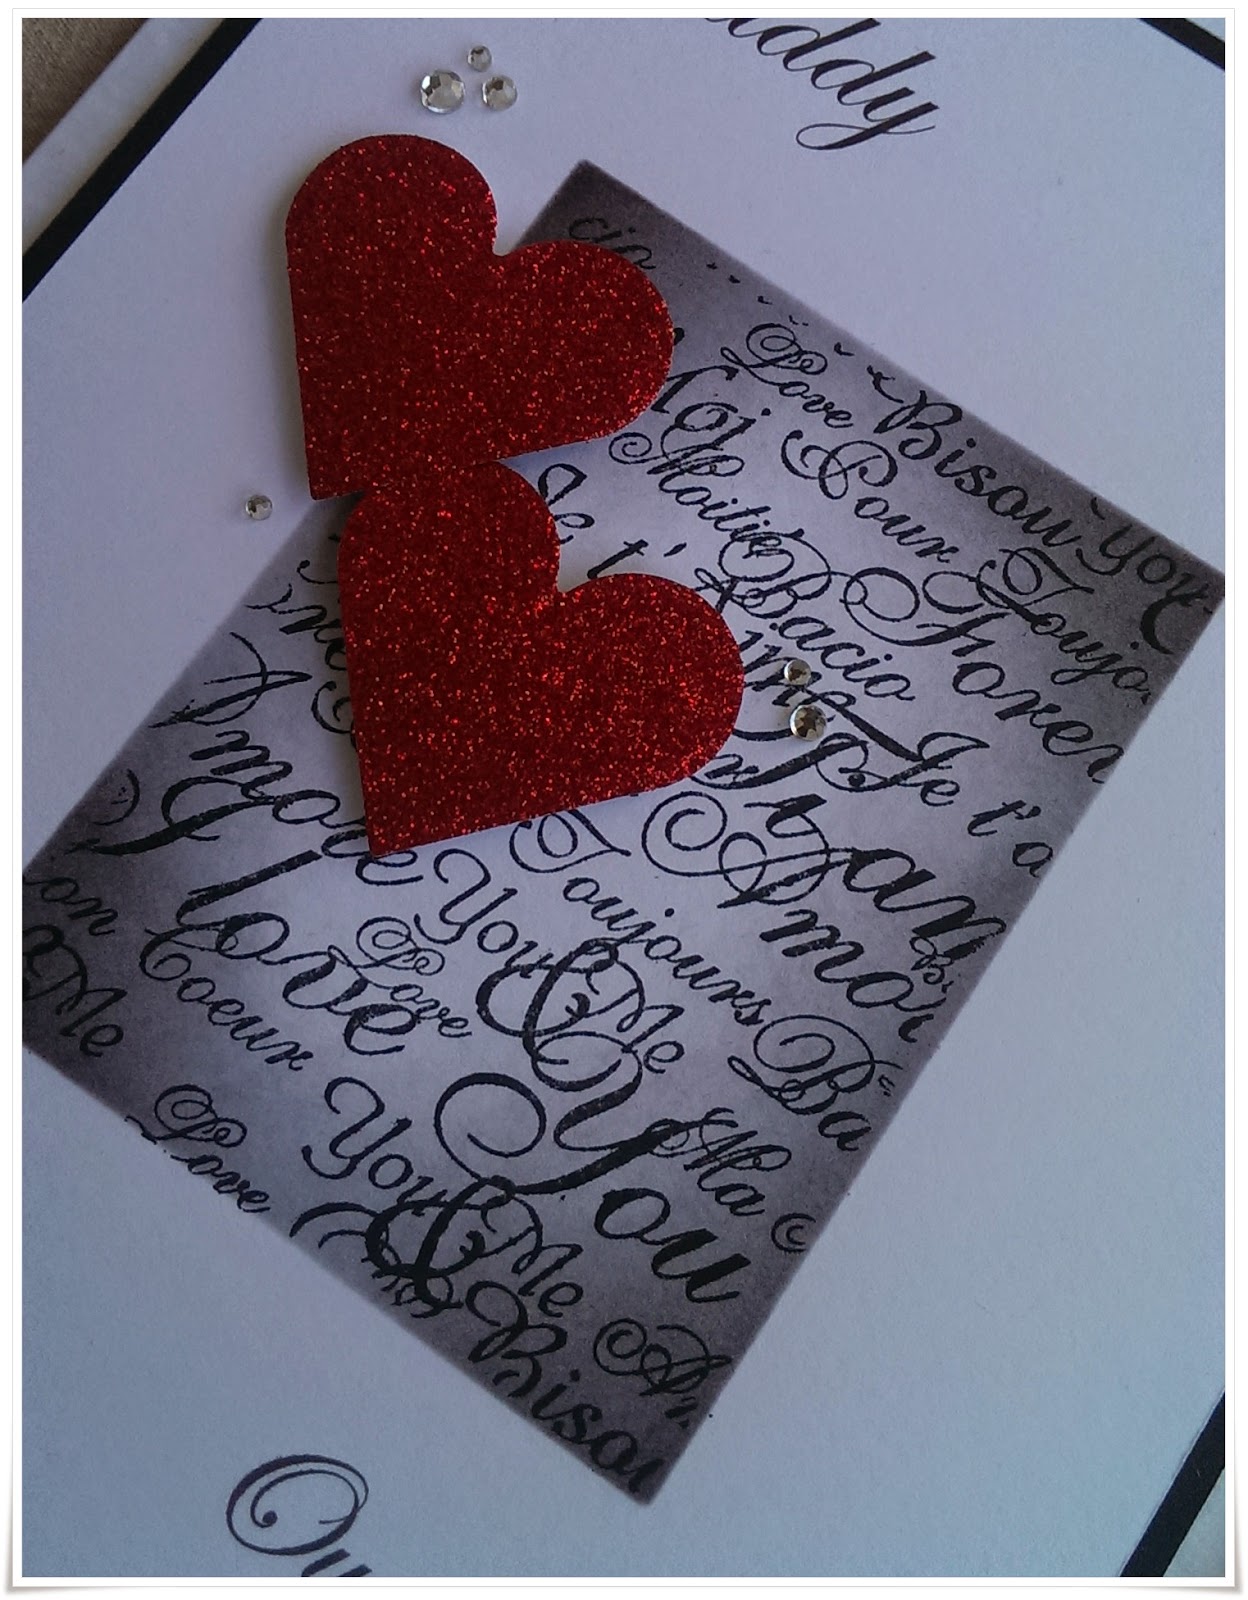
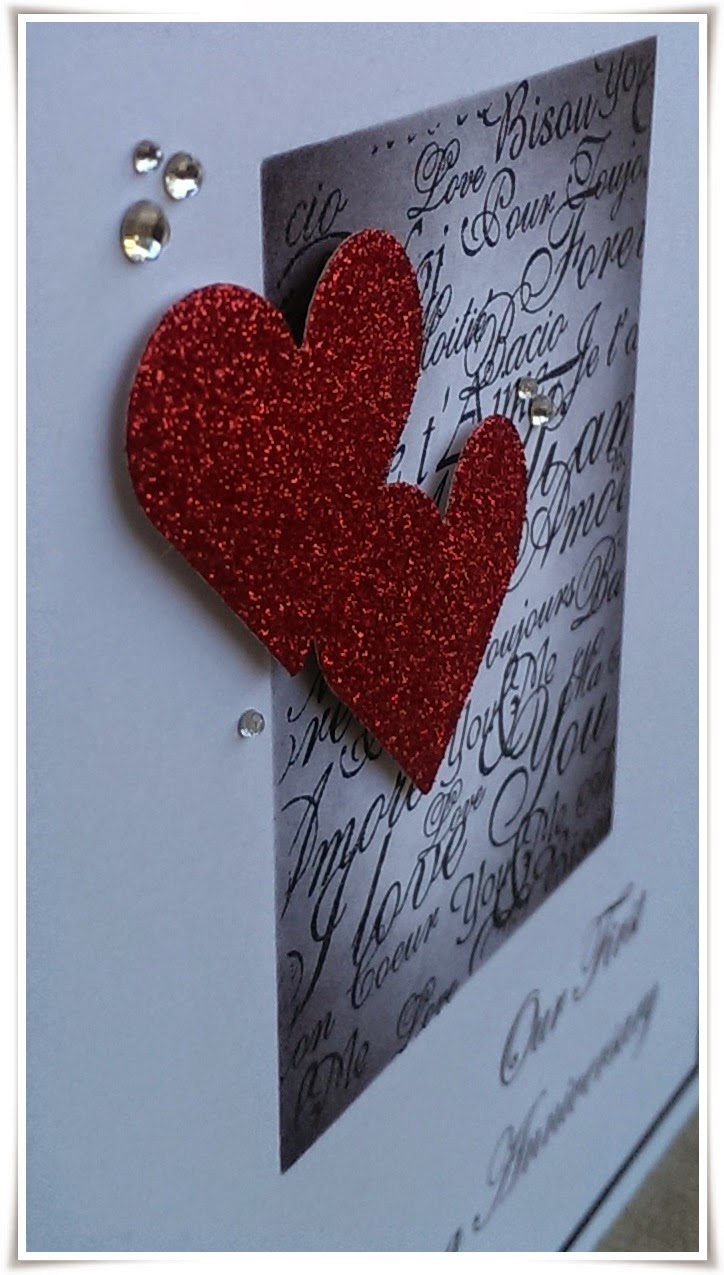
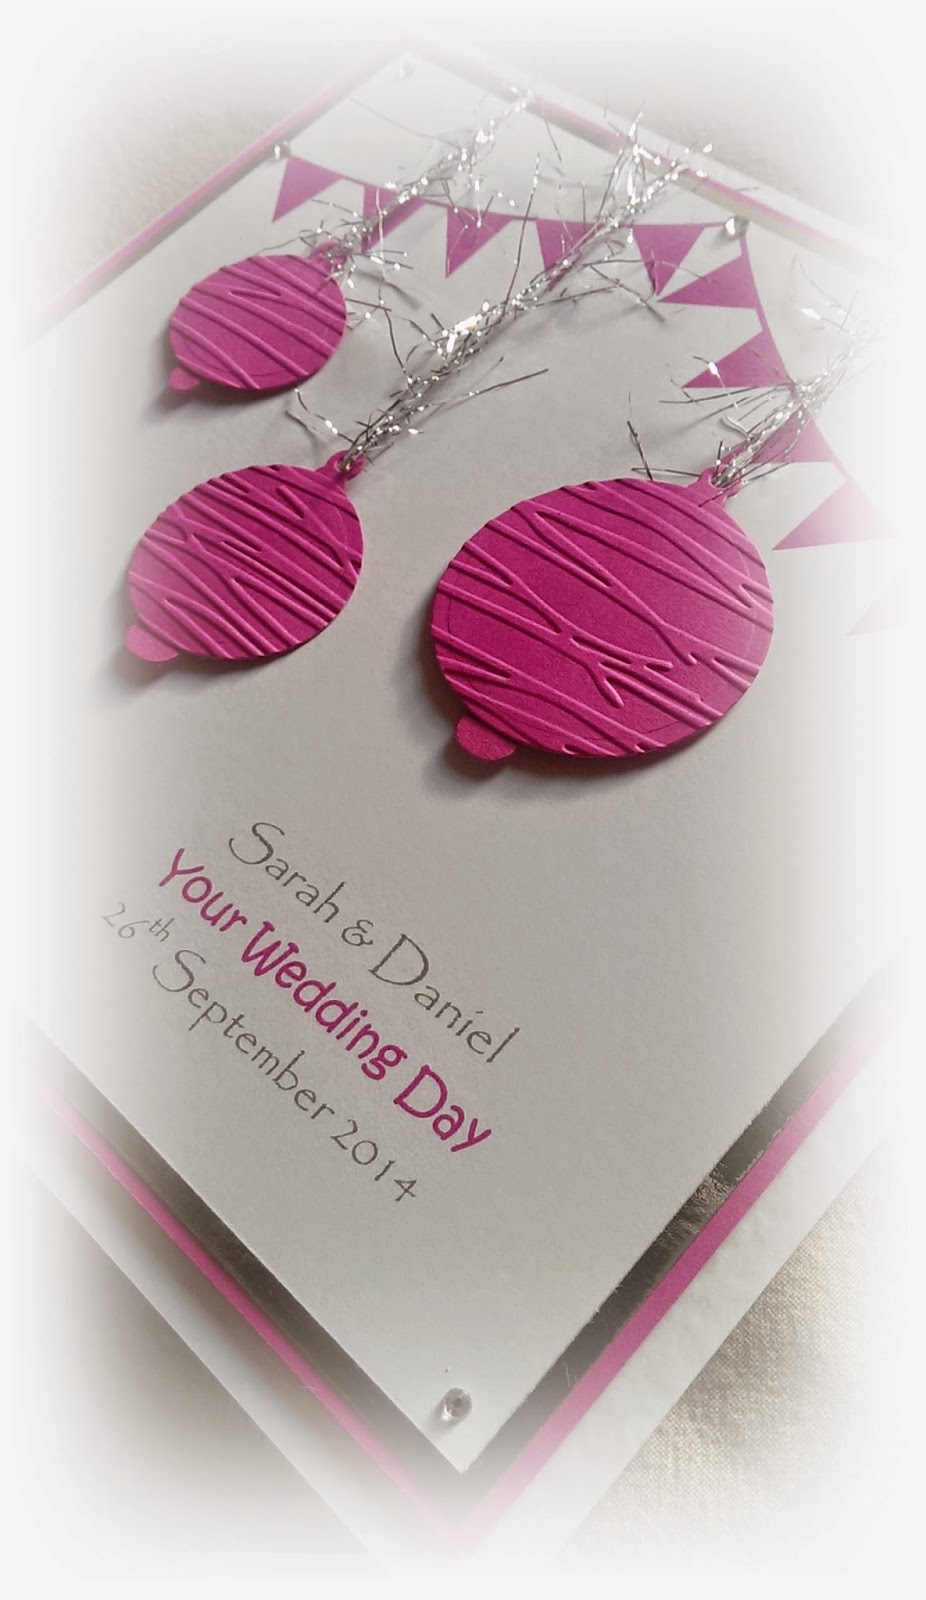
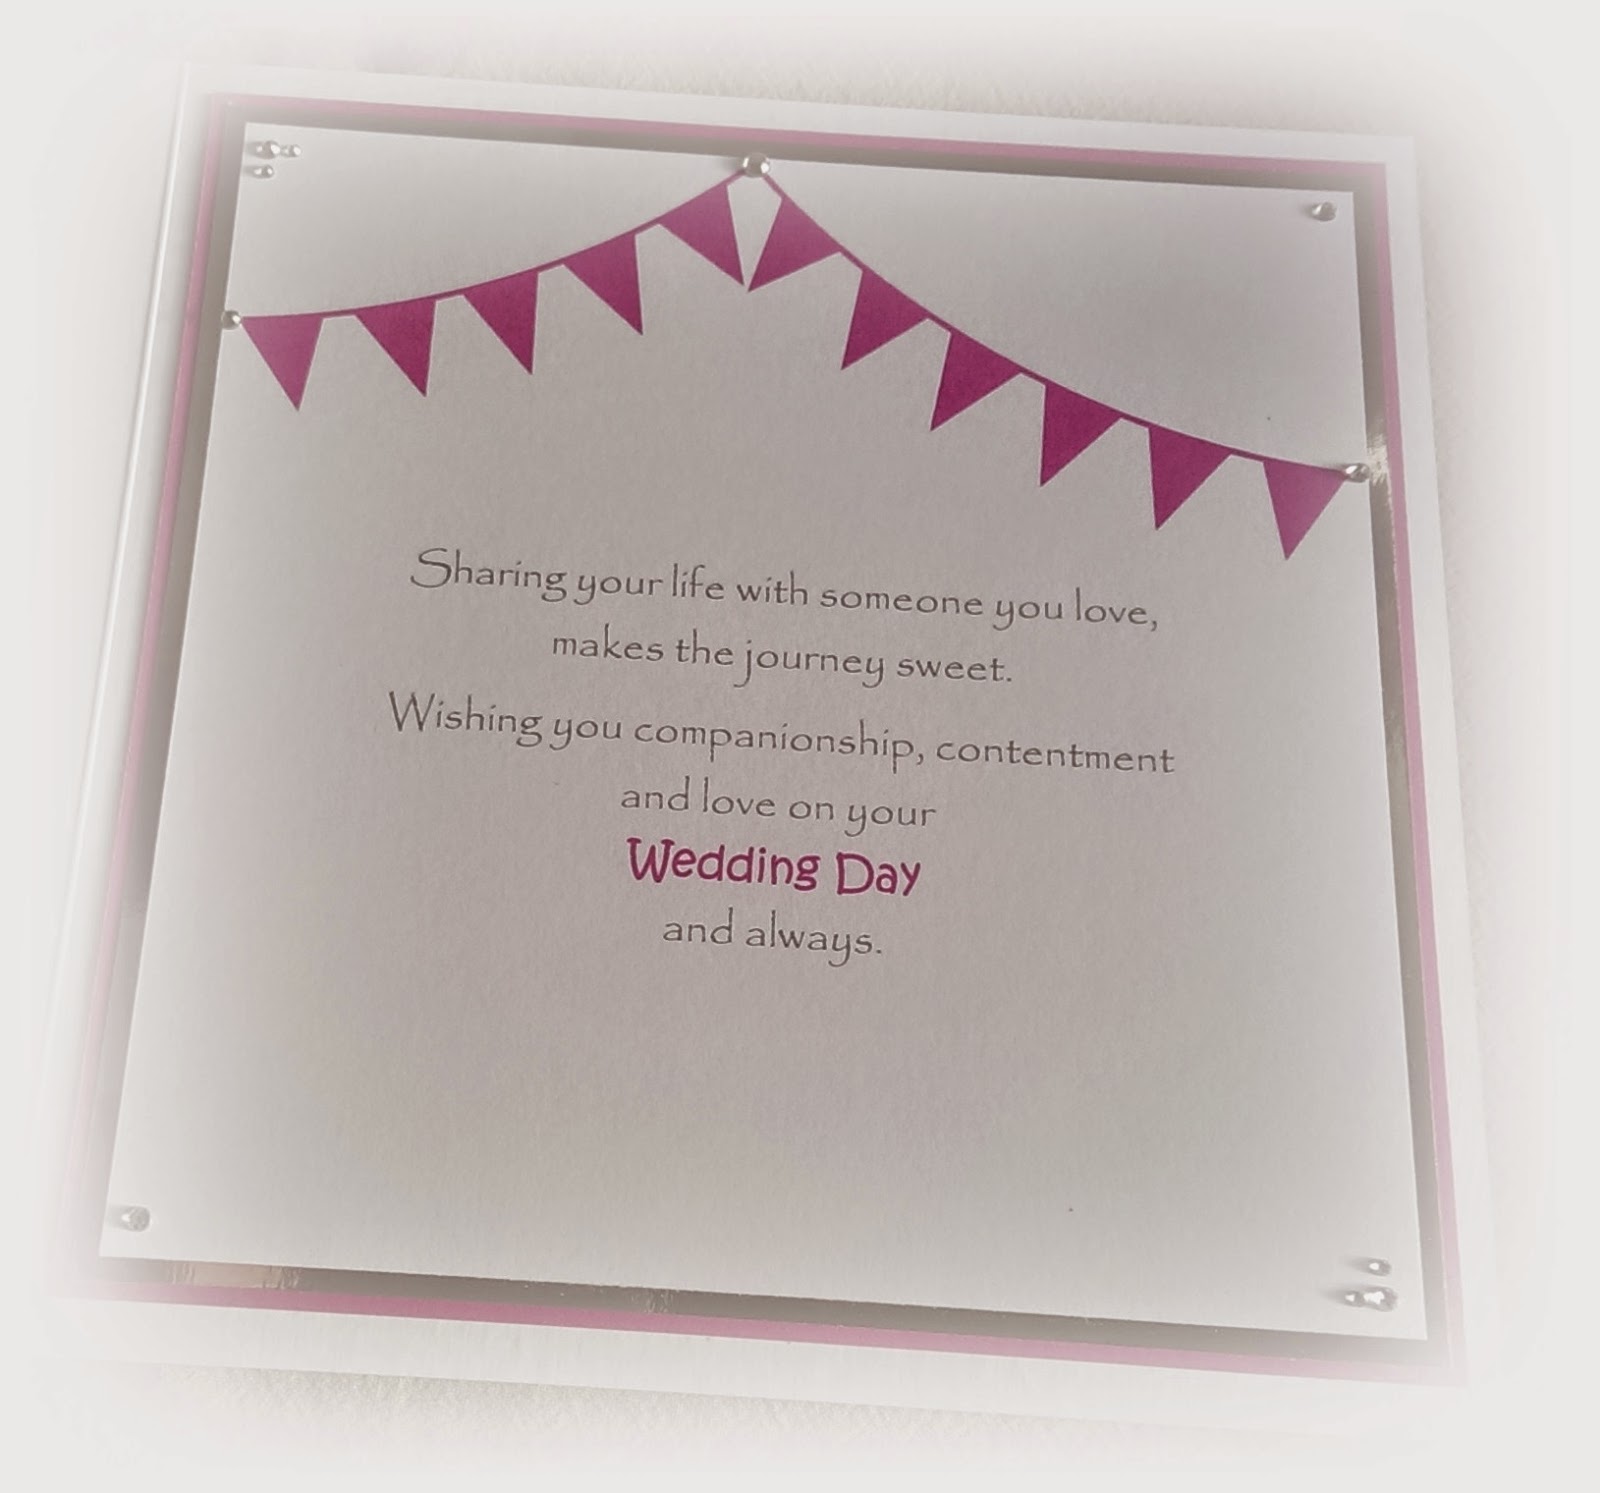
Some close up photos..


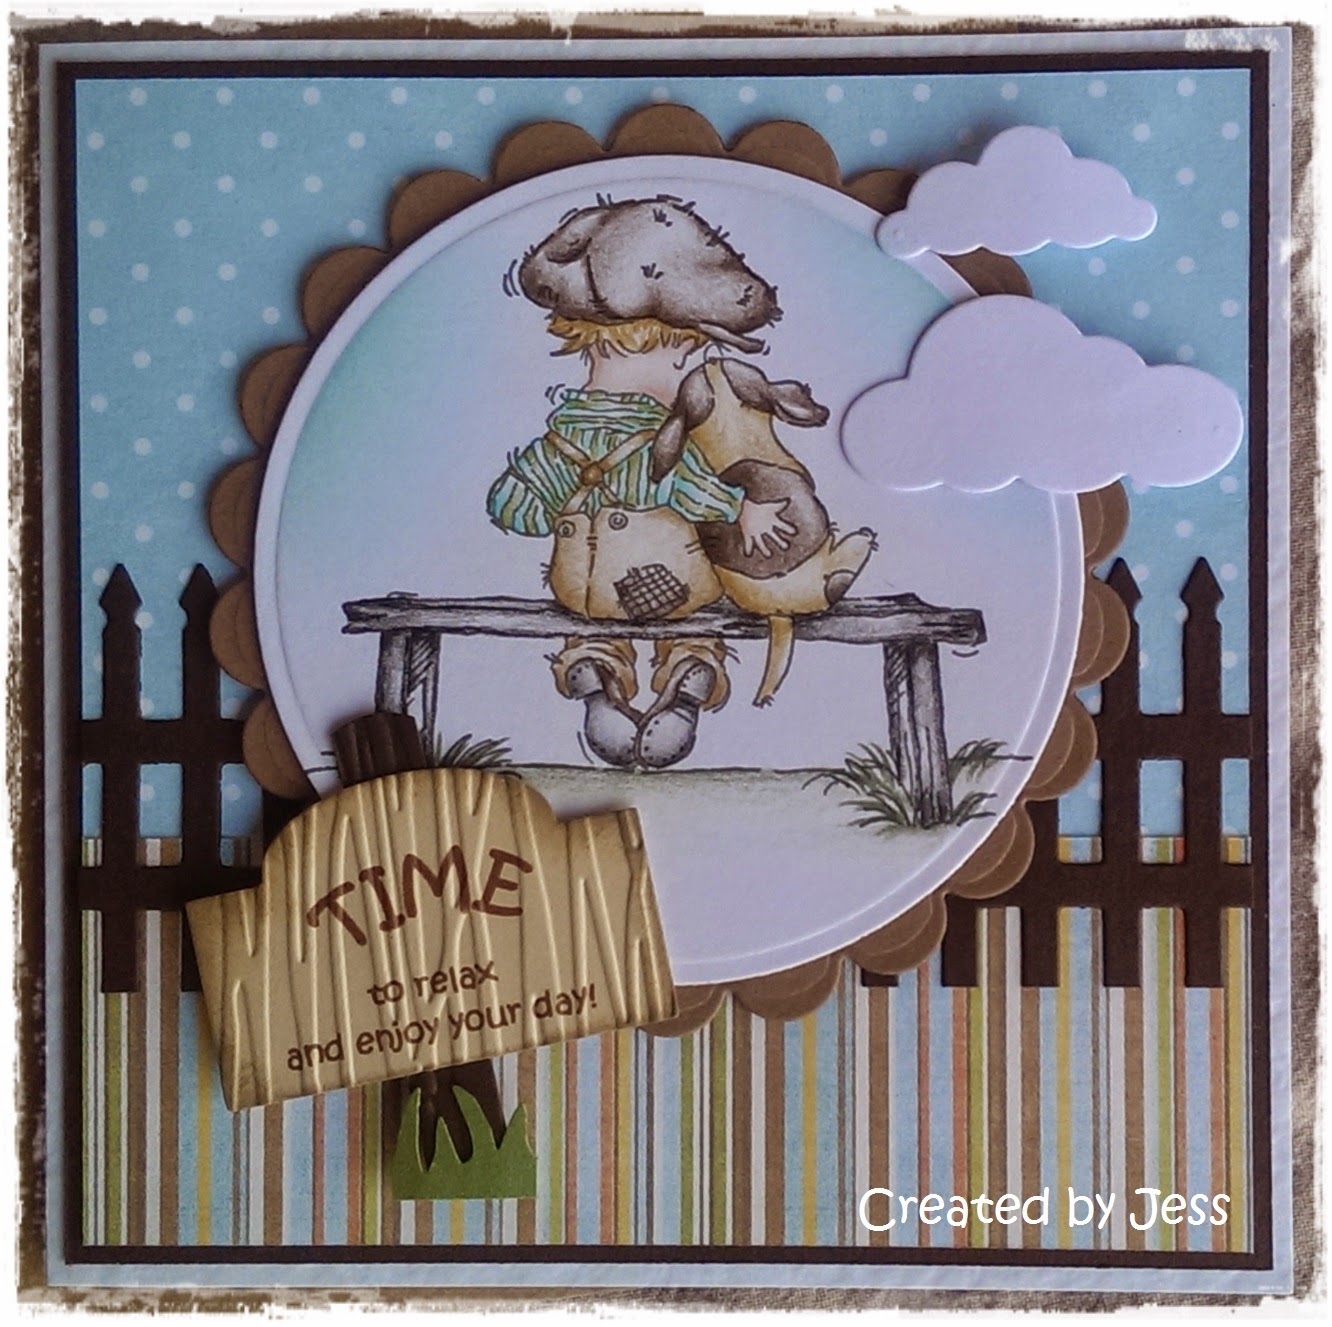
The image was coloured with Faber Castell Polychromos pencils and you can purchase the stamp HERE.


Monday, January 19, 2015

White winter wedding - Craft Creations 2014 decoupage release

Another wedding card - this time using Craft Creations 2014 decoupage sheets. The attraction with this decoupage print is it's not only die-cut but it's all white and will serve as a great winter wedding image.


Dug out an Embossalicious flourish folder and did some partial embossing on the front and inside of the card


The cover on the box was nice and simple too.


The flower was made using Spellbinders/Heartfelt creations posy dies and a cluster bead which I sourced from an eBay seller. with loads of glamour dust.


The layers on the decoupage are effective when it comes to mounting the dress layers / steps of the sheet - has a kind of floaty feel to it. I accentuated that by cutting down the first layer to a tall rectangle, instead of using the larger full panel.


Saturday, January 17, 2015

LOTV Man's Best Friend

Time for a general greeting card for a guy in this post, using a Lili of the Valley stamp which I had neglected to use until late last year. New years resolution is to use the perfectly fantastic stuff in my stash which has been neglected!!


                             For those of you who like the stamp, you can purchase it HERE  


I added texture to the sign post (made with Sizziz sign dies) by using an old cuttlebug branch design embossing folder, making it look like wood and added my own 'sign post' by rounding the edge of a strip of brown card. The wording on the sign is computer generated.


...and the side on view to show a little layering

Thursday, January 15, 2015

Lili of the Valley baby boy - Balloon Basket stamp

Back with one of Lili of the Valley's most beautiful baby stamps - you can find the stamp HERE and it's well worth the purchase as I use it time and again.


This is another large boxed baby card using that folder you can't get anymore, but I received the Darice quilt blocks folder so that will get some use soon and it's available in most craft outlets. I did contact the distributor for the Boofle folder but the answer is that they cannot be sold anymore :( ... I did try for those of you who asked me, but no luck I am afraid.


The Craftwork cards card candi goes very well with the kraft card.


I mounted the stars using different thickness foam pads, 1mm 2mm and 3mm


The boxed was finished off with stars too..


Tuesday, January 13, 2015

Wedding Anniversary card for a husband - no frills allowed!

So this post is about less is more...  It turned out well thanks to the red glitter card which really made the whole thing 'pop' - black, white and red are such a great colour combo!!


The text stamping and 'shaded' inking was done with masking, stamping and distressing techniques.


The completed card shown standing:


 Mounting the hearts with foam fixers instead of mounting them flat adds more dimension and a good finishing touch.


Still need work on my stamping techniques, so will make some more of this style this year.  I have some new slim storage for ink pads which I will share with you all once I have sorted out my mess of a craft room LOL. When you see it, I assure you, you will want one!!

Sunday, January 11, 2015

Flower Power 50th Birthday Celebration

LOVED making this card, because I know the recipient and because it was so fresh and funky and fun to make!

I used a Redonkadoodles digital image which was coloured with polychromos pencil crayons and some digi papers from Etsy again (yep Etsy has some fab stuff... too much maybe!)


I wanted the tag and ribbon on the card to be unusual to my normal style so I made a 'buckle slider' with the sentiment tag.


Those funky flowers are a cuttlebug die.


Close-up of the coloured image. - I spent ages colouring the flared trousers ;)


The inside of the card:


Friday, January 9, 2015

Wedding Card with a Simple Party Theme

A simple brief is often the most difficult right?  Well almost LOL... but I had an idea after seeing the invites for this wedding - I knew for sure that the card needed to have some sparkly thread and bunting.. the lanterns came later as a way of 'embellishing' the party theme chosen by the couple for their Wedding Day.

The lanterns are made with a Christmas ornament / bauble die, and the texture with an old Cuttlebug branches folder - very pleased with how they turned out!


The bunting was from an Etsy seller, and you can find it HERE.


Love the texture on the lanterns, I have to make more of these!!


... and the inside of the card made to match the outside, with bunting and 'bling'.


Wednesday, January 7, 2015

Vintage Cameo Pink and Grey soft feminine card

Back with another share, this time in pink feminine colours.  Yes I know I use these cameo dies a lot but I really like them, they are one of my favourite shapes.


Last year I invested in the Sue Wilson border and bow dies, and the ornate strip is from that set - yep I never used the bow but the strip as an accent die - very versatile these dies turned out to be.


The papers were from Etsy and you can purchase them HERE. They're called Shabby Chic Garden.
I used pink distress ink on the pink oval and also on the papers, to pick up the subtle pink tones, keeping it all muted.


And another little change from the norm - a coloured card blank instead of the usual white :) - the envelope was white so it all came together well.


Monday, January 5, 2015

Fireman Sam Birthday

Happy New Year everyone - my first post of 2015 and something different too.
A birthday card for a 3yr old who loves Fireman Sam!


This card was made using graphics from various sources and in bright primary colours, specially suited for a boy. I don't usually use graphics, opting for die cuts, stamping and colouring instead, so this was a refreshing change and I quite enjoyed making it. It did test my ability to merge and move graphics in MS Word though - since I don't have any special graphics software, I had to improvise.


The font I used is called Papyrus - its a nice change to the normal ones. There are lots of free fonts you can download from www.dafont.com and many other sites, and that can get a little addictive..