Saturday, September 21, 2013

Workshop Cards

Hi everyone and thanks for visiting again if you are stopping by this Saturday evening :) As promised, here is my most recent set of workshop cards, with links to some products as well.

I have had lots of questions this month about particular products, so I now have a page set up with links to the things I use most, so you can find details of products and their names should you wish to purchase your own.  Please refer to my Links to Products page for more info on each card.

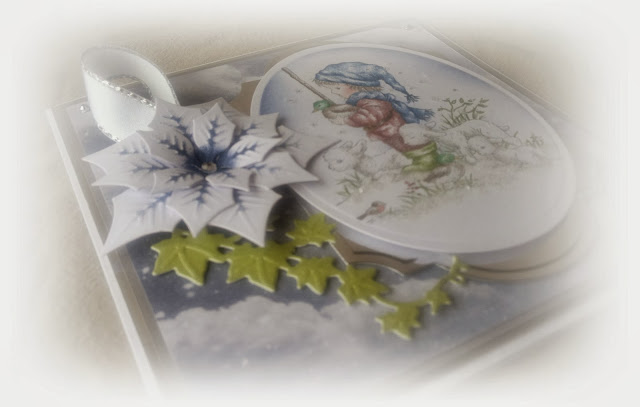
The first one to share is a Christmas one made with a Joanna Sheen stamp I have had for ages but I can no longer find - if you want one please get in touch and see if Joanna has any more?


I coloured this stamp with Faber Castell Polychromos pencils, and no blending, adding glitter for sparkle
the other products are listed on the Links page.


Used chipped sapphire TH distress ink for the poinsettia's and for stenciling inside the oval with a distress tool.


The snowy cloud papers are from Craft Creations and Marianne dies for the ivy..


The next card is using a firm favourite from Stampin Up called Dasher - there are similar images from other stamp companies using  reindeer so keep a look out if you don't want to wait around for Stampin up from eBay or other sites.


the Snowflakes are old Spellbinders Create a Flake 1 or 2,  I cant remember but again there are lots of snowflake dies on the market, so easy to find gorgeous designs, Papermania embossing folder and vintage signage stamp from Cornish Heritage Farms.


The inside of the card finished to match...


This next card has an autumnal feel to it. Lots of inking and stamping using muted colours. The papers are from Craft Creations which you can find on the Links Page, and the Pearls are from Cottage Crafts


This is a very old stamp from Inkadinkado which I can no longer find, but there are lots of similar stamps out there which would suit this project. Used Tea Dye TH Distress ink and Memento Teal Zeal ink.


The inside of the card:


A side on view to show the layers.


This card is my last wedding one for 2013, in a classy navy and white colour combo, so good for winter weddings, with a bit of sparkle and a handmade flower.
We got very blue inky hands making the flower but it was all worth it!


The stamp is from Stamping Bella's uptown girls range and you can find it here at Dies to Die for or at Stamping Bella direct. The inside of the easel card was partially embossed and the sentiment is a Magnolia Tilda one from a couple of years ago.


A close-up of the flowers we made:


Last but not least I am thrilled to announce that I have permission to use digi artwork from Nitwit Collections for workshops - as with all digi images and products, they are copyright protected and cannot be shared without the express permission of the artist.
I have been using Nitwit products for a while, so am really excited to be able to share these gorgeous designs with other crafters and would like to thank them for allowing me to do so!

The card we created today using the Garden Fairies Collection available to purchase here:


Aren't the papers soooo pretty!?


Great images which are easy to shape and layer, and here is the finished card:


That's all from me for the moment, I am indulging in all things Christmas, and hope you will pop back soon.

Details of any remaining workshops for 2013 are on the workshop page just under the blog headings, and if you would like to come along please book in advance as the Christmas workshops in October and November fill up quickly.  As always, any comments are appreciated and if you want to ask anything please leave me a comment or email me at creationsbyjess@eircom.net.

Keep Crafting!

Monday, September 16, 2013

Faber Castell Polychromos Pencil crayons, Sansodor and colouring

 A post with some info lots of you have been asking for.  I know I mentioned this in recent classes, but here are some links to suggested shades and materials for colouring with pencil crayons.

First, there are different pencil crayon brands on the market and over the years I have used a few, but my favourite is the faber castell polychromos range.
The blending technique using odourless mineral spirits is not to be confused with watercolour pencils - those are water-based, and pencil crayons are waxed based like oil pastels.


There are a whopping 120 colours in the range, available in sets of 12 24 36 60 and 120.
BUT, you can buy them in single pencil as well. Marion in the Crafty Bride Wedding Studio in Kilkenny stocks the colour list below, or you can get them from Cork Art Supplies (Cards n Scrapz) and most artist shops.

So, I do admit to having all 120 colours (bought a tin of 60, loved them so much and then bought the rest as singles on a trip to Cork a couple of years ago!)  In using the pencils, I came up with a list of the colours I would use the most, to shade my stamped images. Please see the list below for those of you looking for a condensed set of shades. (oops spot the spelling mistake on Mauve)  


Next, if you want to blend your pencils you need to invest in a couple of things - Sansodor (odourless mineral spirit otherwise know as Gamsol in the USA) and paper blending stumps. Sansodor is available in most art supply shops as well.


 Paper blending stumps come in various sizes, and you only need 2 or 3. I sharpen and remove the colour from mine with cheap sandpaper or big emery boards.  Buy a good quality blending stump, not those which are very hard and plastic looking -  they need to look off white or the colour of grey newsprint.
Cork Art Supplies have blending stumps available HERE or again in all art supply stores (you might have to ask for them).


Here is an excellent Hero Arts video tutorial where you can see this technique in action - it includes blending single and multiple colours


And lastly, an idea of what the pencils look like plain without blending, and with blending on a couple of my card samples:


 soft blending on the bears above... and plain pencil colouring on the boy card below.


Any questions, just leave me a comment or email me at creationsbyjess@eircom.net

Sunday, September 8, 2013

Workshop cards

Some photos of workshop cards. So its like feast or famine, sorry about that!  Nothing on the blog for ages and then loads of things to show today.  Hope my blog readers don't mind!?
And apologies for the typing error on the twin baby card post which some of you spotted -eek!

I have added links to the blog for you to find some of the products used. If I have left anything out please leave me a comment or email me and I will be more than happy to help.


The first is am embossed Butterlfy cards using Sizzix corners and lattice embossing folder and a Kaiserkraft butterfly from polymer stamp set called Bonjour.


Used two different spellbinder label shapes for this project, and layered the triple embossed butterfly, finished with Bronze and blue Pearls from Cottage Crafts


An image of the inside using Partial embossing and the layering below - love dimension!


The next card is created with a vintage, distressed theme in mind and a bit of a challenge when Marion Kilbride from Crafty Bride craft Shop and Wedding Studio asked me to do something with the camera die - that was a brain teaser!  Sometimes the challenge work out really well so pleased with with the result!


The papers are a new Steampunk Range from Bearly Mine designs which you can find here. I have only used one sheet from one of the packs and can see me using more, the faux textures and shades are fabulous and I really like Donna's style of digi paper.


The inside of the card decorated with the same image in a lighter ink.


The car image is from Stamps Away and is called Pilkington Transport 4
Other products used include:
Martha Stewart Photo corner punch
Magnolia Doo Hickey Swirl and Leaf die
Dimension fourth post card stamp
Marianne Stamps Victorian Vintage Men
Lili of the Valley tickets and phrases


The next card is using a firm favourite from Stampin Up called Dasher - there are similar images from other stamp companies using  reindeer so keep a look out if you don't want to wait around for Stampin up from eBay or other sites.


the Snowflakes are old Spellbinders Create a Flake 1 or 2,  I cant remember but again there are lots of snowflake dies on the market, so easy to find gorgeous designs, Papermania embossing folder and vintage signage stamp from Cornish Heritage Farms which I cant find any longer, sadly. Doesn't it bug you when you cant find things or they are discontinued - unfortunately this happens when craft companies have to bring out new ranges or move with the times :(


The inside of the card finished to match...


The next card is suitable for anniversary, engagement or similar love theme and is a really funky image from Stampin Bella called Emily and Ryan under the Umbrella. (later this month I will post the wedding card we will make with the Brett and Brenda get married stamp - keep a look out for that one ;)...


For this card, the umbrella was stamped onto dotty paper and layered after a little paper shaping to give it some texture and spellbinders hearts added for a little romantic touch!


OK so I really love the Marianne dies which are getting better with every new release and the Anja designs are so pretty when embossed.

Also used a hougie board to make our own embossed diagonal design and finished off with a rose image called Hearts and Roses pre coloured digi set from Fred She Said.
The sentiment is from Lili of the Valley.


The last project to show you is a show card made using a Toe Tapper Elegant Slipper template


this was finished with a marabou feather and diamante buckle and an EK success punched border in a trellis design. The outer blue label die cut is made with a die from Spellbinders.


You might spot the Crafts Too Embossing folder from previous posts again :)


That's all for this week and will be back in a couple of weeks with more projects, some of which will be a Christmas card using a Giordano stamp from Joanna Sheen, Stamping Bella Wedding card and a vintage bird card in teal and brown.

Pink Gem Designs Baby twins

Popping back with some more cards...
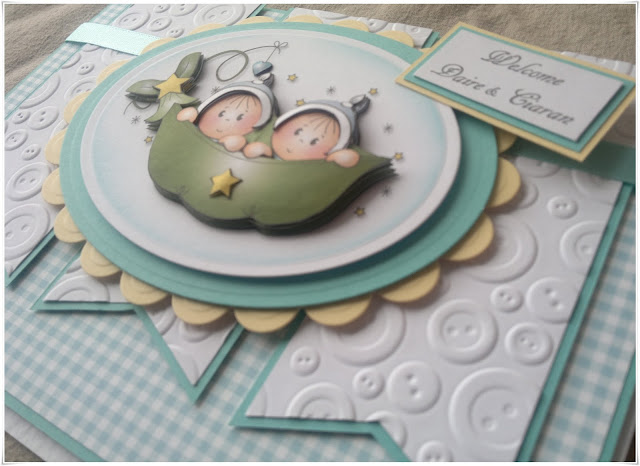
This one is using an image from Pink Gem Designs called Twin Boys


I used the Boofle Buttons embossing folder, perfect for boys to add texture without frilly 'pretty' things!


Printed and layered the image using silicon glue instead of foam pads this time - love the effect and I think I will do this for all decoupage projects in future - I never liked silicon but now I am hooked on it because with the aid of a cocktail stick you can add those teeny tiny pieces! ... am not one for filling a syringe with glue ..


Here's a closeup of the layers..

Pink and white anniversary with handmade flowers

So here's that folder again from Crafts Too, available in lots of craft outlets and a bonus being that it's A4 in size.


The flowers on this card were made with Spellbinders / Heartfelt Creations' Posy Patch dies and the image is a polymer Stampavie stamp called Blossom Birds designed by Penny Johnson.
(we will be making these flowers in my September workshops in white and navy)
The leaves are from Marianne Craftables and are product number CR1245
I can recommend the dies to anyone looking to buy a nesting rounded flower in punch or die form - there are 7 sizes and unlike a punch the dies will have a lifetime working guarantee because of their durability, so an very good investment and well worth spending money on.


the centre of the flower was made with a Nellie Snellen Punch and finished off with pearls from Cottage Crafts. the leaves were inked with brown and dark green memento inks.


A side view of the flowers so you can see the dimension...

Special Peony Birthday

This commission was for an 8 x8 boxed card for a 70th Birthday and the lady likes pink peonies, so I used Penny Black stamp 0775K Peonies. This is a very old stamp and I notice that the same flower has been re released in a more up to date polyment set called Flower Gallery.


Also used Crafts too A4 embossing folder CTA401 - great design!


The flowers were coloured with Faber Castell Polychromos pencil crayons.


... and paper pieced / decoupaged - this involves stamping the image a few times and then cutting away some of the design to make your own decoupage flower. You will notice that i shaped the petals as well.